The member dashboard keeps everything in one place, allowing you to search for members, add notes, import and export lists, create segments, and more. This makes it easy to perform simple member admin tasks and keep track of how your membership business is performing.
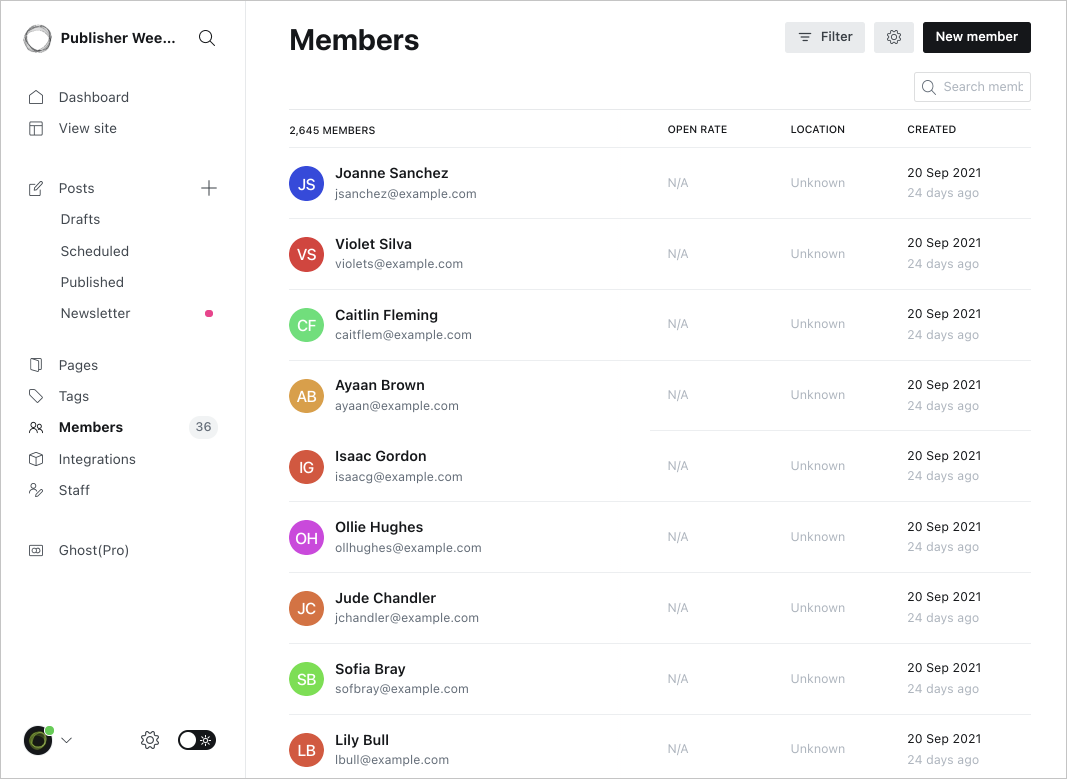
Filtering and bulk actions
Powerful filtering options allow you to segment your list using any number of filter parameters and conditions, to carry out bulk actions with ease.
Members can be filtered by label, email subscription status, member status, billing period, emails opened, emails sent, email open rates, and more.
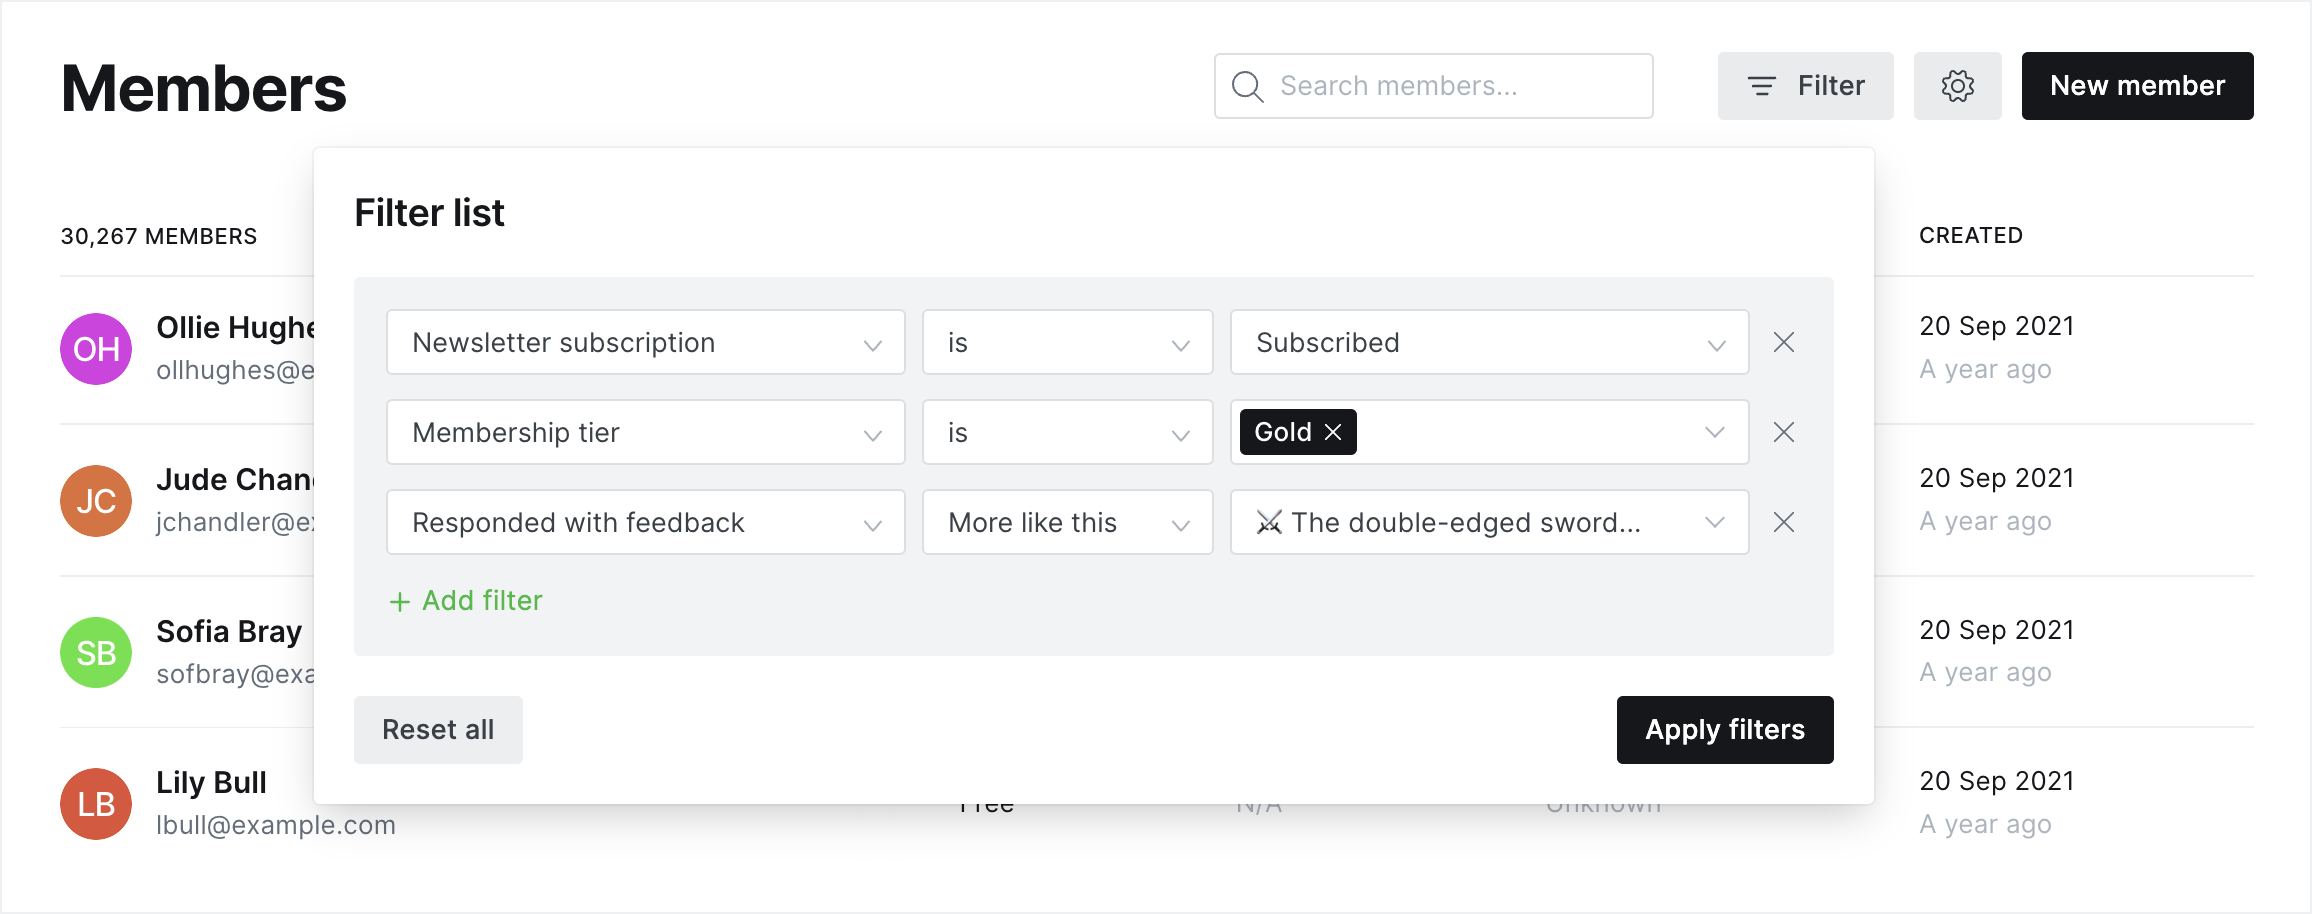
Members can be filtered by:
| Basic | Newsletters | Subscription | |
|---|---|---|---|
| Name | Subscribed | Membership tier | Emails sent (all time) |
| Unsubscribed | Member status | Emails opened (all time) | |
| Label | Email disabled | Billing period | Open rate (all time) |
| Newsletter subscription | Stripe subscription status | Received email | |
| Last seen | Paid start date | Opened email | |
| Created | Next billing date | Clicked email | |
| Signed up on post/page | Subscription started on post/page | Responded with feedback |
When filtering "All newsletters," here's what the terms mean:
- "Subscribed to at least one": Members who can receive at least one newsletter
- "Unsubscribed from all": Members who have turned off all newsletters
- "Email disabled": Email addresses that have been disabled by Ghost because they are unreachable or because messages have been marked as spam
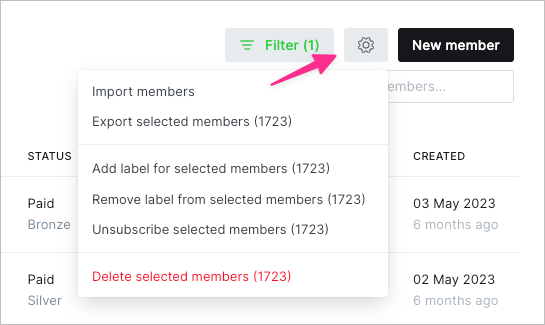
Once you've filtered your members, clicking the settings cog opens the bulk action options, which allow you to export, apply labels, remove labels, and unsubscribe selected members from email:
Filtering is useful for many things, here's some of the most common ways to use filtering and bulk actions from the member dashboard:
- Find out who your most engaged members are using the open rate filter.
- Unsubscribe unengaged members from receiving emails to improve deliverability.
- Add labels to a filtered segment of your audience so you can deliver emails only to them, and find them again easily in the future.
- Use filtered segments to export a list of your members for use in other tools.
- Discover which members converted from a specific post, using the Signed up on post/page filter.
Using bulk delete
When selecting any segment of your members based on label or status, click the cog icon to access the bulk delete menu:
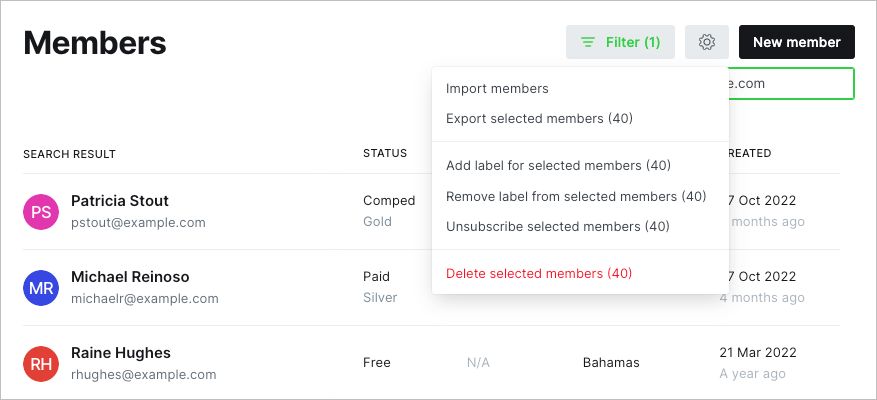
Confirm that you'd really like to delete the selected segment of members to begin the bulk delete action.
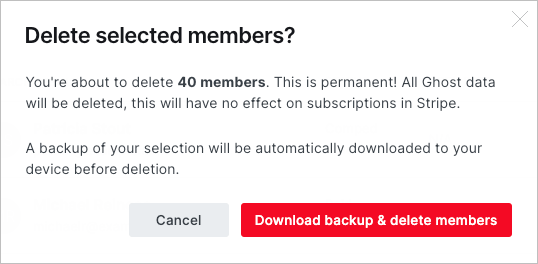
Bulk deletions have no effect on active Stripe subscriptions, and a backup of the members you have deleted will automatically be downloaded to your device before deletion takes place.
Member profiles
Each member has an individual profile with all of the information you'll need at a glance:
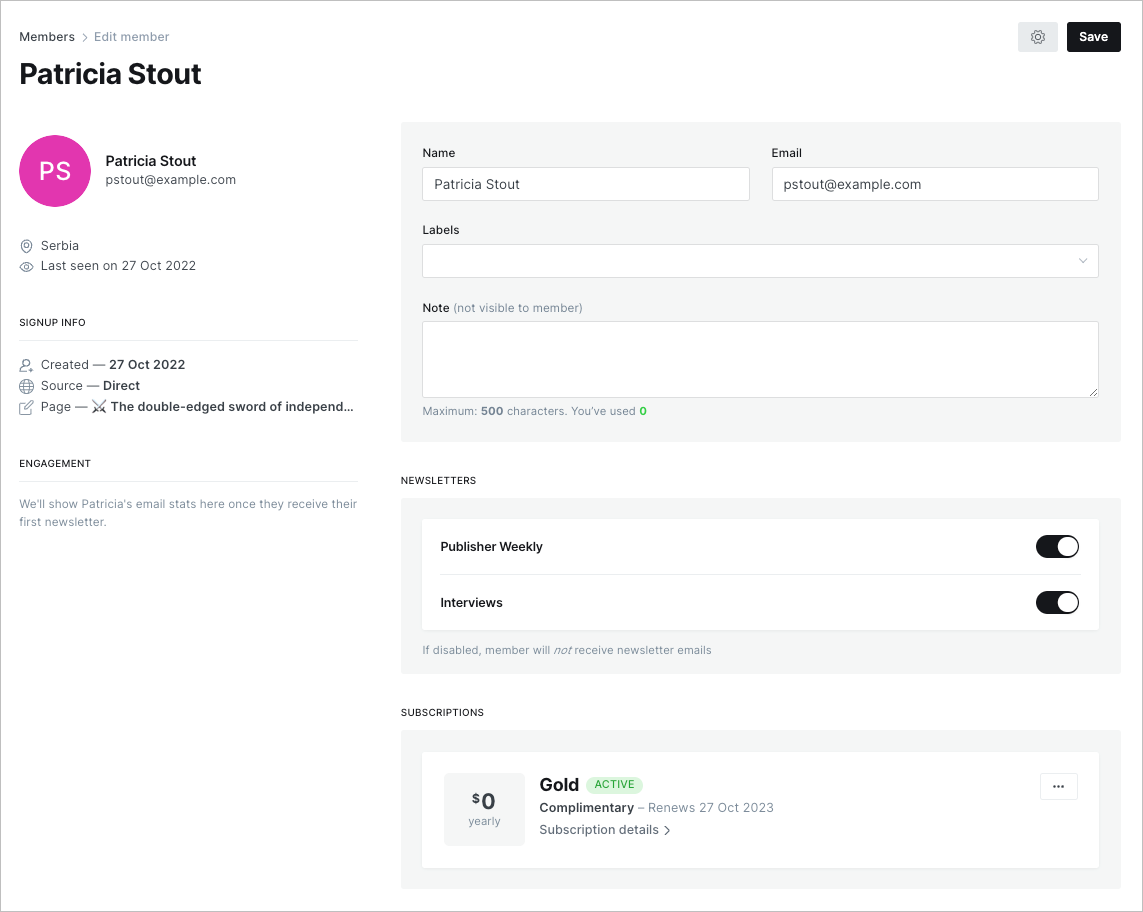
Name & notes
You can add a member's name and additional notes about their subscription or any other useful information that you want to save for later in the basic info section.
Email stats and activity
See how engaged individual members are with your content right on their member profile page, with average open rates, and an activity feed of their most recent actions.
Subscribed to newsletter
This allows you to manually subscribe or unsubscribe people from receiving emails sent from Ghost. All email newsletters sent from Ghost also have an unsubscribe link by default which will change a members status to unsubscribed when clicked.
Labels
Labels can be used to segment your members, such as VIP members. It's possible to add labels manually or via a CSV import.
It's also possible to apply labels automatically via embeddable signup forms, via the API in your theme's signup form, or using the Zapier integration.
Quick access billing in Stripe
A handy link to the Stripe customer ID allows you to quickly access a member's profile in your Stripe account. This is useful if you need to address billing issues, change their plan or apply credit.
Check out the Stripe Dashboard docs to find out more about managing your Stripe account.
Signup info
An overview of when the member signed up, which referral source they found your content from, and which page on your site they were reading when they signed up. Read more about creating custom sources.
Further Reading
