Apple Pay is a contactless payment option supported by Stripe. This payment method offers your customers a seamless payment option using a card they’ve already attached to their Apple Wallet.
There is no difference in Stripe payment fees when using Apple Pay. To add support for this payment option on Ghost(Pro) it does require enabling the Additional payment methods beta feature, from the Settings → Advanced → Labs area within Ghost Admin.
Enable Apple Pay
Apple Pay can be configured from the Wallets section, within the Settings → Payment Methods area of your Stripe account.
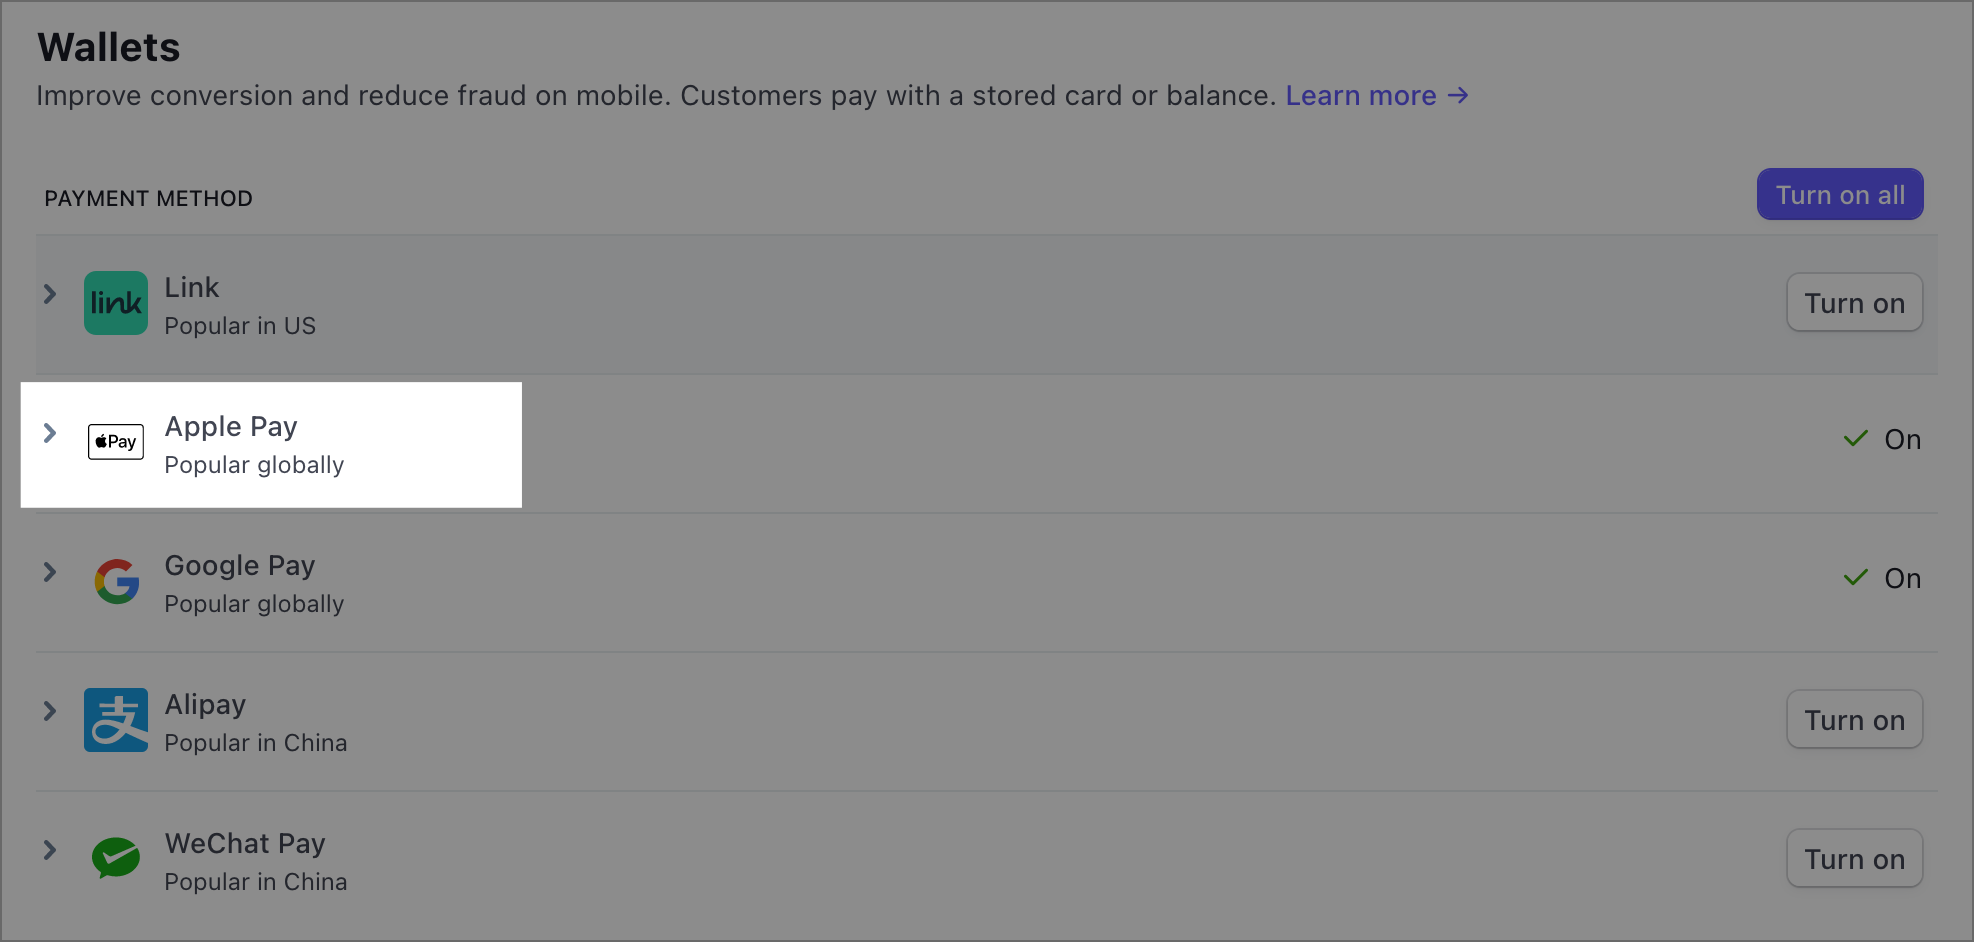
To configure Apple Pay, expand the option from the Wallets area, and click Configure domains.

In your Apple Pay configuration settings, click Add a new domain:

Enter in your domain and click Save.
Once your domain has been entered, you should see this added to your list of domains, and that it has been verified.
When Apple Pay is configured, an Apple Pay badge appears if Stripe checkout detects the customer's device and the region that supports Apple Pay.

You’re all set!
With Apple Pay fully configured, you can allow Stripe’s checkout to do the rest and offer the payment method to your customers when available. If you’d like to test this out, try going through your payment flow in a private window on a device where you have Apple Pay setup.