Establish yourself as a branded, professional publication by using a memorable custom domain.
You can connect any domain or subdomain you own directly your Ghost(Pro) publication by adding a CNAME record within your domain's DNS settings. Each Ghost(Pro) publication is also provided an SSL certificate by default, which is renewed for you automatically each year.
If you own a Gandi domain, the following steps explain how you can implement a custom domain with your Ghost(Pro) publication.
Step 1: Access Domain DNS settings
The first step in setting up your custom domain is to sign into your Gandi dashboard, then head over your domain settings.
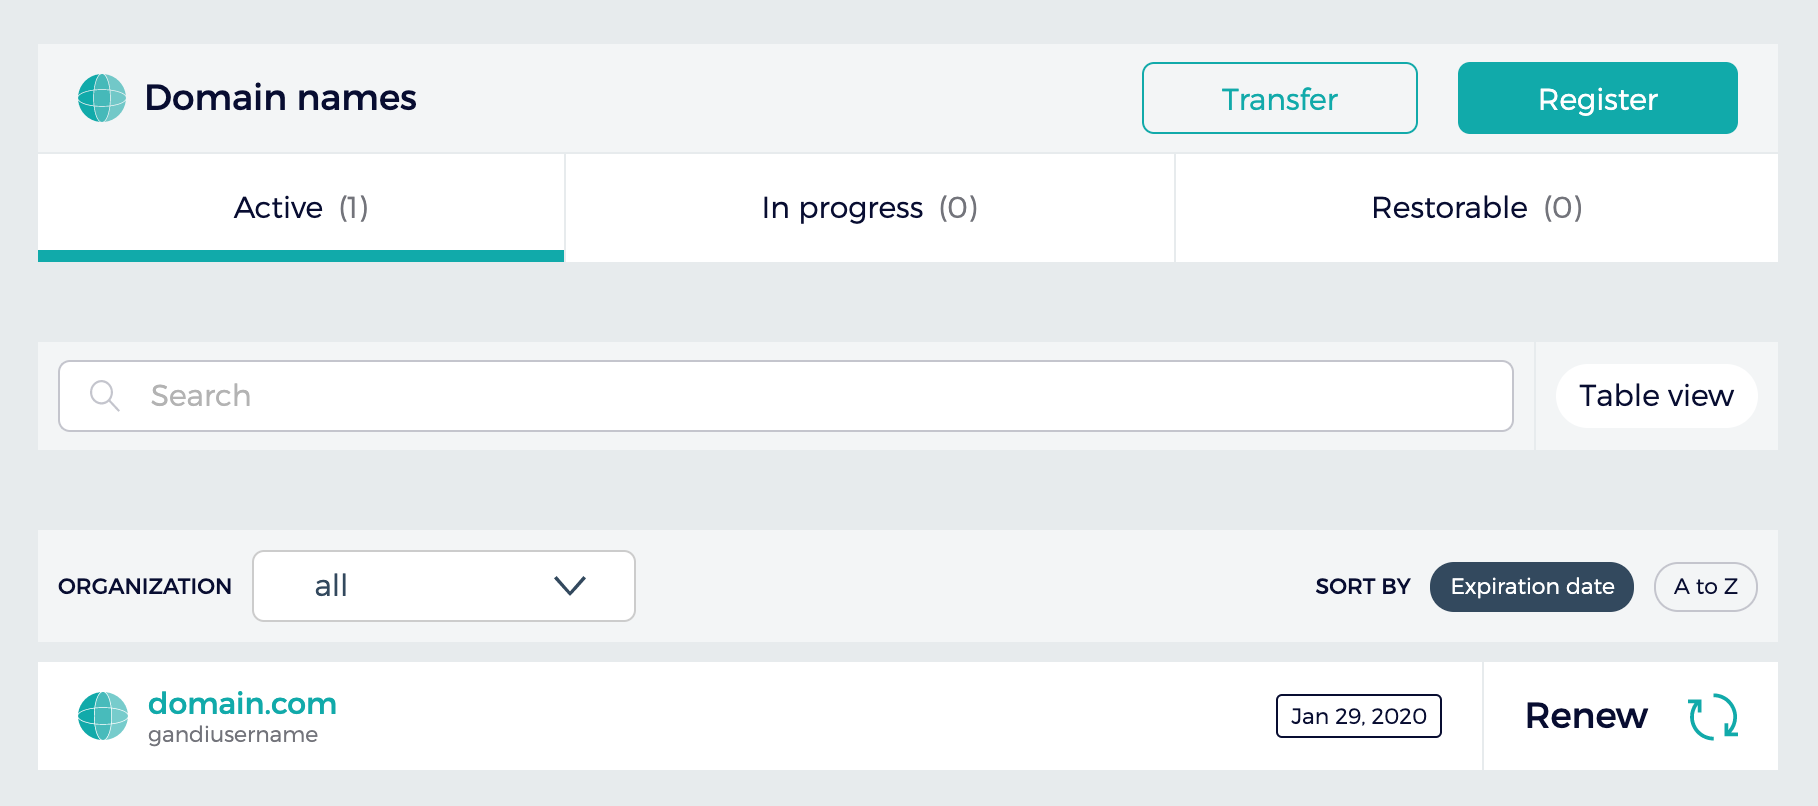
Select the domain to be configured with your Ghost(Pro) site.
Next, click "DNS Records" from the domain settings toolbar at the top.

Step 2: Create a CNAME record
From the DNS Records settings, click "Add" to add a new DNS record, and create the following DNS records:
| Subdomain DNS Configuration | ||
|---|---|---|
| Record Type | Host | Value |
CNAME |
www |
[subdomain].ghost.io. |
A |
@ |
178.128.137.126 |
Note: The A record will automatically redirect both the http and https root domain to the subdomain you configure.
Root Domain Configuration
Gandi does not support CNAME root domain configurations and using an A record to achieve a root domain is not supported. To setup a root domain configuration, we recommend that you consider using Cloudflare for additional flexibility.
Step 3: Activate the Custom Domain
Login to your publication's Ghost Admin area, and go to the Ghost(Pro) > Domain settings.
Click Setup, and enter your custom domain into the custom domain field, then click Activate, to activate your custom domain.