Email newsletters in Ghost come with a polished, customizable HTML template that works beautifully across all major email clients.
Your newsletter’s design settings let you create emails that look and feel uniquely yours — from colors and typography to buttons and borders — keeping your brand consistent across web and the inbox.
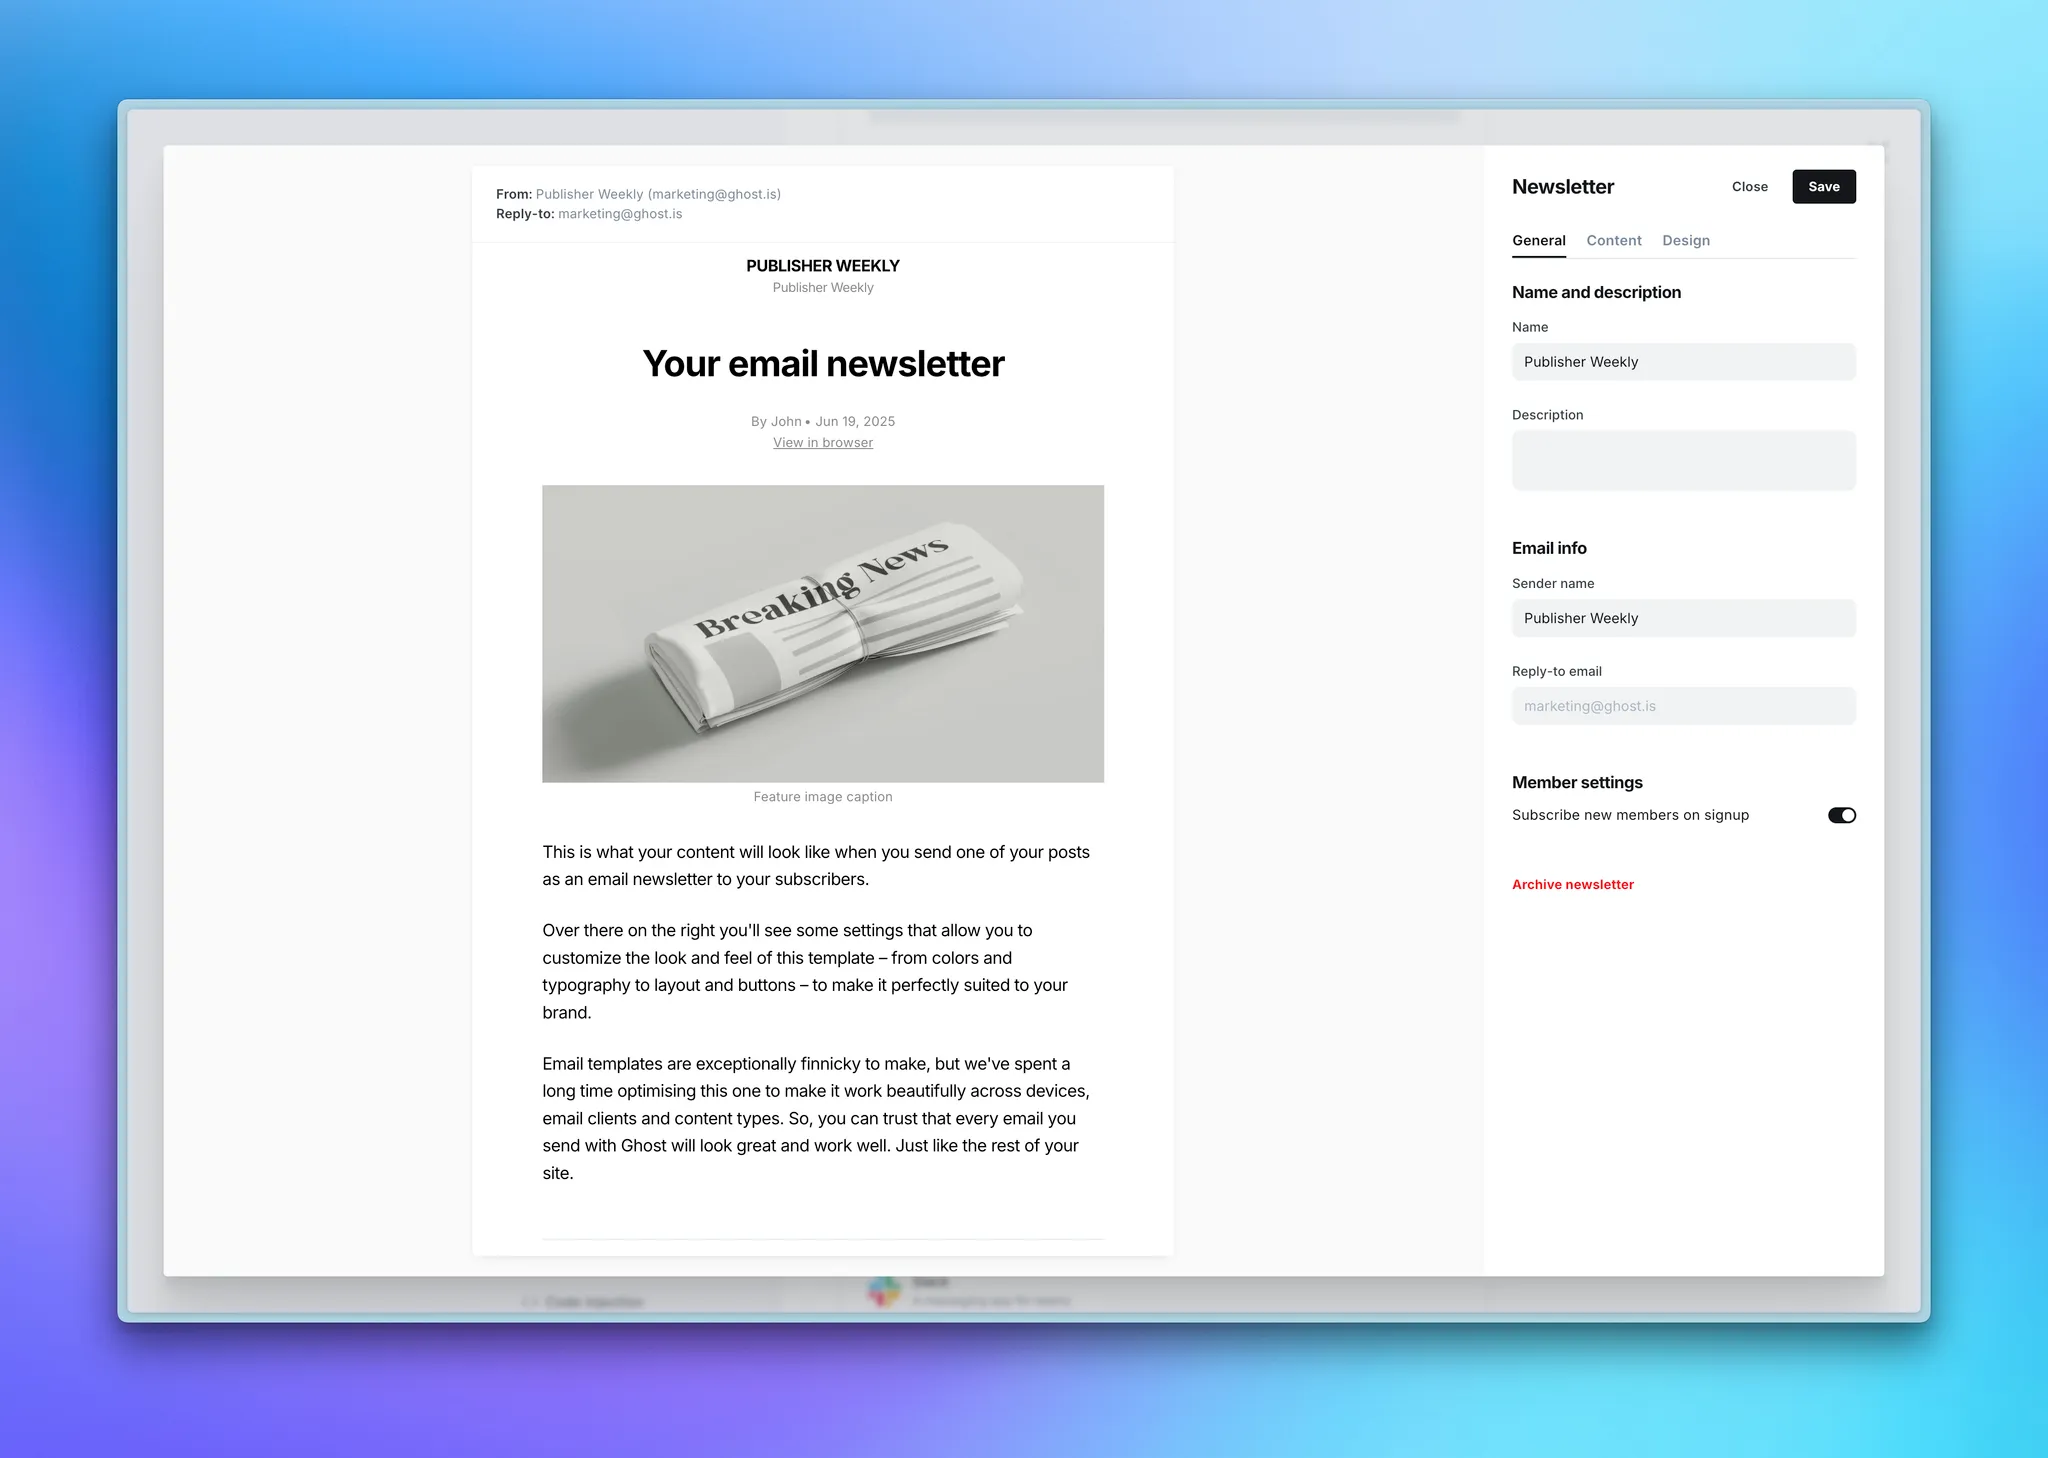
To access these options, go to Settings → Membership → Newsletter and click Edit.
General settings
Here you can set the name and description of your newsletter, in addition to the sender name readers will see in their inbox.
Email info
To set a custom sender name, and ‘reply-to’ email address for your newsletter, toggle to the General email newsletter settings.
- Sender Name - This will appear as the name your email newsletters are 'from' in a reader’s inbox, and will default to your site title unless customized.
- Reply-to Email Address - This is the email address used for when members reply directly to your newsletter.
If you'd like to change the Reply-to email addresses, enter the new email address to be used and click Save. This sends a confirmation email to the new email address, containing a link that must be clicked to verify and activate the email address.
If on the Publisher plan (or higher), and using the custom sending domain feature, you can also configure a custom sender 'from' email address within your newsletter settings.
Content settings
This section controls the elements that you’d like to show in your newsletter template, giving you fine-grained control over what readers see (and what they don’t).

Header image
Including a custom header image with your email newsletters is optional. To add a header image, click the upload icon and select your image. We recommend using a 1200x600 .PNG with a transparent background for the best results on any background color.
Publication title
Email newsletters can be configured to show or hide the publication title, which can be customized from the Settings → General area of Ghost Admin.
Newsletter name
When enabled, this specific newsletter’s name will be displayed under the publication title, and is best used when you have multiple newsletters.
Title section
Control whether or not the post title, post excerpt (subhead), or feature image shows at the top of each newsletter.
Footer
The email footer area can be customized to collect audience feedback, link to commenting, share your latest posts, include a share button, or show subscription details, as well as include any additional text or legal information you’d like to appear at the bottom of your newsletters.
Promote independent publishing
The "Published with Ghost" badge can be enabled or disabled from appearing at the bottom of each newsletter. It’s not required, but always appreciated! 🙏
Design settings
This section allows you to control the look and feel of your newsletters, ensuring your brand stays consistent across both web and email.
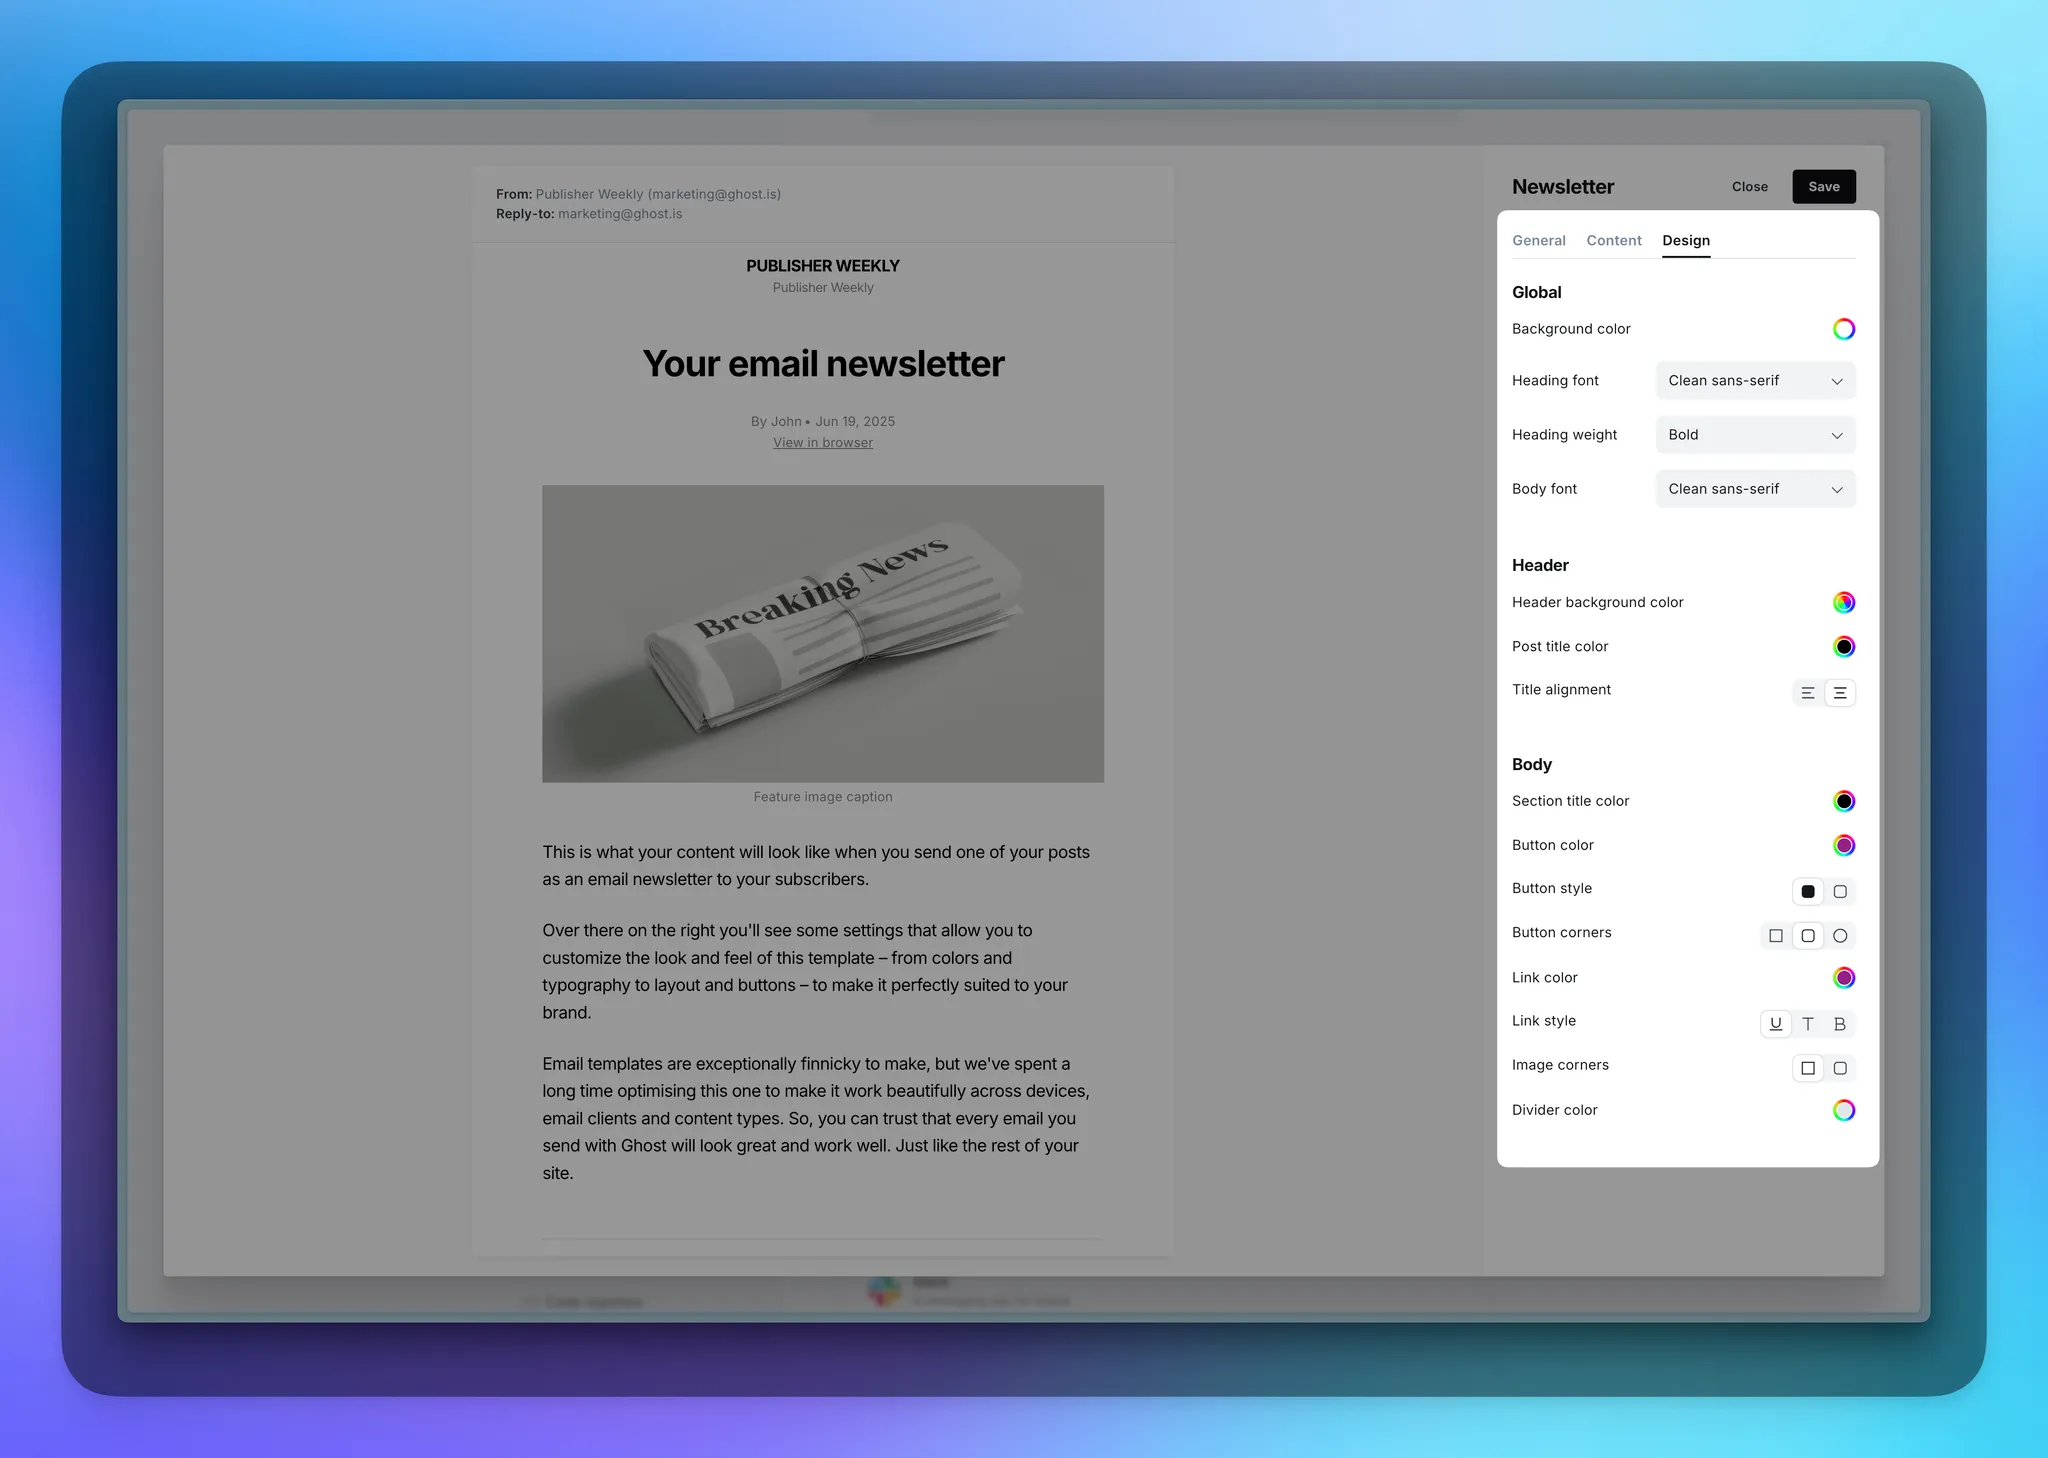
Global
These settings set the foundation for your newsletter design. Set your email's background color, choose fonts for both headings and body text, and control your heading weight, for a bold and splashy or light and minimalist feel.
Header
These settings apply to the top section of your newsletter. Here you can set your post title color and alignment, in addition to a separate header background color that will only apply to this top section, letting you do things like this 👇

Body
These settings give you more fine-grained control over how your content appears specifically in newsletters.
- Section title color → Sets the color for all headings within your newsletter content, helping you create visual hierarchy.
- Buttons → Customize your CTAs with corner style (square, rounded, or pill), appearance (filled or outline), and color to match your site's button style.
- Links → Control how links appear with custom colors and styles (underlined, regular, or bold) to ensure they stand out or blend in, whichever you prefer.
- Image corners → Choose rounded corners for a friendly, approachable feel or keep them square for a clean, professional look.
- Divider color → Style the horizontal lines between sections to subtly reinforce your brand colors.
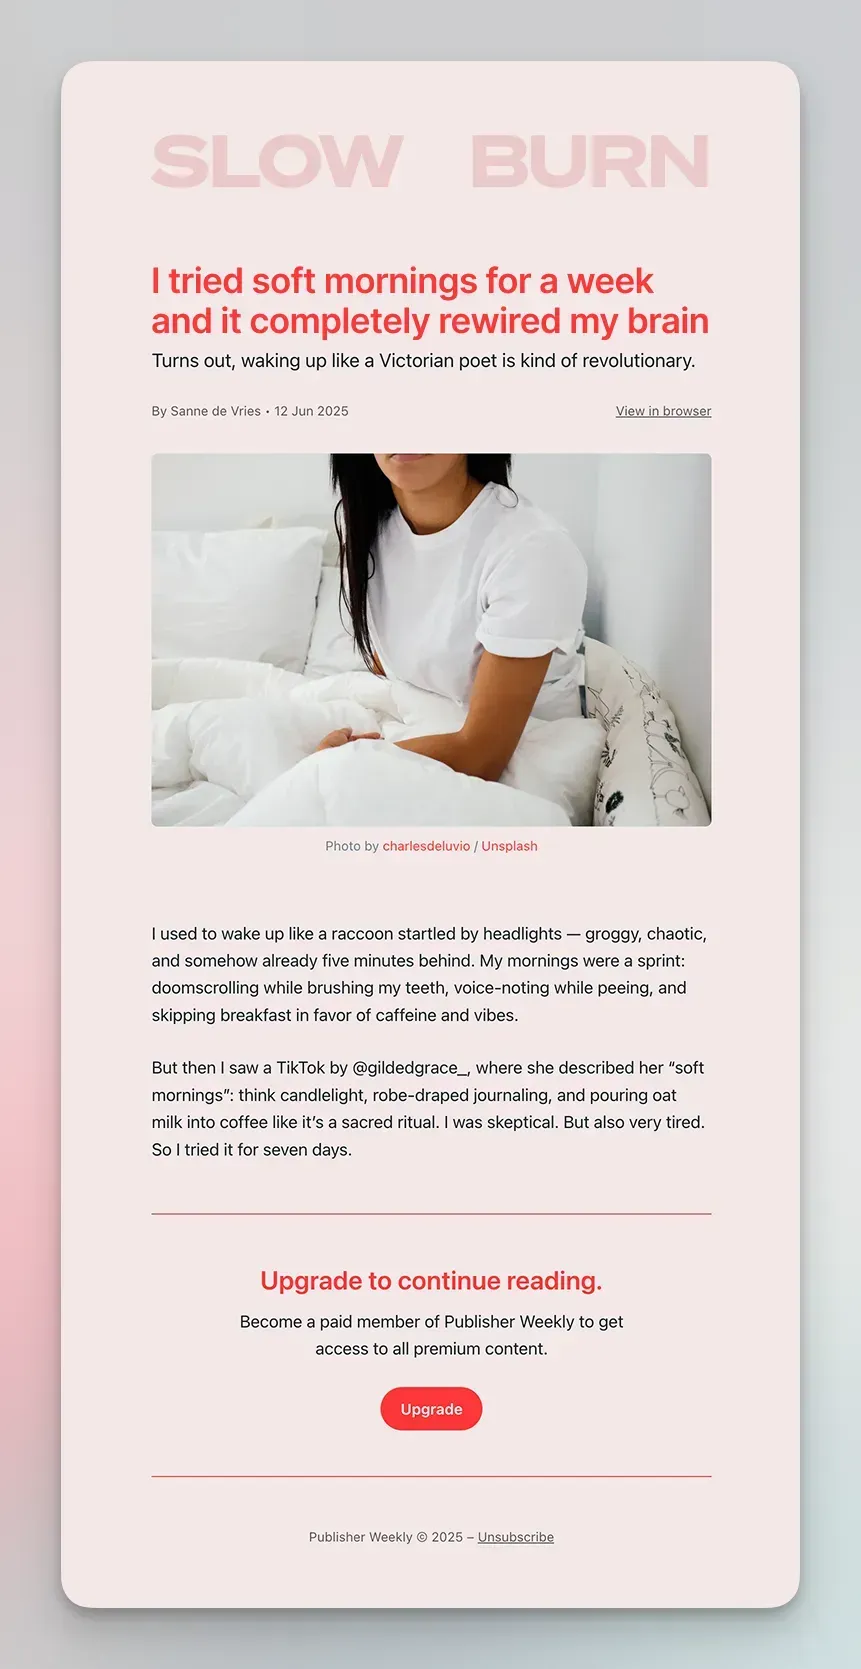
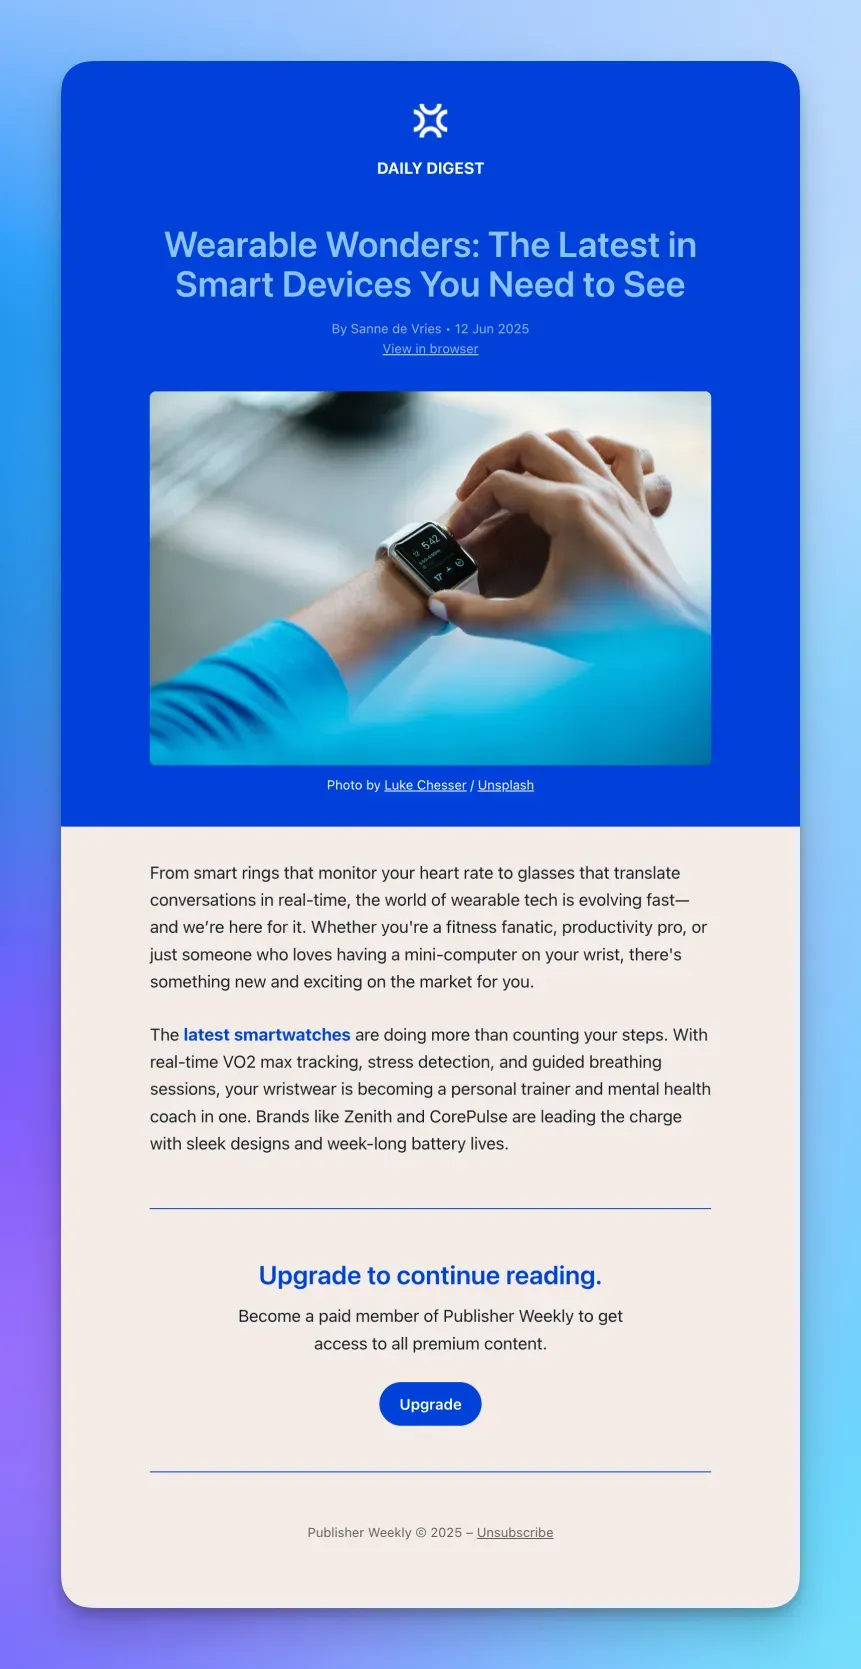
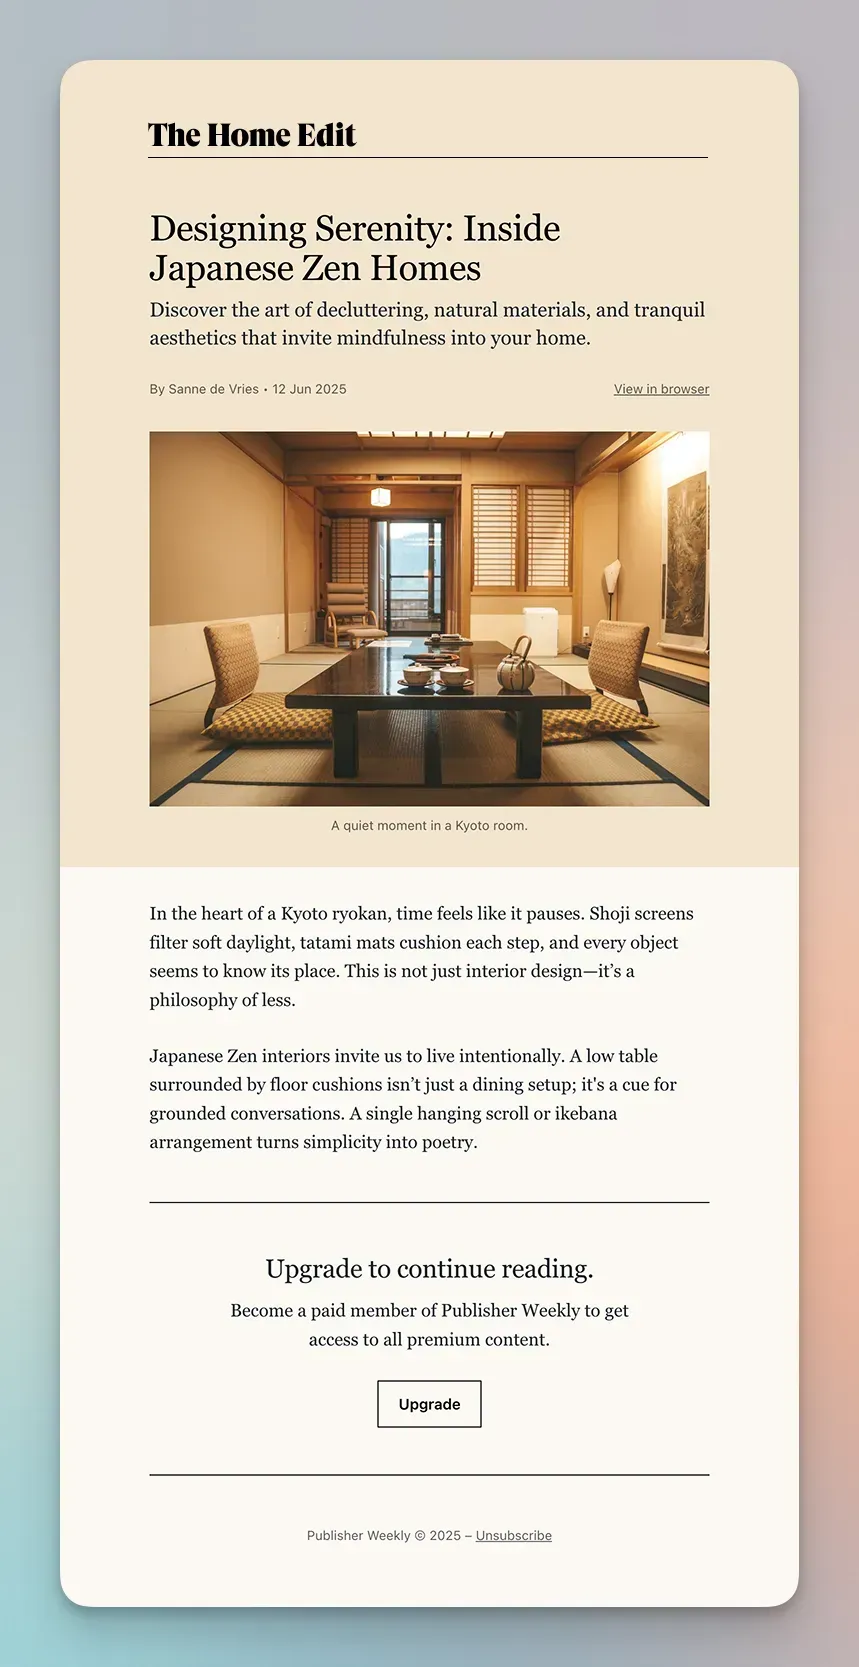
Need some inspiration? Here are a few examples we like: