Migrate from a self-hosted instance to Ghost(Pro) with this guide
If you're a Ghost(Pro) customer, our team may be able to help you migrate your content and subscribers. Learn more about our Concierge service.
This guide will walk you through the process of migrating from a self-hosted Ghost instance on your own server to Ghost(Pro).
Prerequisites
If your self-hosted site is running an older major version of Ghost, you may need to update. Check the latest version of Ghost on GitHub, and follow this upgrade guide.
Back up your data
The first step towards moving from your own self-hosted Ghost instance to Ghost(Pro) is to retrieve all of your data from your server to your local machine. It’s best to do this first, to ensure you have a backup in place.
The commands in this guide assume you followed our Ubuntu guide to set up your own instance. If you used another method, you’ll need to adapt the paths in the commands to suit.
Exporting content
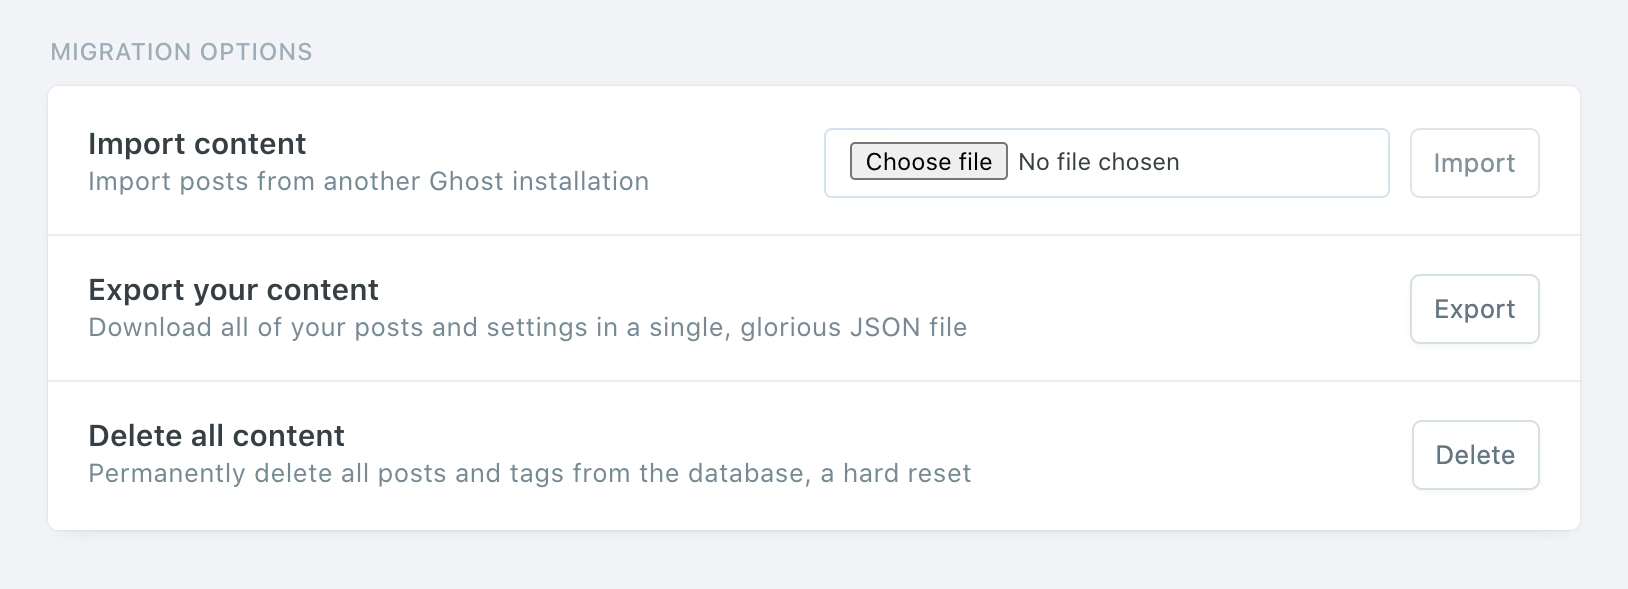
Log into Ghost Admin for your self-hosted in production and navigate to the Labs view, and click Export to download your content. This will be .json file, with a name like my-site.ghost.2020-09-30-14-15-49.json.
Routes and redirects
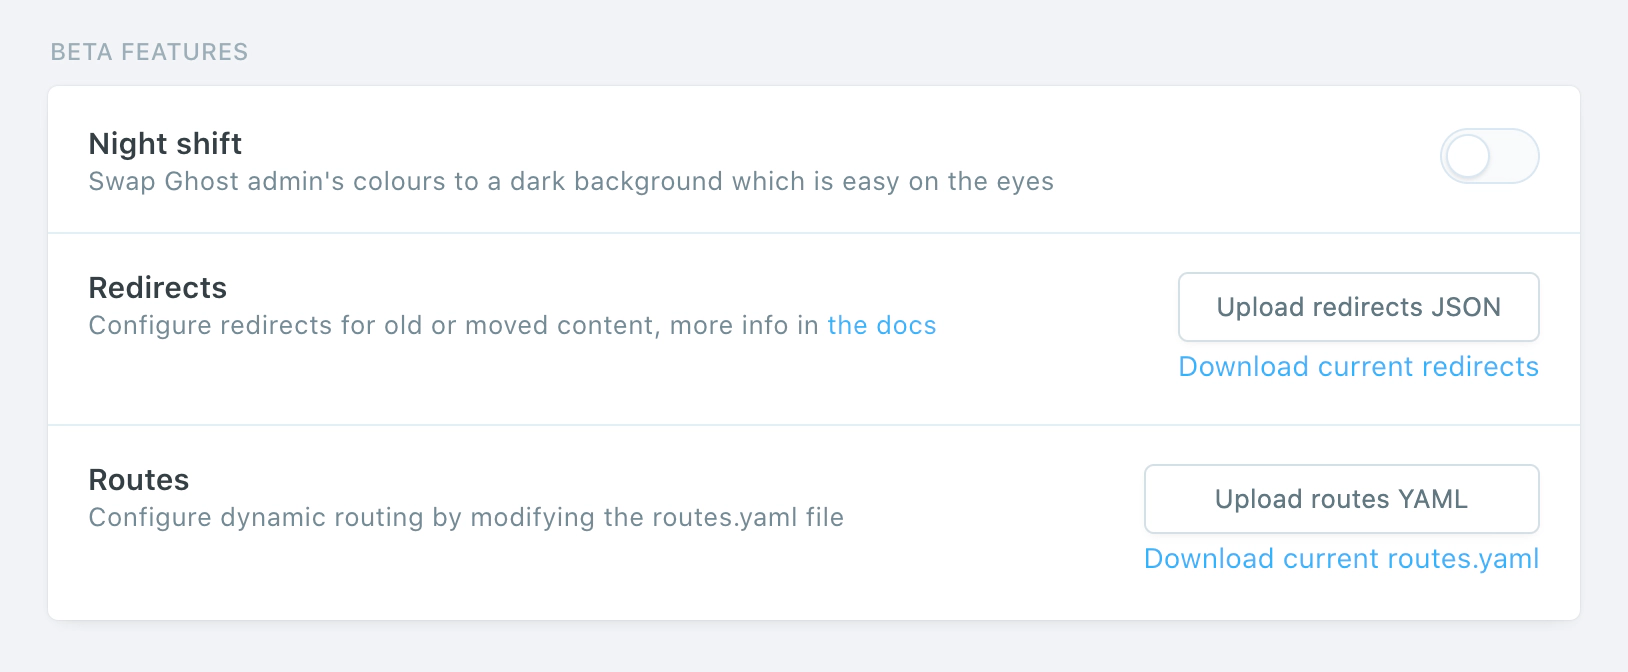
Staying on the Labs page, click Download current redirects to get your redirects file. This will be called redirects.yaml (or redirects.json depending on your Ghost version). If you’re using custom routes, click Download current routes.yaml to get your routes.yaml file.
Themes
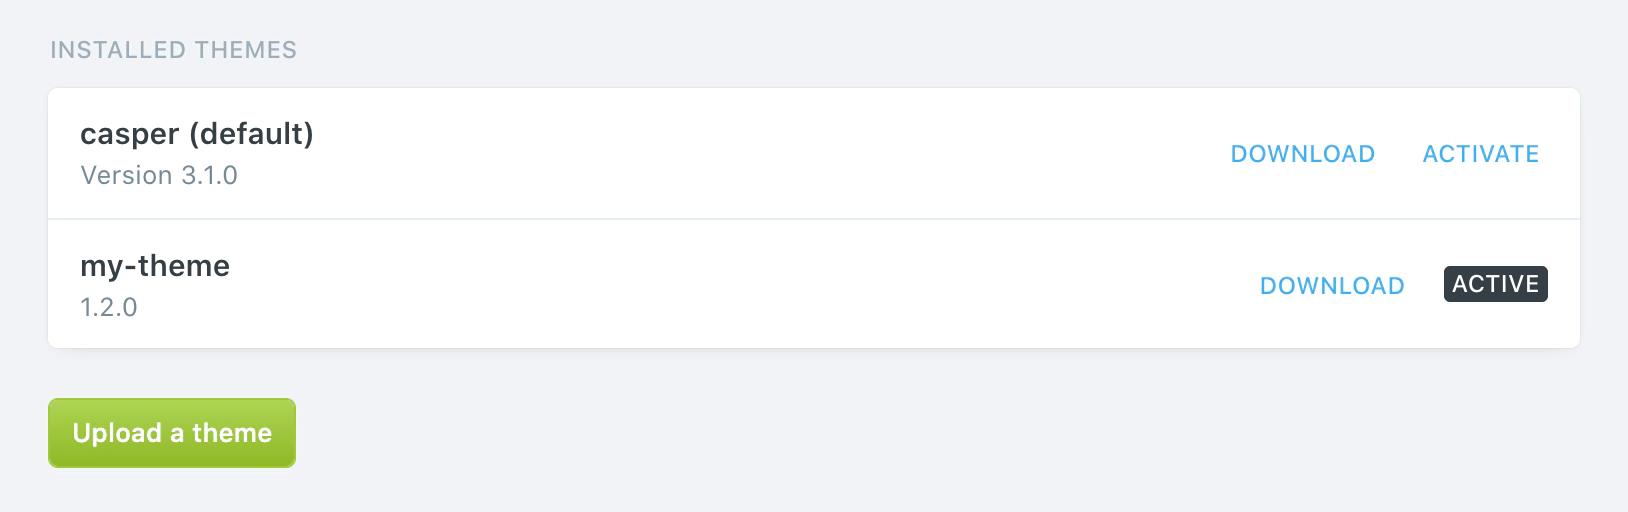
Navigate to the Design view, and click the Download button next to the Active label export your current theme. This will be a .zip file. Optionally, if you have other themes that you’d like to save, download them and back them up.
Images
To download your images, you’ll need shell access to your server. If you’re unable to gain shell access to your current web host, you may need to contact their support team and ask for a zip of your images directory.
Once you’re logged in to your server, cd to the content directory:
cd /var/www/ghost/content
And then zip the images directory with all its contents:
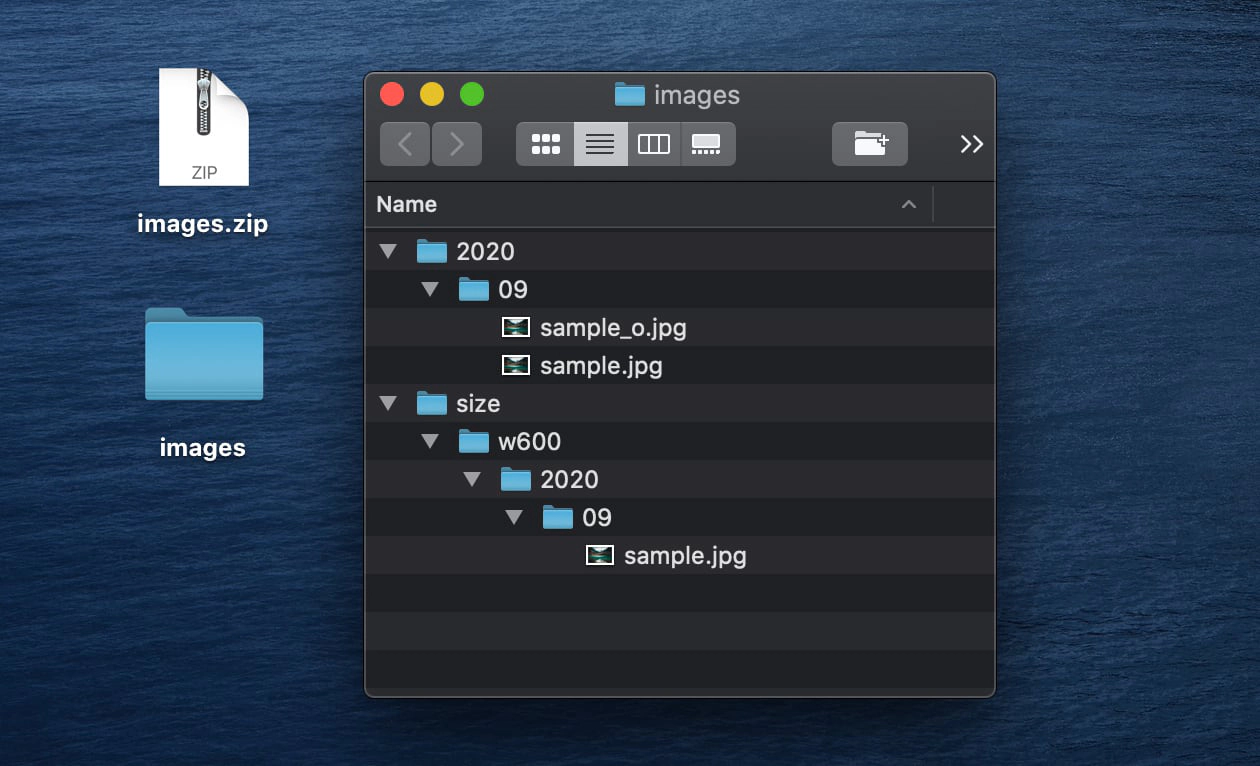
zip -r images.zip images/*
Ensure your images folder only contains images. Any other file types may cause import errors.
Now we need to get that zip file from your server onto your local machine:
scp user@123.456.789.123:/var/www/ghost/content/images.zip ~/Desktop/images.zip
The folder structure should look like this, with images being the only top-level folder once unzipped:
Uploading to Ghost(Pro)
Once you’ve retrieved all of these exports, you can upload them to Ghost(Pro) in the same order.
Content
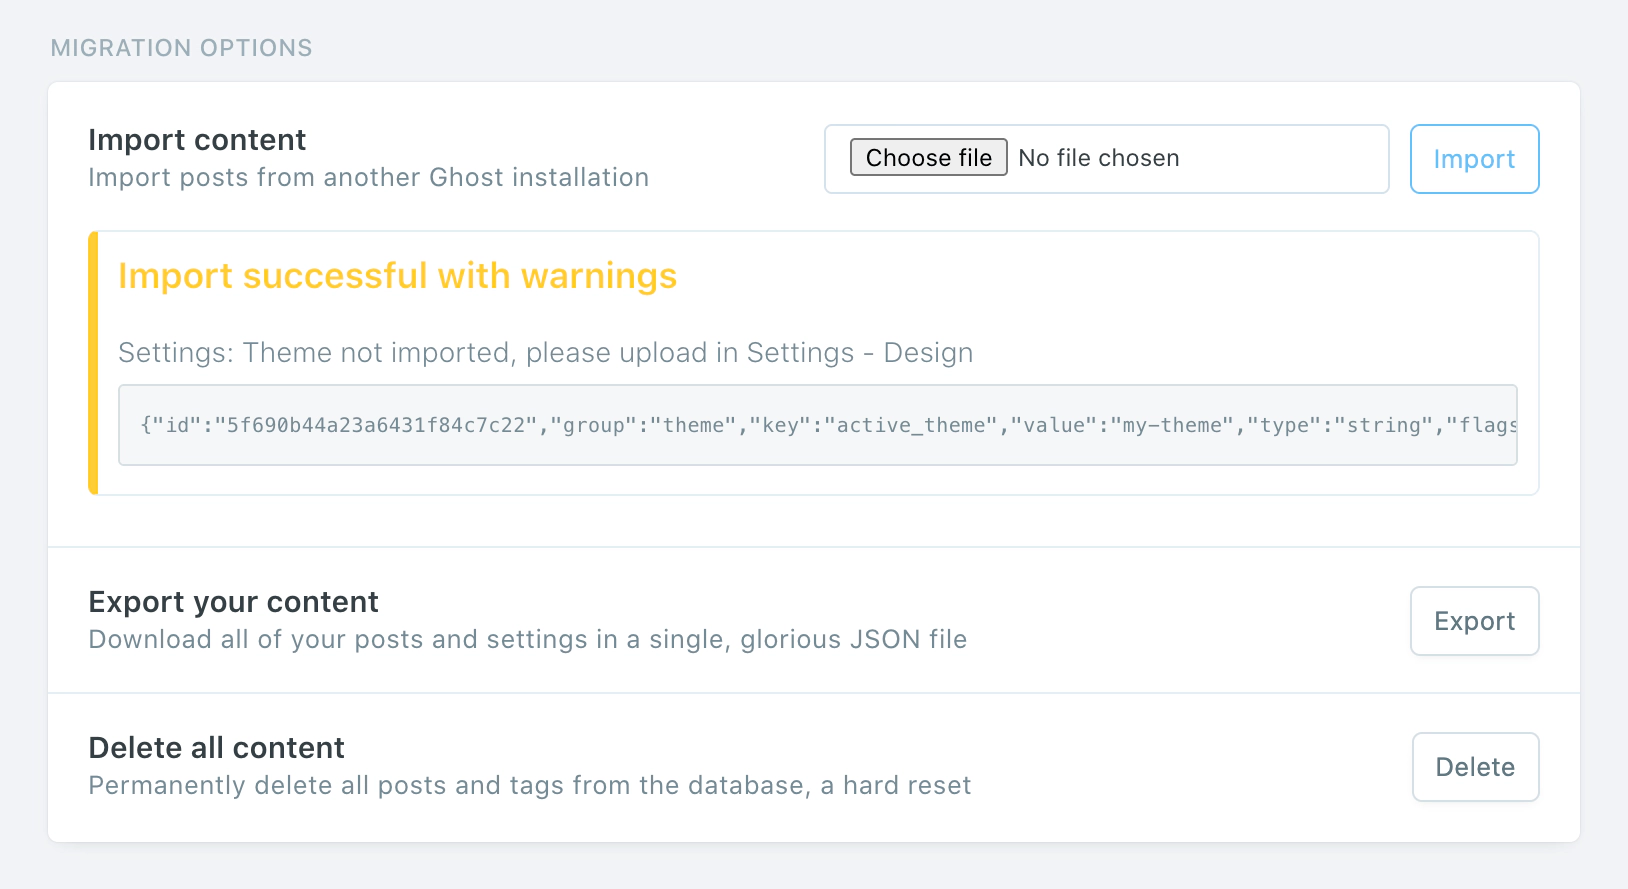
Log into your new Ghost(Pro) site, and head to the Labs view. Next to the Import content header, select your content .json file and click Import.
Routes and Redirects
Staying on the Labs view, click Upload redirects JSON, then select your redirects.json file to upload it. Then click Upload routes YAML, select your routes.yaml file to upload that.
Themes
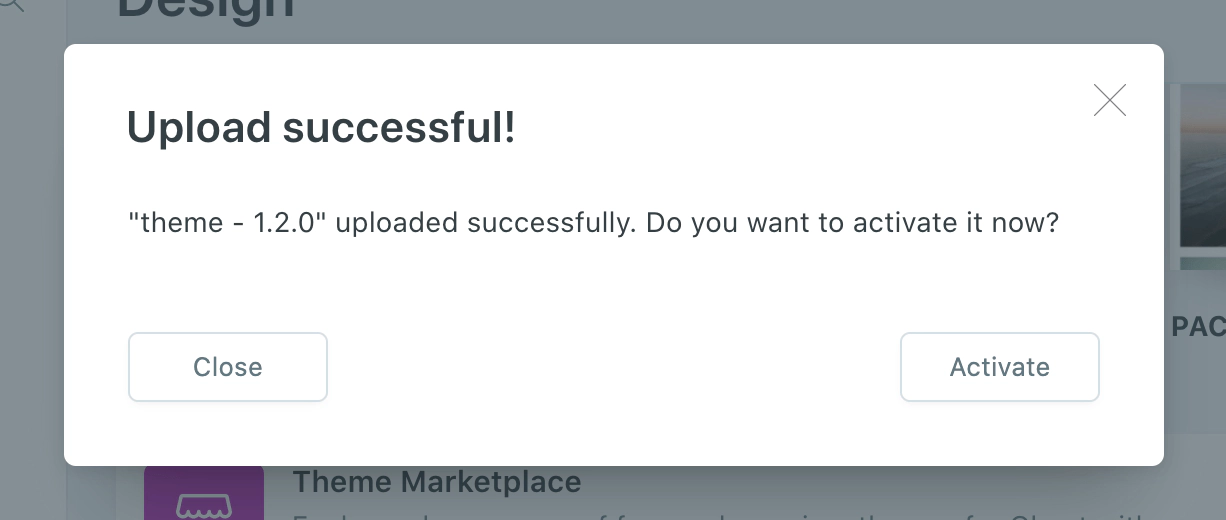
Head over to the Design view, and click Upload a theme, select your theme .zip file, and activate it.
Images
The final step is to upload your images. The best way to approach this depends on how big your images.zip file is. A large file will take longer to upload and process.
If your file is less than 500mb, you can upload this zip in the same way you uploaded your content JSON file. If the file is larger, it’s recommended to split it into multiple smaller files, whilst retaining the folder structure.
If you have a large image directory or encounter any errors, contact support so we can help upload your images.
Summary
Congratulations on moving to Ghost(Pro). All that’s left to do is check over your content to ensure everything works as expected.
By hosting your site with us, you directly fund future product development of Ghost itself and allow us to make the product better for everyone 💘