Build a completely custom front-end for your Ghost site with the flexibility of Static Site Generator Eleventy.

Eleventy Starter Ghost
Eleventy is a “zero configuration” static site generator, meaning it works without any initial setup. That said, having some boilerplate code can really fast track the development process. That’s why we’ve created an Eleventy Starter for Ghost on GitHub.
Prerequisites
A Ghost account is needed in order to source the content, a self hosted version or a Ghost (Pro) Account.
Getting started
To begin, create a new project by either cloning the Eleventy Starter Ghost repo or forking the repo and then cloning the fork with the following CLI command:
git clone git@github.com:TryGhost/eleventy-starter-ghost.git
Navigate into the newly created project and use the command yarn to install the dependencies. Check out the official documentation on how to install Yarn.
To test everything installed correctly, use the following command to run your project:
yarn start
Then navigate to http://localhost:8080/ in a browser and view the newly created Eleventy static site.

Customisation
The Eleventy Starter for Ghost is configured to source content from https://eleventy.ghost.io. This can be changed in the .env file that comes with the starter.
GHOST_API_URL=https://eleventy.ghost.io
GHOST_CONTENT_API_KEY=5a562eebab8528c44e856a3e0a
SITE_URL=http://localhost:8080
Change the GHOST_API_URL value to the URL of the site. For Ghost(Pro) customers, this is the Ghost URL ending in .ghost.io, and for people using the self-hosted version of Ghost, it’s the same URL used to view the admin panel.
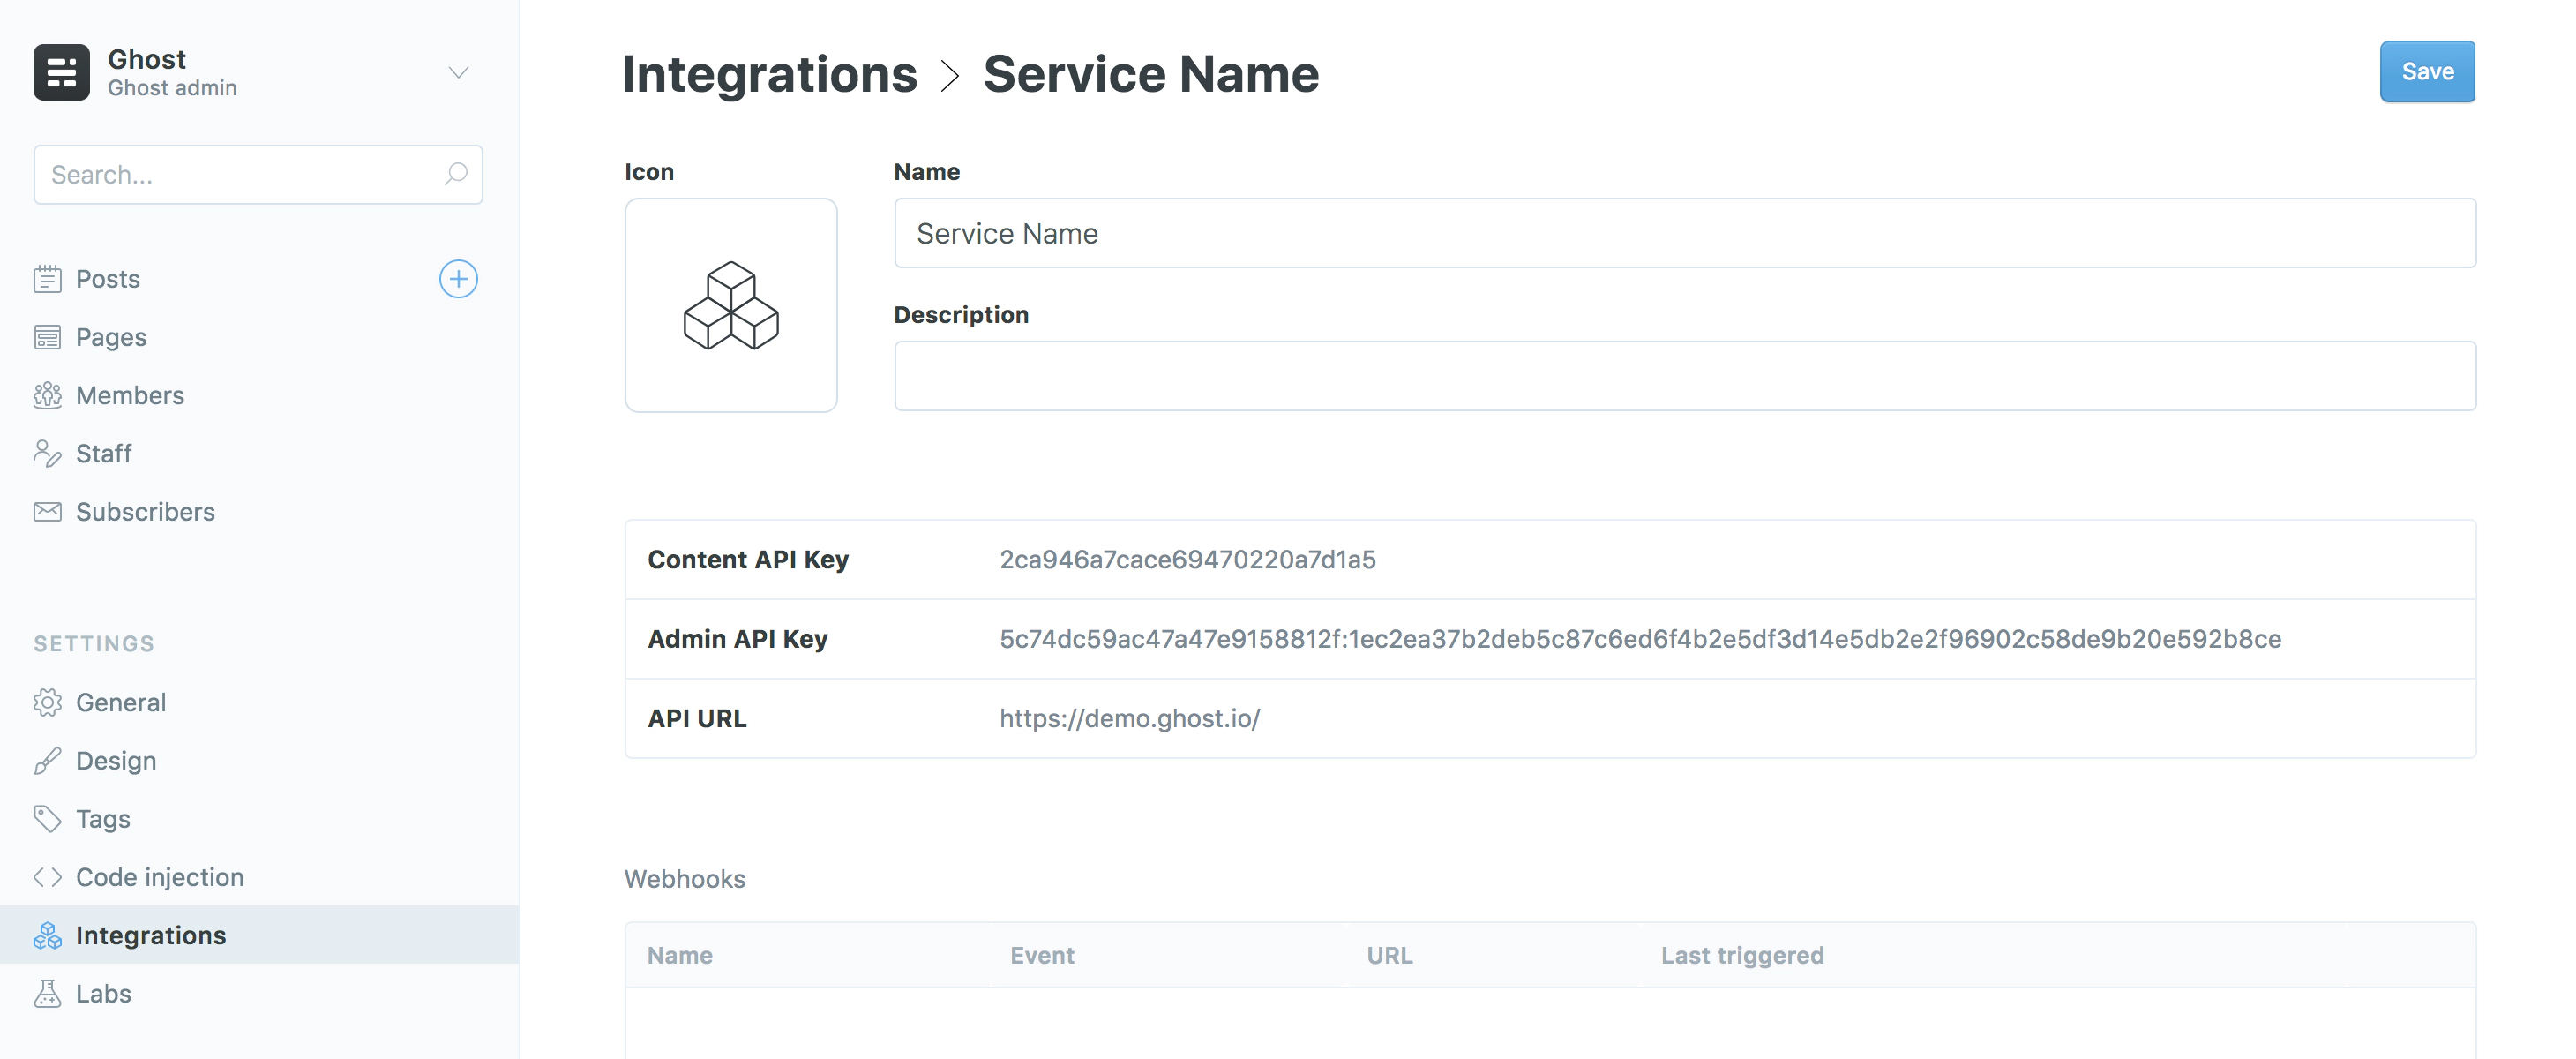
Change the GHOST_CONTENT_API_KEY value to a key associated with the Ghost site. A key can be provided by creating an integration within the Ghost Admin. Navigate to Integrations and click “Add new integration”. Name the integration, something related like “Eleventy”, click create.
More information can be found on the Content API documentation.
Using Netlify to host your site? If so, the netlify.toml file that comes with the starter template provides the deployment configuration straight out of the box.
Next steps
The official Eleventy docs is a great place to learn more about how Eleventy works and how it can be used to build static sites.
There’s also a guide for setting up a new static site, such as Eleventy, with the hosting platform Netlify so Netlify can listen for updates on a Ghost site and rebuild the static site.
For community led support about linking and building a Ghost site with Eleventy, visit the forum.
Examples
Here are a few common examples of using the Ghost Content API within an Eleventy project.*
Retrieving data from the Content API within an Eleventy project is pretty similar to using the API in a JavaScript application. However there are a couple of conventions and techniques that will make the data easier to access when creating template files. The majority of these examples are intended to be placed in the .eleventy.js file in the root of the project, to find out more on configuring Eleventy refer to their official documentation.
Initialising the Content API
More information on setting up and using the Content API using the JavaScript Client Library can be found in our API documentation
const ghostContentAPI = require("@tryghost/content-api");

const api = new ghostContentAPI({
  url: process.env.GHOST_API_URL,
  key: process.env.GHOST_CONTENT_API_KEY,
  version: "v5.0"
});
Retrieving posts
This example retrieves posts from the API and adds them as a new collection to Eleventy. The example also performs some sanitisation and extra meta information to each post:
- Adding tag and author meta information to each post
- Converting post date to a JavaScript date object for easier manipulation in templates
- Bring featured posts to the top of the list
config.addCollection("posts", async function(collection) {
  collection = await api.posts
    .browse({
      include: "tags,authors", // Include tags as well as authors
      limit: "all" // Get all posts to generate all content at build time
    })
    .catch(err => {
      console.error(err);
    });

  // Convert publish date into a Date object
  collection.map(post => {
    post.published_at = new Date(post.published_at);
    return post;
  });

  // Bring featured post to the top of the list
  collection.sort((post, nextPost) => nextPost.featured - post.featured);
  return collection;
});
This code fetches all posts because Eleventy creates the HTML files when the site is built and needs access to all the content at this step.
Retrieving posts by tag
You’ll often want a page that shows all the posts that are marked with a particular tag. This example creates an Eleventy collection for the tags within a Ghost site, as well as attaching all the posts that are related to that tag:
config.addCollection("tags", async function(collection) {
  collection = await api.tags
    .browse({
      include: "count.posts", // Get the number of posts within a tag
      limit: "all"
    })
    .catch(err => {
      console.error(err);
    });

  // Get all posts with their tags attached
  const posts = await api.posts
    .browse({
      include: "tags,authors",
      limit: "all"
    })
    .catch(err => {
      console.error(err);
    });

  // Attach posts to their respective tags
  collection.map(async tag => {
    const taggedPosts = posts.filter(post => {
      return post.primary_tag && post.primary_tag.slug === tag.slug;
    });

    // Only attach the tagged posts if there are any
    if (taggedPosts.length) tag.posts = taggedPosts;
    return tag;
  });

  return collection;
});
Retrieving site settings
We used this example within our Eleventy Starter, but rather than putting this in the main configuration file it’s better to add it to a Data file, which partitions it from other code and allows it to be attached to a global variable like site.
module.exports = async function() {
  const siteData = await api.settings
    .browse({
      include: "icon,url" // Get the site icon and site url
    })
    .catch(err => {
      console.error(err);
    });

  return siteData;
};
Asynchronous data retrieval
All the examples above use asynchronous functions when getting data from the Content API. This is so Eleventy intentionally awaits until the content has come back completely before it starts building out static files.
Next steps
Check out our documentation on the Content API Client Library to see what else is possible, many of the examples there overlap with the examples above. The official Eleventy docs site is very extensive as well if you wish to delve deeper into the API.