Learn how to spin up a site using Ghost as a headless CMS and build a completely custom front-end with the static site generator Gridsome.

Prerequisites
This configuration of a Ghost publication requires existing moderate knowledge of JavaScript as well as Vue.js. You’ll need an active Ghost account to get started, which can either be self-hosted or using a Ghost(Pro) account.
Finally, you’ll need to install Gridsome globally via the command line in your terminal using the following:
npm install -g @gridsome/cli
Since the Gridsome Blog Starter works with Markdown files, we’ll cover the adjustments required to swap Markdown files for content coming from your Ghost site.
Creating a new project with the Blog Starter can be done with this command:
gridsome create gridsome-ghost https://github.com/gridsome/gridsome-starter-blog.git
Navigate into the new project:
cd gridsome-ghost
To test everything installed correctly, use the following command to run your project:
gridsome develop
Then navigate to http://localhost:8080/ in a browser and view the newly created Gridsome site.
Minimum required version
To make sure that Ghost works with Gridsome, you’ll need to update the dependencies and run Gridsome version > 0.6.9 (the version used for this documentation).
Getting started
To get started fetching the content from Ghost, install the official Ghost source plugin:
yarn add @gridsome/source-ghost
Once installed, you’ll need to add the plugin to the gridsome.config.js file:
  plugins: [
    {
      use: '@gridsome/source-ghost',
      options: {
        baseUrl: 'https://demo.ghost.io',
        contentKey: '22444f78447824223cefc48062',
        routes: {
          post: '/:slug',
          page: '/:slug'
        }
      }
    }
  ]
Change the baseUrl value to the URL of your Ghost site. For Ghost(Pro) customers, this is the Ghost URL ending in .ghost.io, and for people using the self-hosted version of Ghost, it’s the same URL used to access your site.
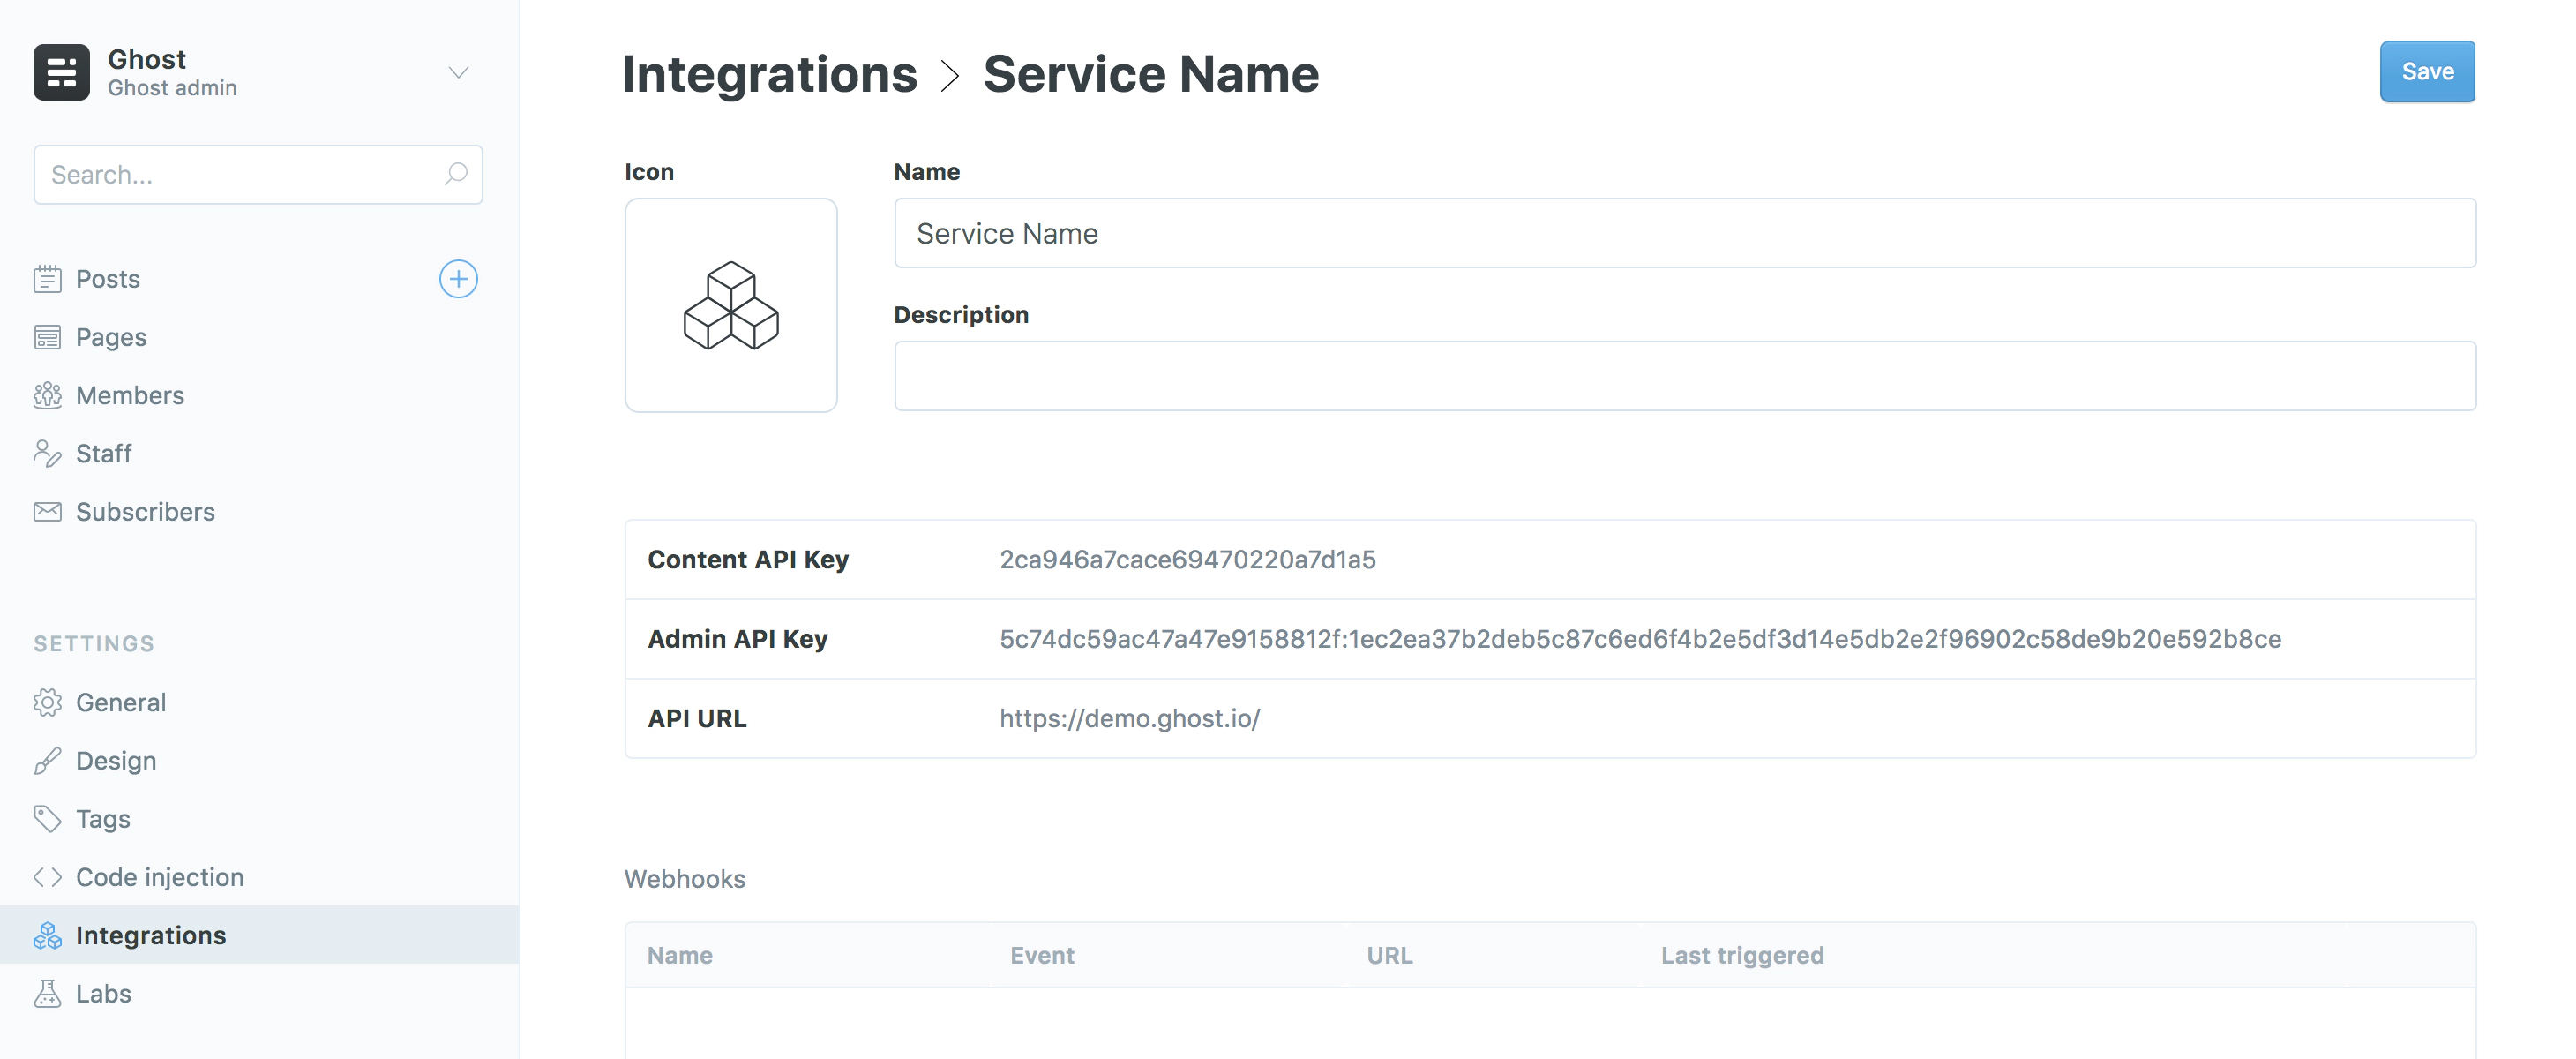
Next, update the contentKey value to a key associated with the Ghost site. A key can be provided by creating an integration within the Ghost Admin. Navigate to Integrations and click “Add new integration”. Name the integration, something related like “Gridsome”, click create.
For more detailed steps on setting up Integrations check out our documentation on the Content API.
You can remove the @gridsome/source-filesystem plugin if you’re not planning on using Markdown files for your content.
Post index page
The Gridsome Blog Starter comes with pages and templates which allows you to use Ghost as a headless CMS. To create an index page that loads all of your posts, start by updating the main index page. Find the Index.vue file in /src/pages of your project and replace the <page-query> section with the following:
<page-query>
{
  posts: allGhostPost(
      sortBy: "published_at",
      order: DESC,
  ) {
    edges {
      node {
        title
        description: excerpt
        date: published_at (format: "D. MMMM YYYY")
        path
        slug
        id
        coverImage: feature_image
      }
    }
  }
}
</page-query>
This code renames the GraphQL identifiers in the Gridsome starter of description and coverImage to excerpt and feature_image, which matches the data coming from the Ghost API.
Single post page
Templates in Gridsome follow a specific naming convention which uses the type names as defined in the GraphQL schema, so the existing Post.vue file in /src/templates/ needs to be renamed to GhostPost.vue.
Once this is done, replace the <page-query> section in the template with the following:
<page-query>
query Post ($path: String!) {
  post: ghostPost (path: $path) {
    title
    path
    date: published_at (format: "D. MMMM YYYY")
    tags {
      id
      title: name
      path
    }
    description: excerpt
    content: html
    coverImage: feature_image
  }
}
</page-query>
Gridsome automatically reloads when changes are made in the code and rebuilds the GraphQL schema. Navigate to http://localhost:8080/ in a web browser to see the result.

That’s it! Your site now loads posts from your Ghost site, lists them on the home page and renders them in a single view 👏🏼
Next steps
Discover how to create tag and author archive pages or use other content from Ghost in your Gridsome site in our recipes on the next page. For further information, check out the Ghost Content API documentation and the official Gridsome documentation.
Examples
The flexibility of the Ghost Content API allows you to feed posts, pages and any other pieces of content from your Ghost site into a Gridsome front-end. Below are a few code examples of how to do this.
If you just landed here, see the getting started with Gridsome page for more context!
Create tag archive pages
Using the Gridsome Blog Starter as a starting point, rename the current Tag.vue template to GhostTag.vue and replace the <page-query> section with the following:
<page-query>
query Tag ($path: String!) {
  tag:ghostTag (path: $path) {
    title: name
    slug
    path
    belongsTo {
      edges {
        node {
          ...on GhostPost {
            title
            path
            date: published_at (format: "D. MMMM YYYY")
            description: excerpt
            coverImage: feature_image
            content: html
            slug
          }
        }
      }
    }
  }
}
</page-query>
You can now access the tag archive page on /tag/:slug which will show all the posts filed under that tag.
Create author archive pages
To add an author archive page to your site, create a new file in /src/templates called GhostAuthor.vue. Use the following code within GhostAuthor.vue:
<template>
  <Layout>
    <g-image alt="Author image" class="author__image" v-if="$page.author.profile_image" :src="$page.author.profile_image"/>
    <h1>
      {{ $page.author.name }}
    </h1>

    <div class="posts">
      <PostCard v-for="edge in $page.author.belongsTo.edges" :key="edge.node.id" :post="edge.node"/>
    </div>
  </Layout>
</template>

<page-query>
query Author ($path: String!) {
  author:ghostAuthor (path: $path) {
    name
    path
    profile_image
    belongsTo {
      edges {
        node {
          ...on GhostPost {
            title
            path
            date: published_at (format: "D. MMMM YYYY")
            description: excerpt
            coverImage: feature_image
            content: html
            slug
          }
        }
      }
    }
  }
}
</page-query>

<script>
import PostCard from '~/components/PostCard.vue'

export default {
  components: {
    PostCard
  }
}
</script>
This will create an author page, which is available under /author/:slug rendering all posts written by this author, along with their unmodified author image (if available) and name.
Retrieve Ghost settings
The Gridsome Ghost Source Plugin adds site settings to metaData within the GraphQL schema. To retrieve that data use the following query:
{
  metaData {
    ghost {
      title
      description
      logo
      icon
      cover_image
      facebook
      twitter
      lang
      timezone
      navigation {
        label
        url
      }
      url
    }
  }
}
Further reading
Learn more about the Ghost API and specific endpoints in our API documentation. Otherwise check out our Integrations and how you can deploy your Gridsome site to platforms such as Netlify.