Send a custom welcome email
Make your first impression count by connecting Ghost and Zapier to send new members a welcome email. It gives you the chance to thank your member for signing up and jumpstarts their onboarding experience.
The onboarding experience is essential for building an engaged audience and sending a welcome email is a great way to initiate it. By integrating your Ghost site with Zapier, you can send custom welcome emails to new members automatically. Learn everything you need to know — from connecting your Ghost site to Zapier to sending the email — in the tutorial below.
Use our template
To help you get started, we created a welcome email Zap template that you can use. The tutorial below explains how this template works and includes a few ways you can increase its functionality.
Create a new Zap
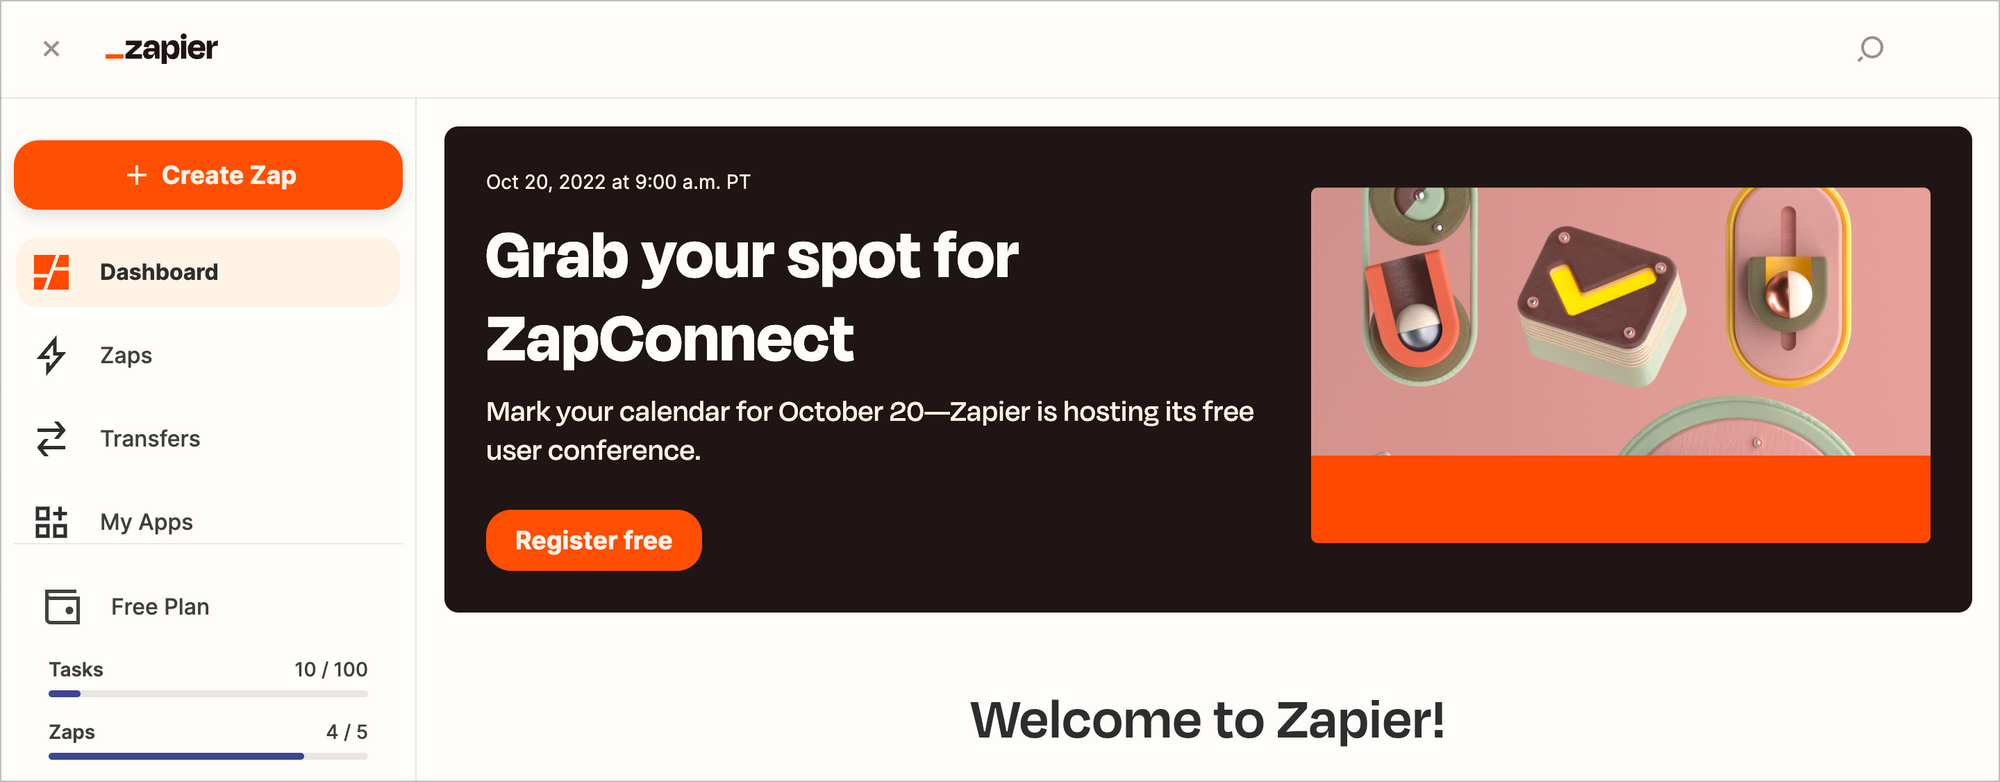
Log in to Zapier and create a new Zap.
Create the Trigger
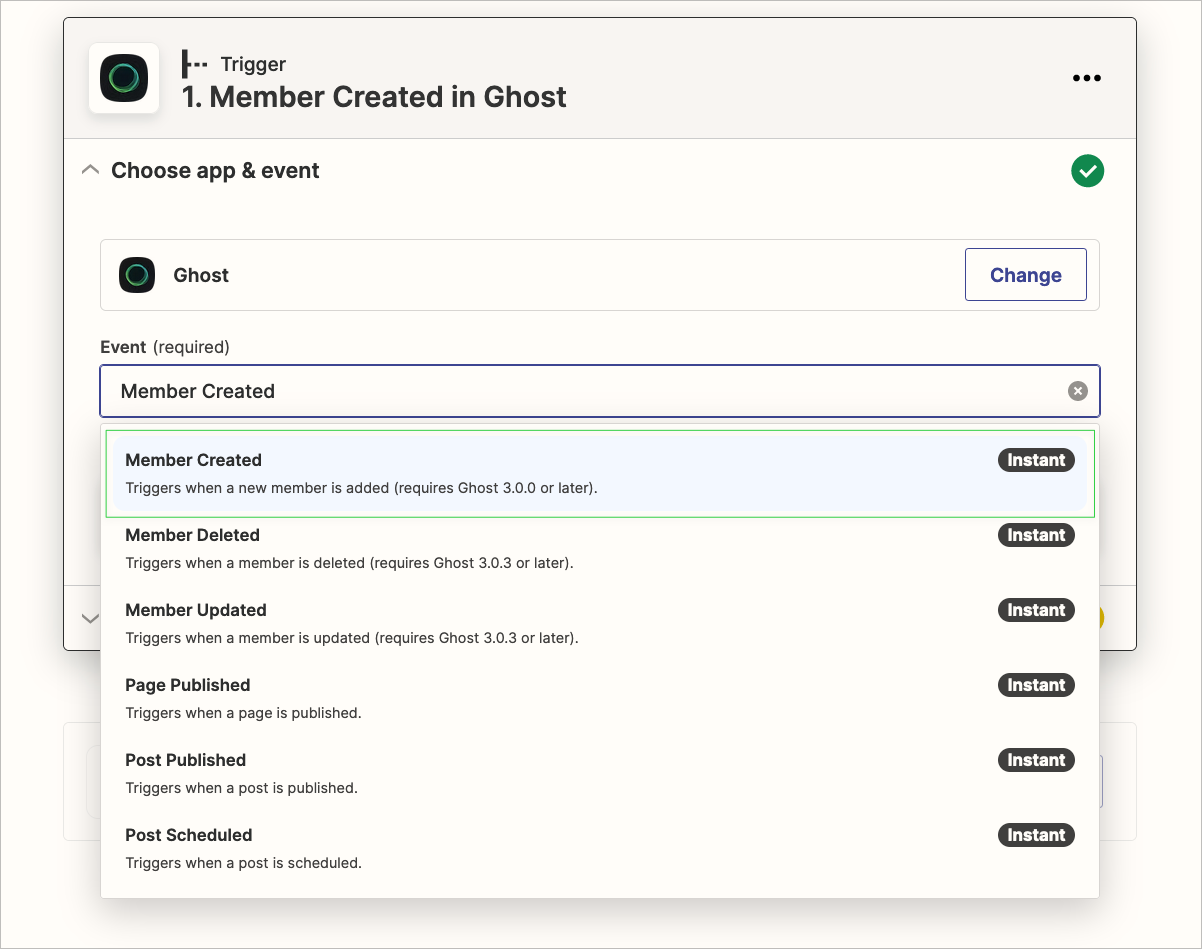
Whenever a new member signs up on our Ghost site, we want to send them a welcome email. This means a new member signup should start the Zapier integration, so we want to choose Ghost as the Trigger app.

Next, choose Member Created as the Trigger event. Click Continue.
Connect your Ghost site
Click Sign in to connect your Ghost site. Zapier will prompt you to allow access. (If you’ve already connected your site, choose it and click Continue.)
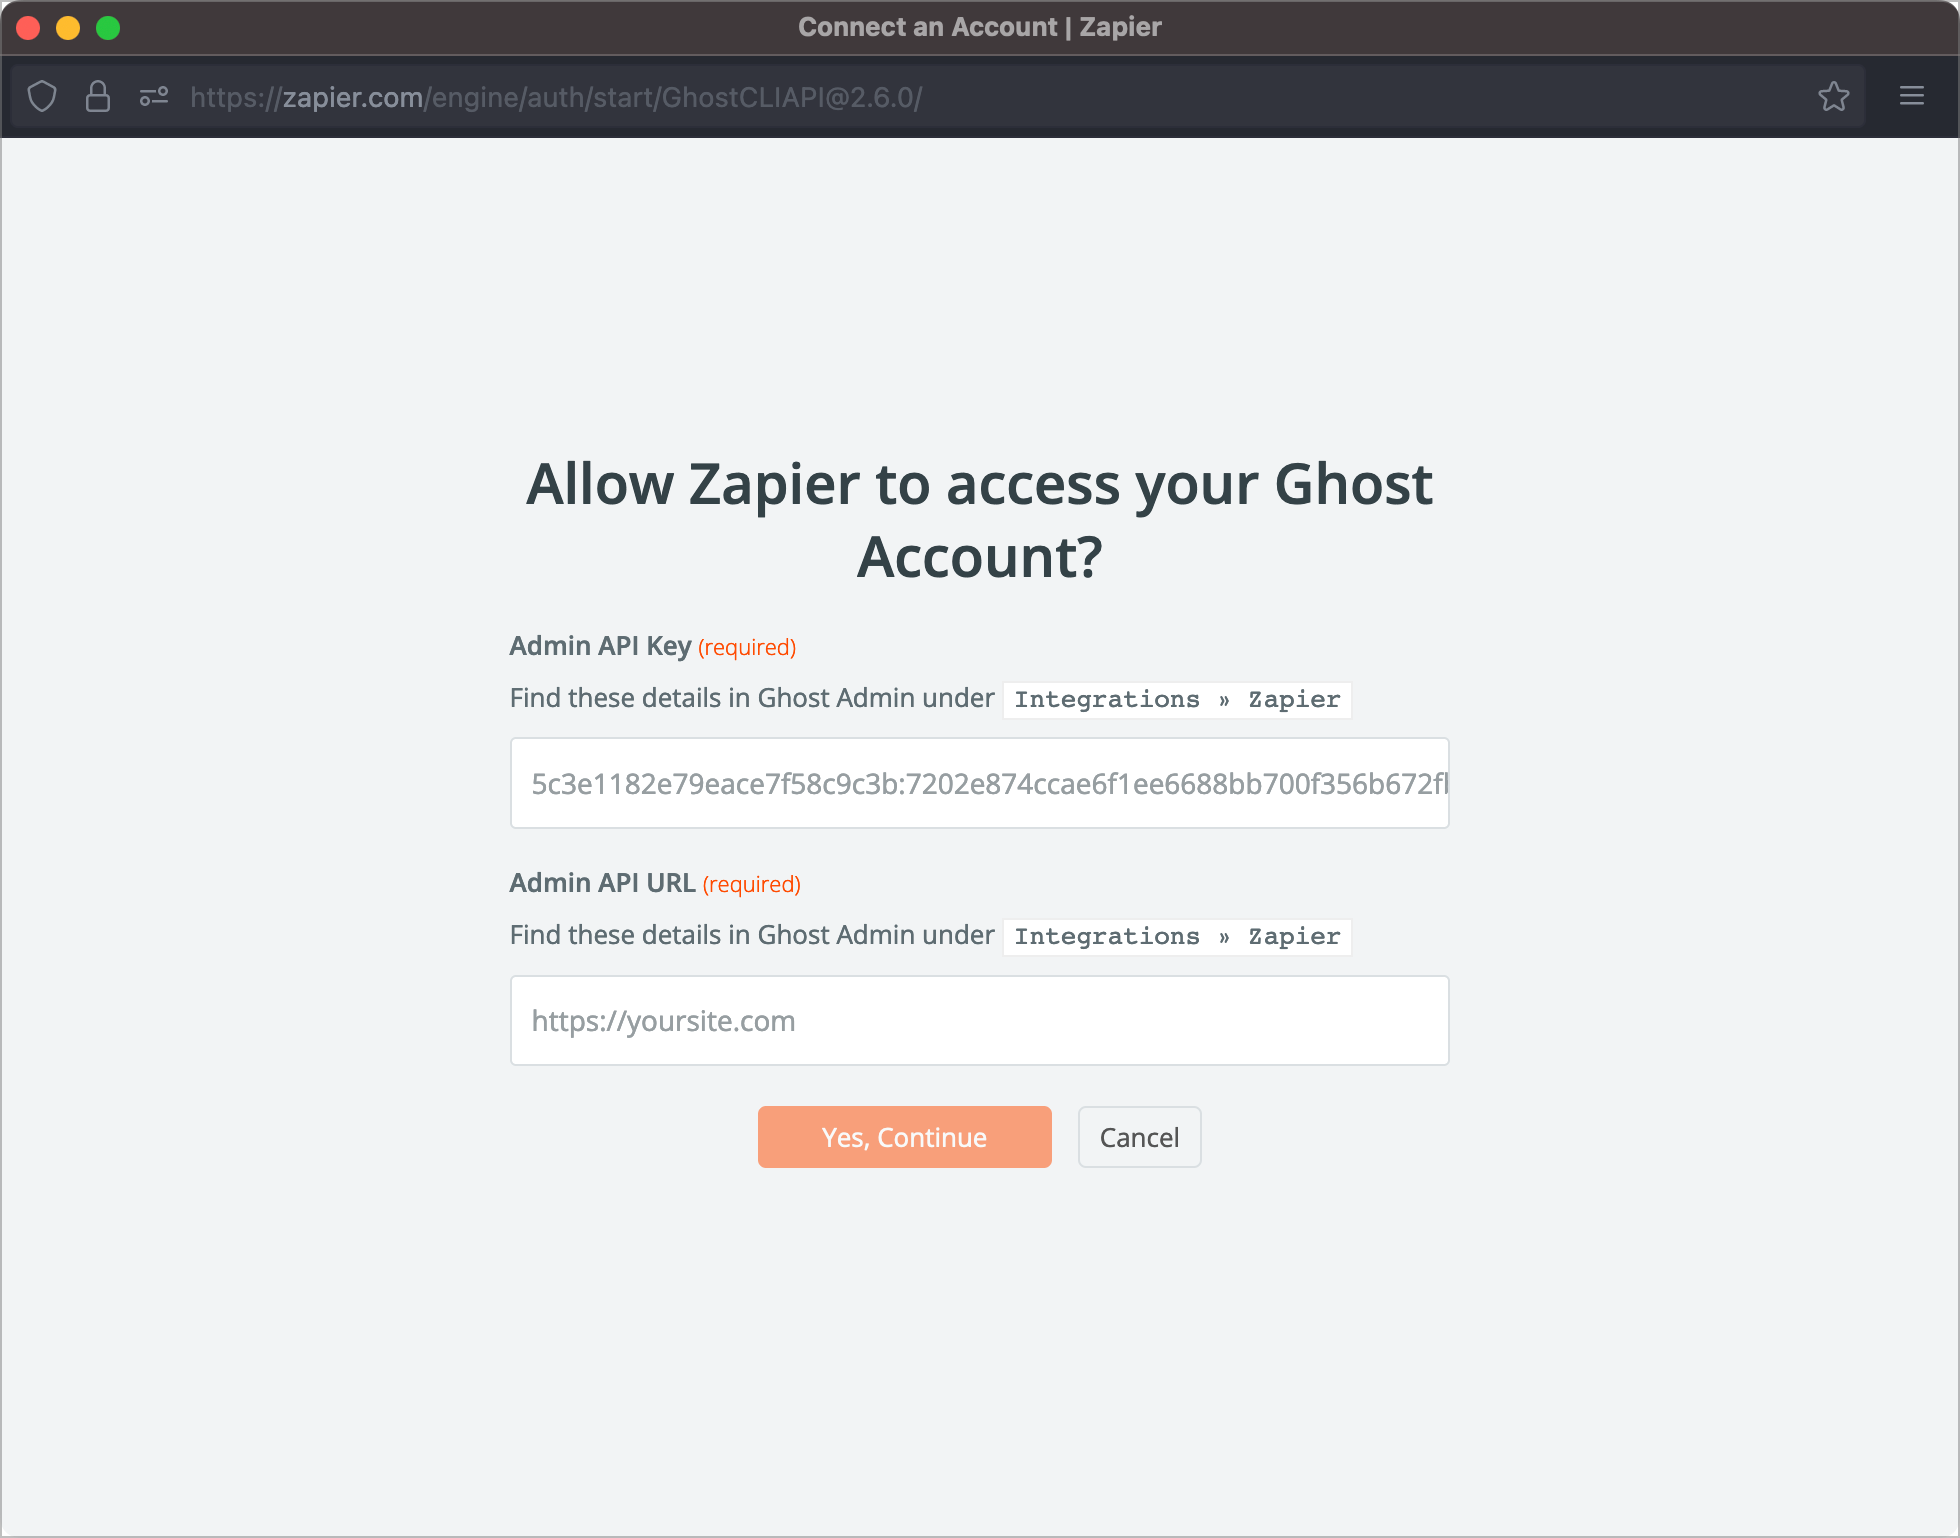
Zapier needs an Admin API Key and Admin API URL to connect to Ghost. Find this information by logging into your Ghost site and going to Settings → Integrations → Zapier.
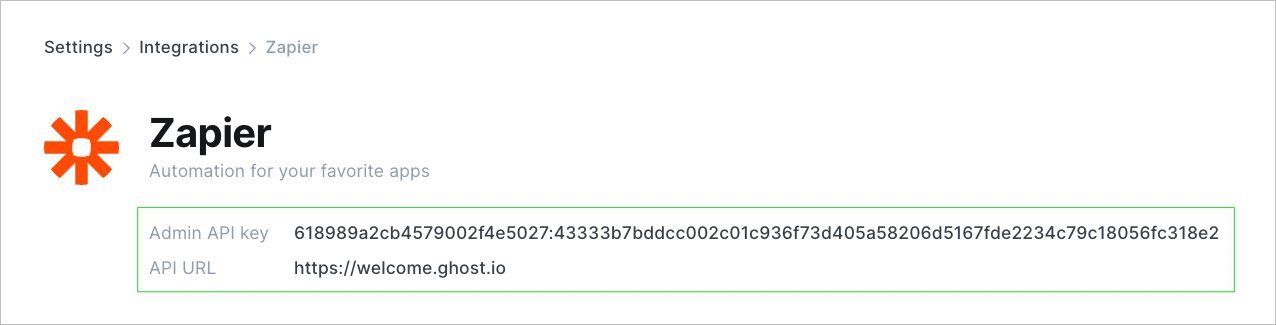
Copy the Admin API Key and API URL into Zapier and click Yes, Continue.
Click Continue and test your trigger. It will return data about your most recent member signup, which we’ll use in the next step. Let’s move on to the Action 🎬
Create the Action
An Action is what happens after the integration is triggered. In our case, we’re going to use Zapier’s native email service to send the welcome message.

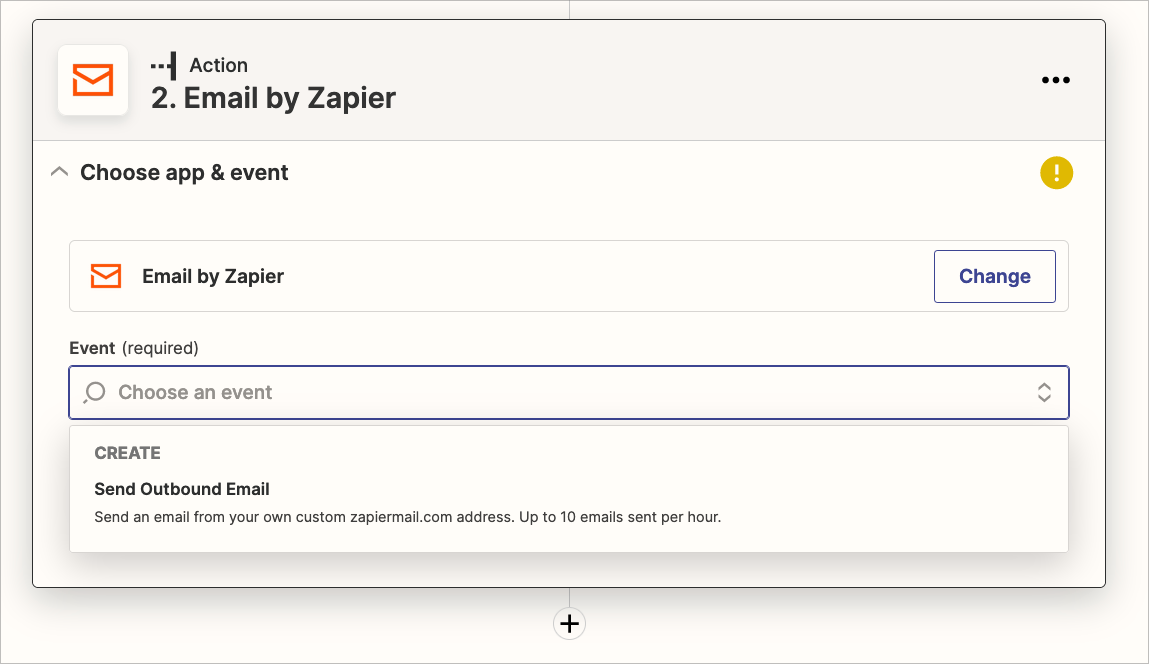
In the Action editor, choose Email by Zapier and use Send outbound email as the event. Click Continue.
Set up the Action
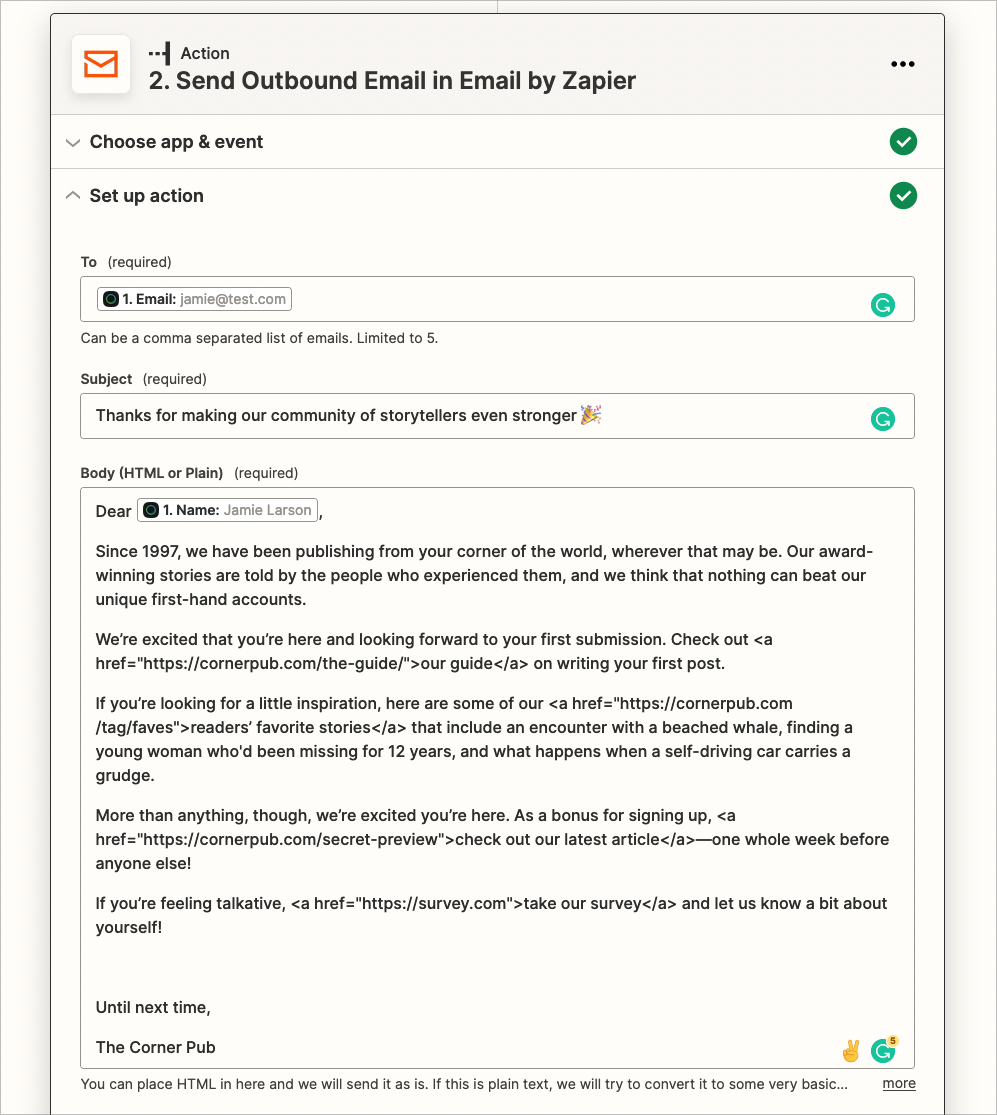
For each form field, you can use the dynamic data returned from your Ghost member or write your own text. The To, Subject, and Body fields ****are required.
In the To field, use your Ghost member’s email, which Zapier provides in the dropdown menu. This ensures that the email is sent to the Ghost member who just signed up.
Now comes the part where you need to get creative: the subject line. Strategies abound here, but above all, it should be clear and to the point: “Thanks for subscribing to the publication!” (We’ve included some resources on writing great welcome emails below.)
The last required field is the email body (more creativity required). Zapier allows plain text or HTML here, and you can also use Ghost member data.
For this tutorial, we’re going to use plain text. There are two things to know:
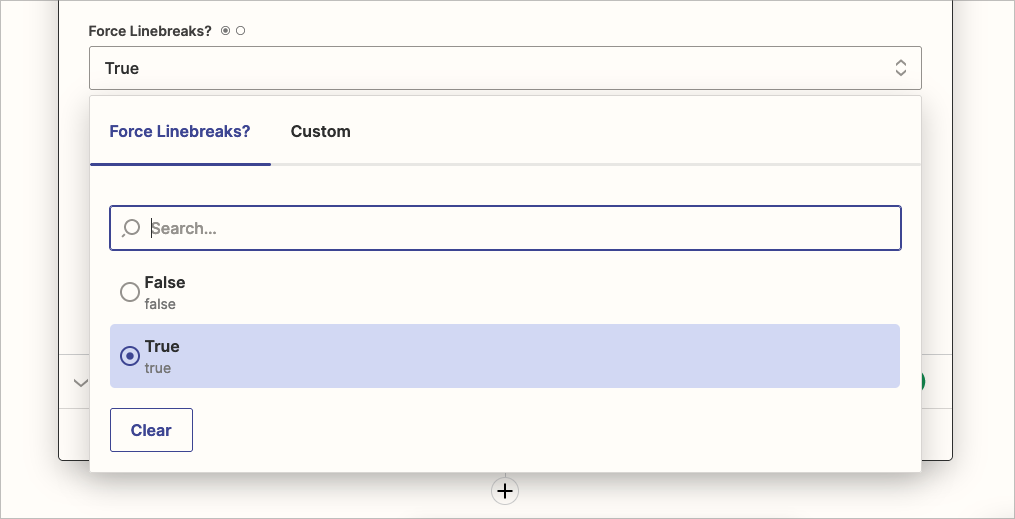
- Set the Force Linebreaks option to True. This ensures the message is broken up into paragraphs as you specified in the email body.
2. Use basic HTML to include links.
<a href="<https://yoururl.com>">the linked text</a>
After completing the required fields, our Action looks like this:
And, here’s what it looks like in the inbox:
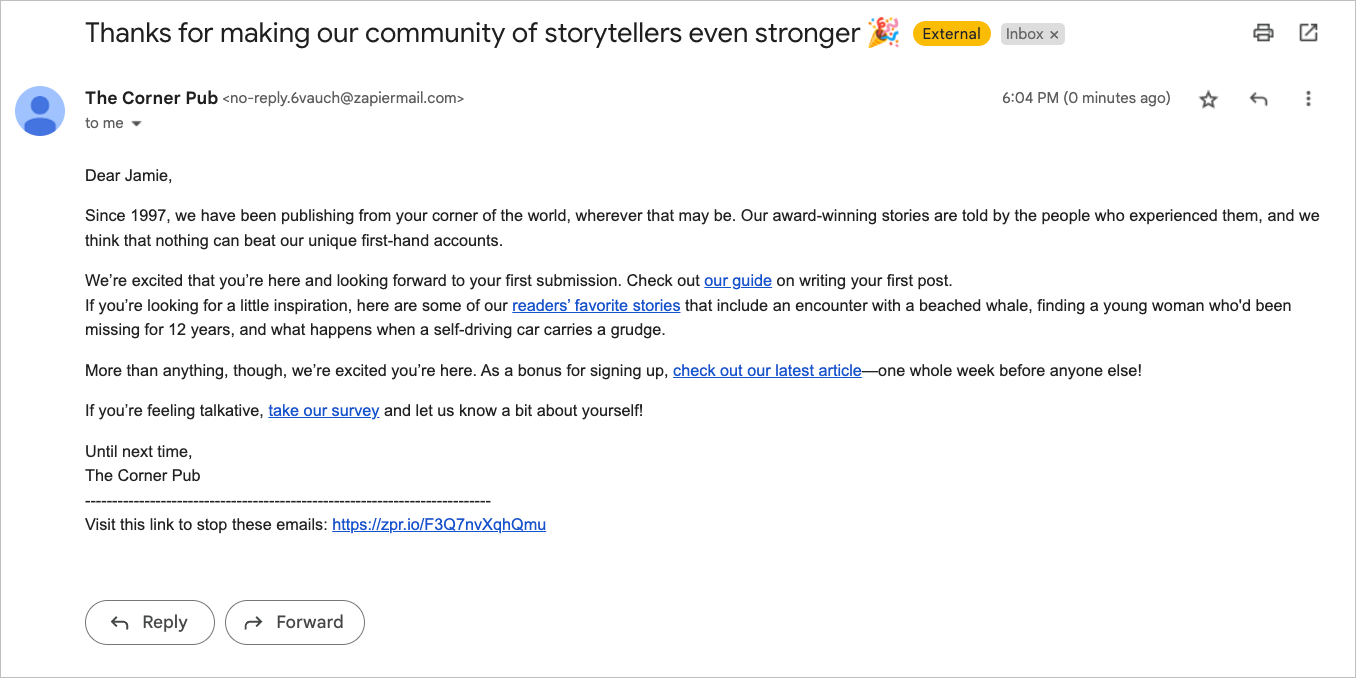
Other useful fields include From Name and Reply To. From Name determines the sender name that appears in your member’s inbox, and Reply To sets an email address to which the member can reply.
Publish the Zap
Your Zap is now completely configured. Click Continue. If you test the Action, remember that Zapier will send an email to the address pulled from your most recent Ghost member. If you want to test what the email will look like, use your own email in the To field. Once you’re happy, change it back to the Ghost member’s email.
The final step is to click Publish Zap to make it live⚡ Whenever a new member signs up, they’ll receive your welcome email.
Bonus: Create an email sequence
The technique above can be extrapolated to create an entire automated email sequence. By using Zapier's Delay action, you can add a sequence of emails that are sent out at different intervals: a welcome email right away, a survey request five days later, and an exclusive offer one month after that. In Zapier, create the sequence by adding the Delay followed by another email. Repeat this pattern for every email you want to send.
Note that while sending a welcome email is entirely possible on Zapier's free plan, creating an email sequence requires a Zapier paid plan.
Summary
In this tutorial, you connected your Ghost site to Zapier and set up an integration to send a customized welcome email to new members. This message can be an important part of your publication’s onboarding process and even a tool to convert free memberships into paid ones.
Sending welcome emails is only one of the many integrations available in Zapier. Check out some of our creators' favorites below:
Resources
Last but not least, here are some resources for writing a killer welcome email:
- 7 Welcome Email Dos (and Don'ts!) for Stellar Results | Campaign Monitor
- 10 Great Examples of Welcome Emails for New Customers & Employees
- 7 Welcome Email Examples for Campaign Success
- How to write a welcome email (+ 8 welcome email examples)
- 12 Awesome Welcome Email Examples That Work (2022)


