How to create a read-next section
In this tutorial, learn to build a read-next section for your Ghost theme so that your audience always knows what they should be reading next.
Whether it’s compulsively reading the next chapter, binge-watching a show, or impatiently waiting for the sequel — when something’s good, it’s hard to wait. Your readers feel the same way about your content, so why not give them more by suggesting what to read next?
In this tutorial, learn how to build and customize a read-next section for your Ghost theme. This feature can take various forms, and you'll learn how to build four of the most useful versions:
- A read-next section that suggests the latest three posts
- A read-next section that suggests the latest three posts by the same author
- A read-next section that suggests the latest posts related by tag
- A read-next section that dynamically suggests content based on member status
No matter which version you build, a read-next section means your audience will never be without their next read 📚
1: Show the latest posts
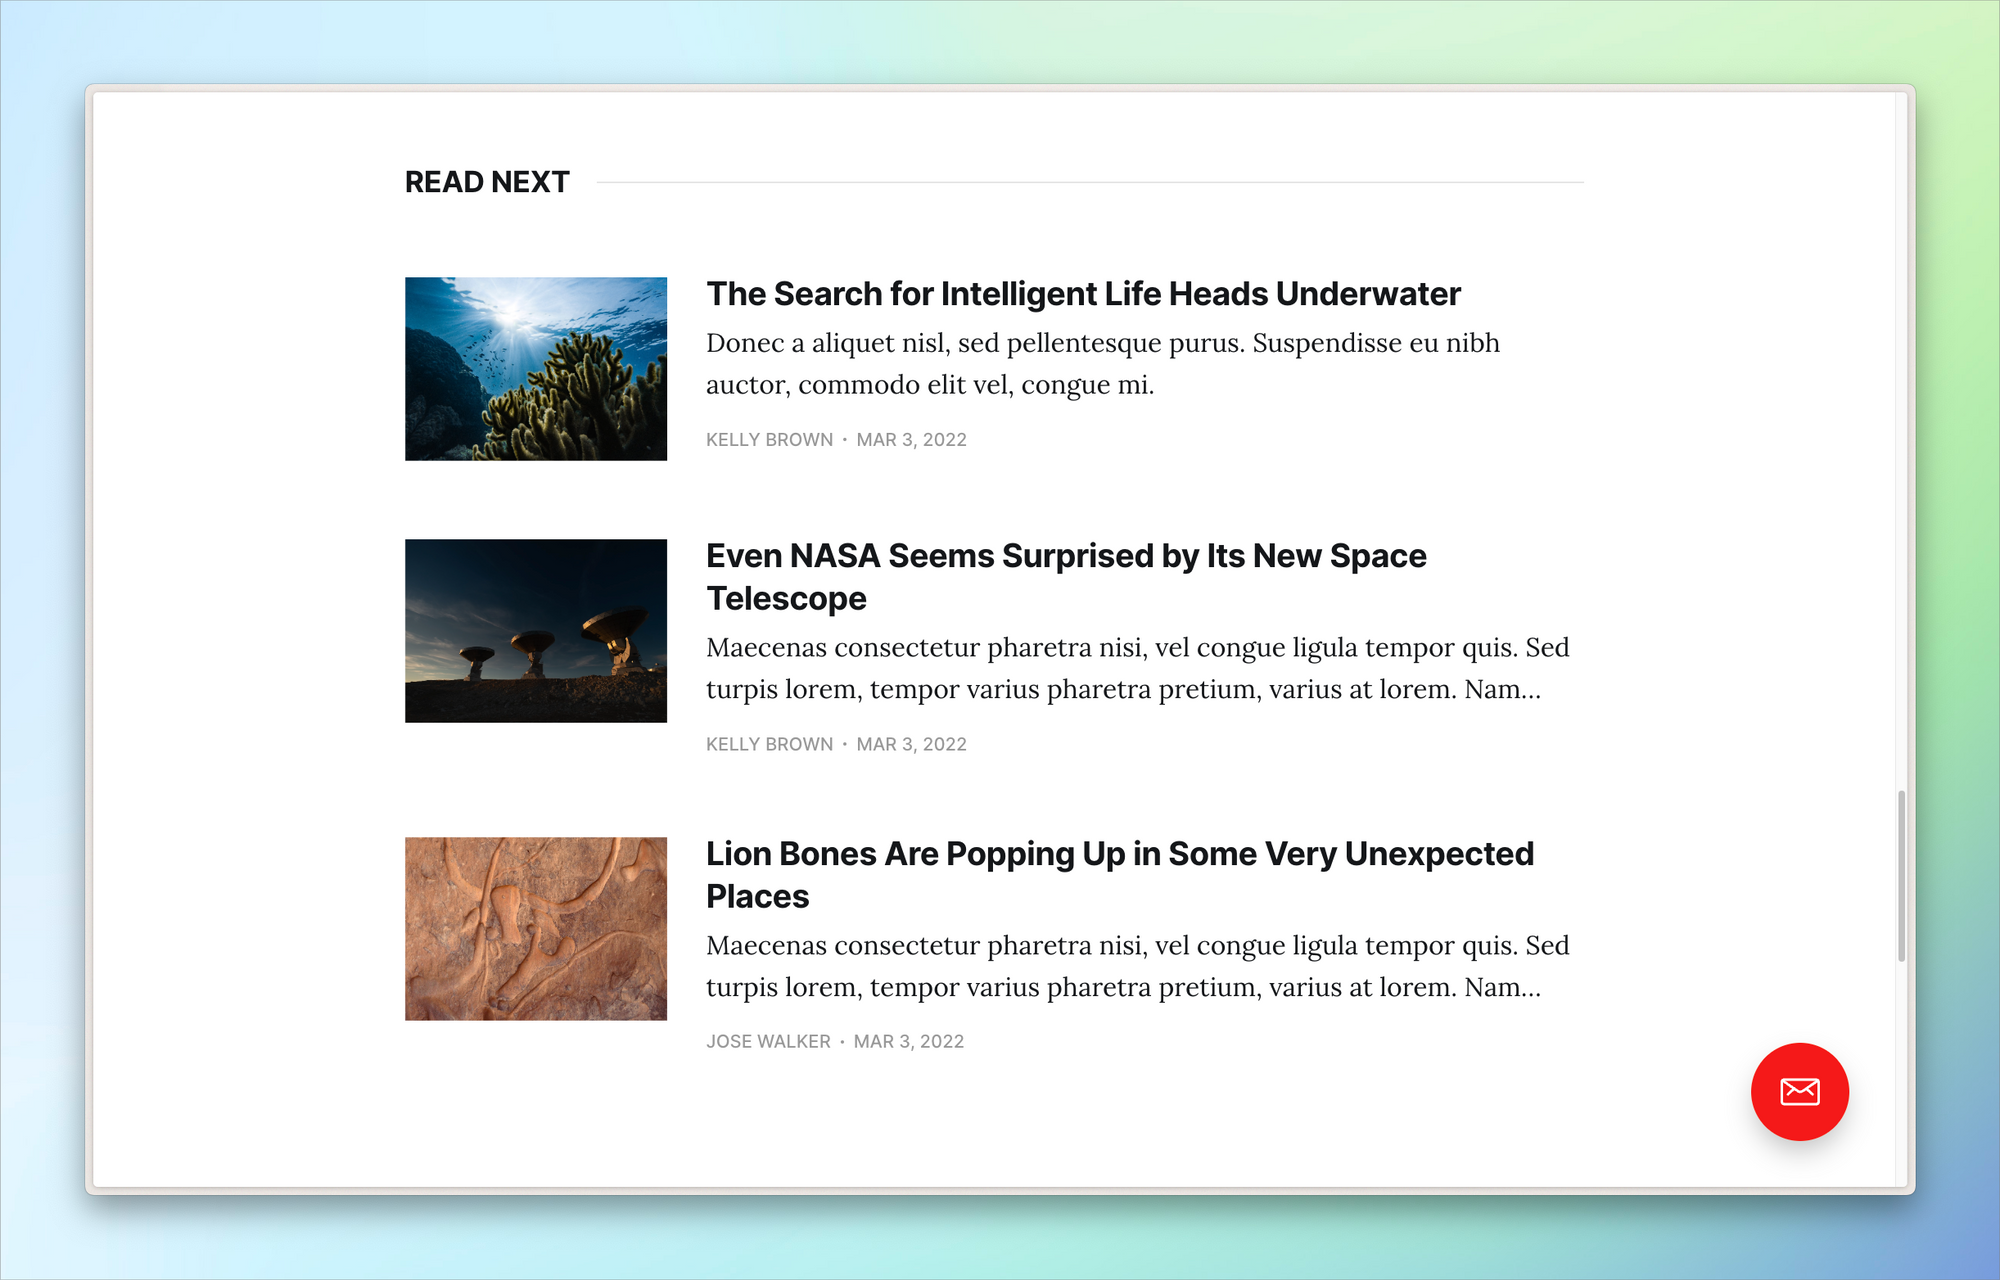
The goal of a read-next section is to offer fresh content to your audience. Casper achieves this by showing the next three latest posts.
Let’s walk through the code used to generate this section, line by line:
{{#get "posts" filter="id:-{{id}}" limit="3" as |more_posts|}}
    {{#if more_posts}}
        <aside class="read-more-wrap outer">
            <div class="read-more inner">
                {{#foreach more_posts}}
                    {{> "post-card"}}
                {{/foreach}}
            </div>
        </aside>
    {{/if}}
{{/get}}
Fetch data with the get helper
The code block begins with the most important element of building a read-next section: the get helper.

The get helper is used to fetch data that's rendered in your theme.
{{#get "posts" filter="id:-{{id}}" limit="3" as |more_posts|}}
 ...
{{/get}}
In the example above, the get helper fetches posts (other possible resources are tags, authors, and tiers). By default, it fetches the most recently published posts.
This default behavior can cause a problem, though. If the current post is freshly published, then it’ll be included among the posts returned in the read-next section. But that’s not desired — because you’d be suggesting the same article being read as one to read next 😥
Avoid duplicates with the filter attribute
The get helper’s filter attribute saves the day here. filter="id:-{{id}}" means don't include the current post in the returned data. It works like this:
idis the property to filter.:separates the property to filter on from the value that you’re going to filter for. If you were filtering fruit, for example,type:bananawould only return fruit that was bananas.-negates the value. Here, it means “only give me posts that don’t have thisid.” In the fruit example,type:-bananaswould only return fruit that was not bananas like apples, grapes, and limes.{{id}}is the value to be filtered. The curly braces ({{}}) indicate that this value is dynamic, so it’ll pull in the current post’sid.
In plain language, when you combine this filter with the limit attribute, it means: Fetch the three latest posts that don’t include the current post.
The last bit of the get helper, as |more_posts|, is a block parameter that lets you name the collection of posts returned so they’re easier to work with and recognize.
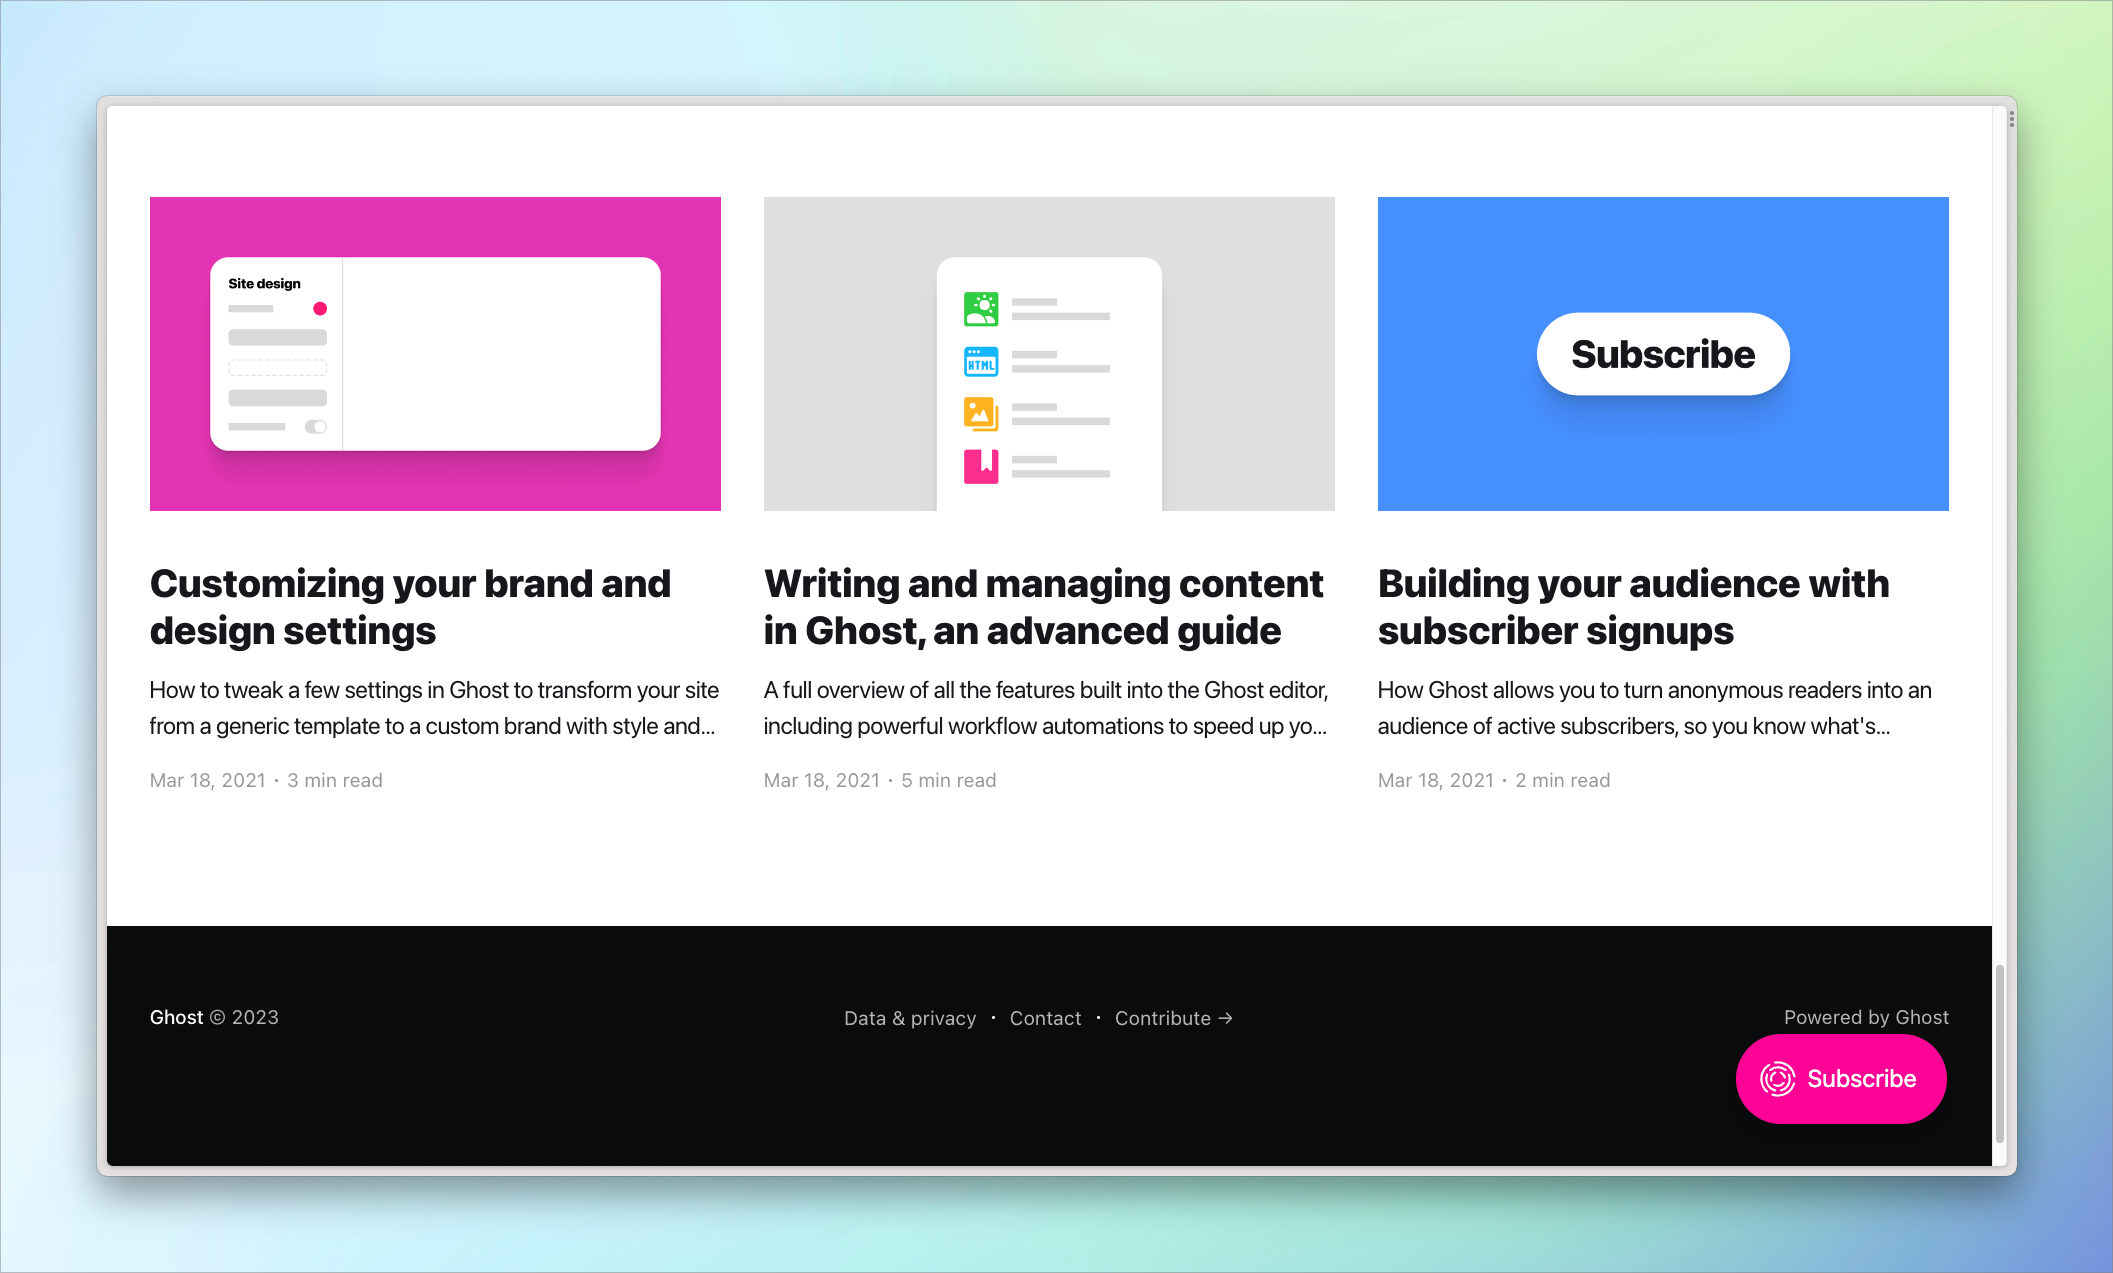
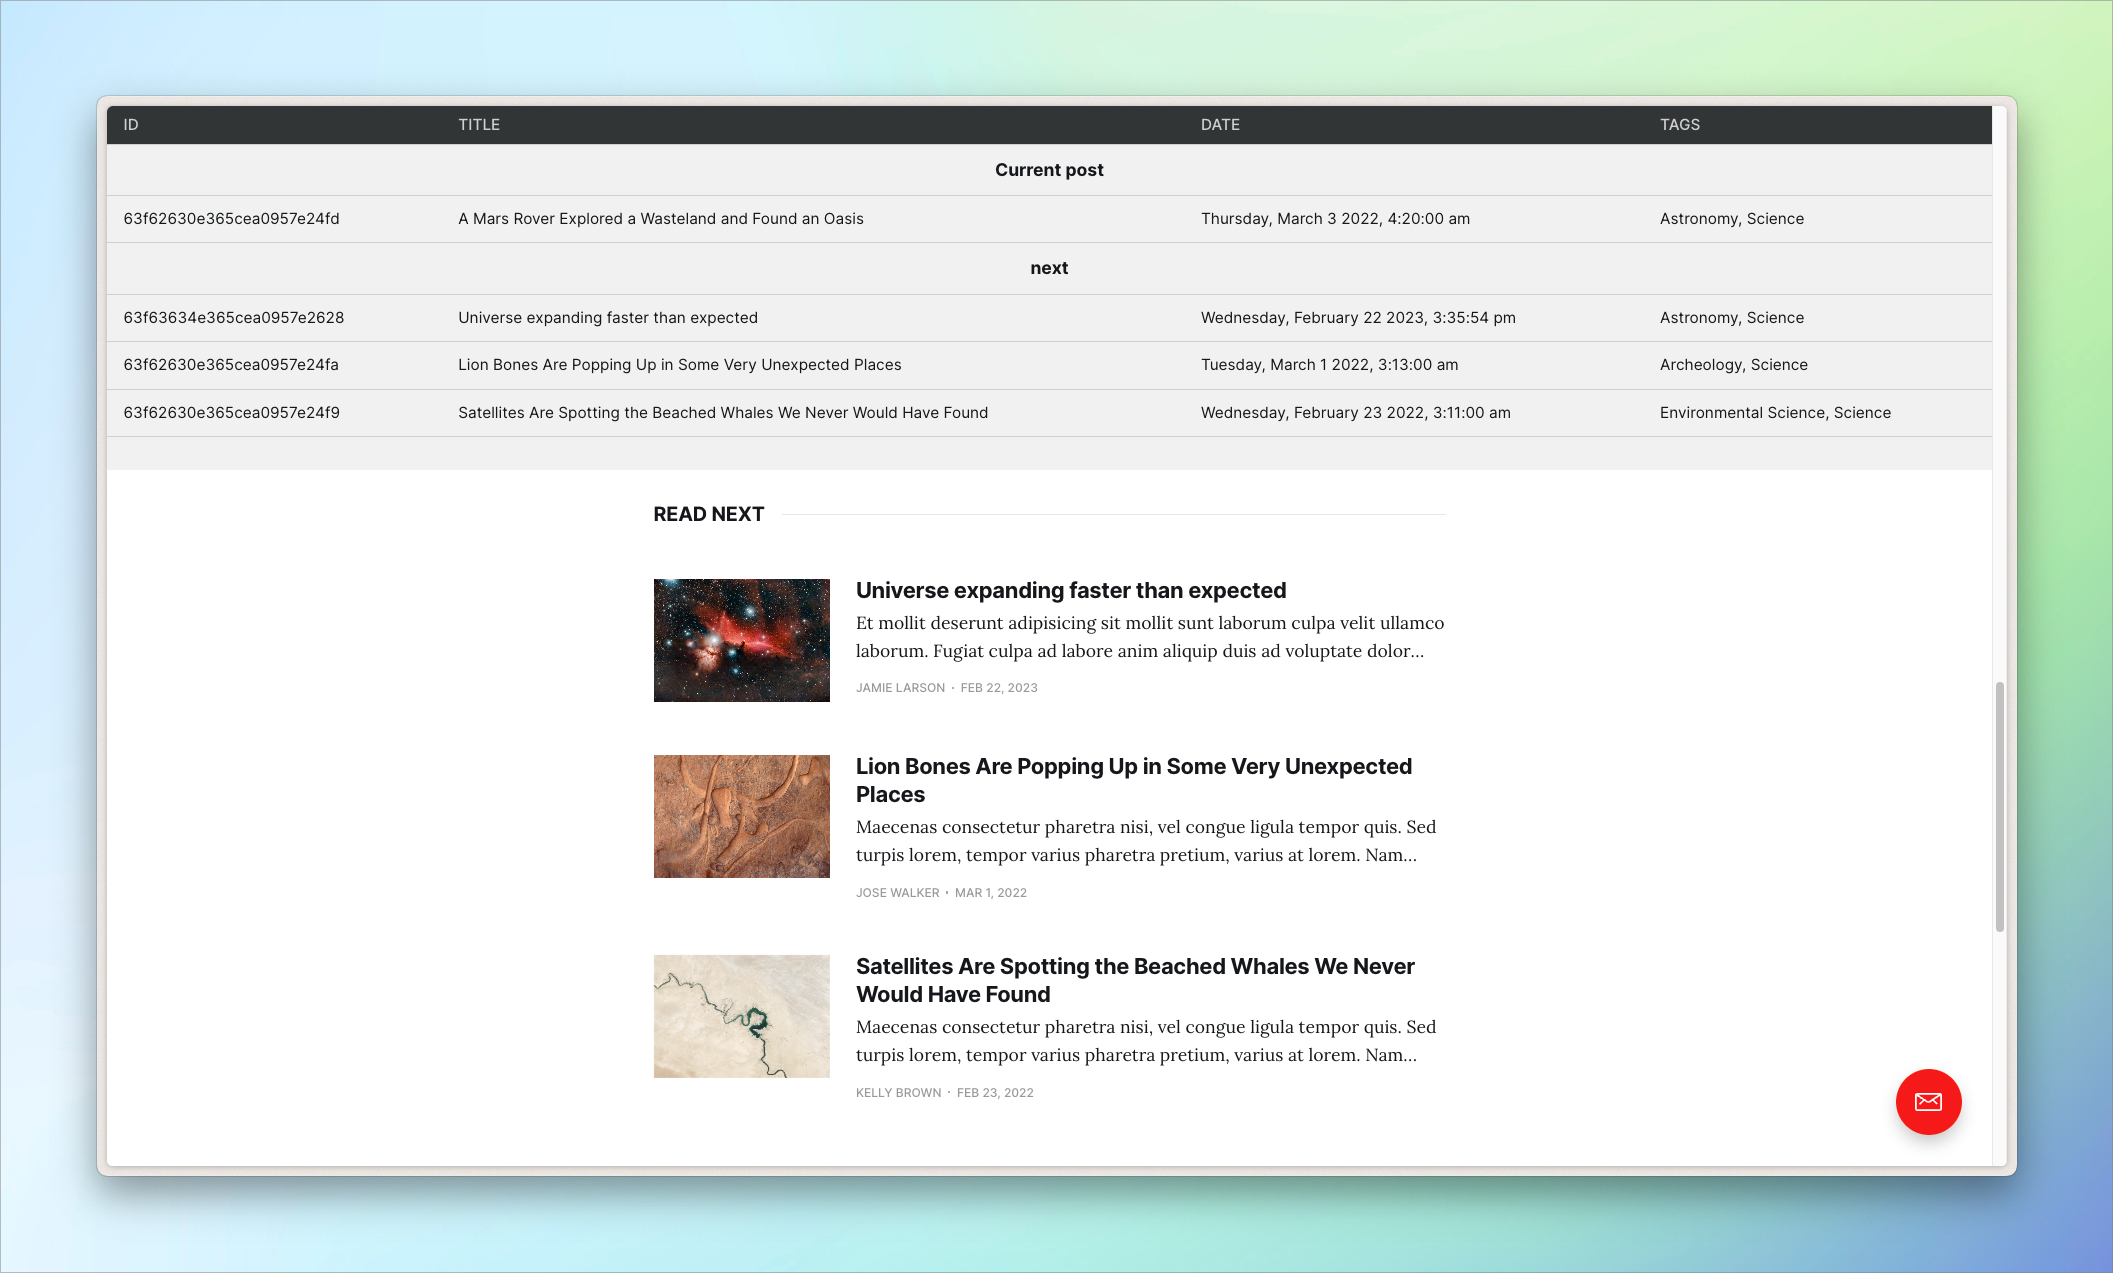
In the image below, a table has been added to the read-next section to help visualize the data being processed by the code. The table shows the data of the current page and that of the posts fetched by the get helper.
Conditional rendering with the if helper
Next in Casper’s read-next section is this line of code:
{{#if more_posts}}
...
{{/if}}
The block parameter mentioned above comes into play here. The code after the if helper will only run if the condition is true, that is, if there are more posts to display.
Conditionally rendering markup saves your page from displaying empty elements. Without the if helper, the HTML markup below would show even if there wasn’t any content inside, possibly throwing off your site’s layout.
<aside class="read-more-wrap outer">
    <div class="read-more inner">

    </div>
</aside>
Looping with foreach
The final part of Casper’s read-next section renders the actual post content.
{{#foreach more_posts}}
    {{> "post-card"}}
{{/foreach}}
The foreach helper loops through the three posts included in the more_posts collection. Then, each post is rendered with the post-card partial. (A partial is a partial template that lets you reuse code across your Ghost theme.)
All this code comes together in the read-next section at the bottom of every post, and your audience is happily finding another piece to read!

2: Show the latest posts by the same author
Building on what you just learned, let’s customize Casper’s read-next section to include additional content. But, let’s only get recent posts by the same author.
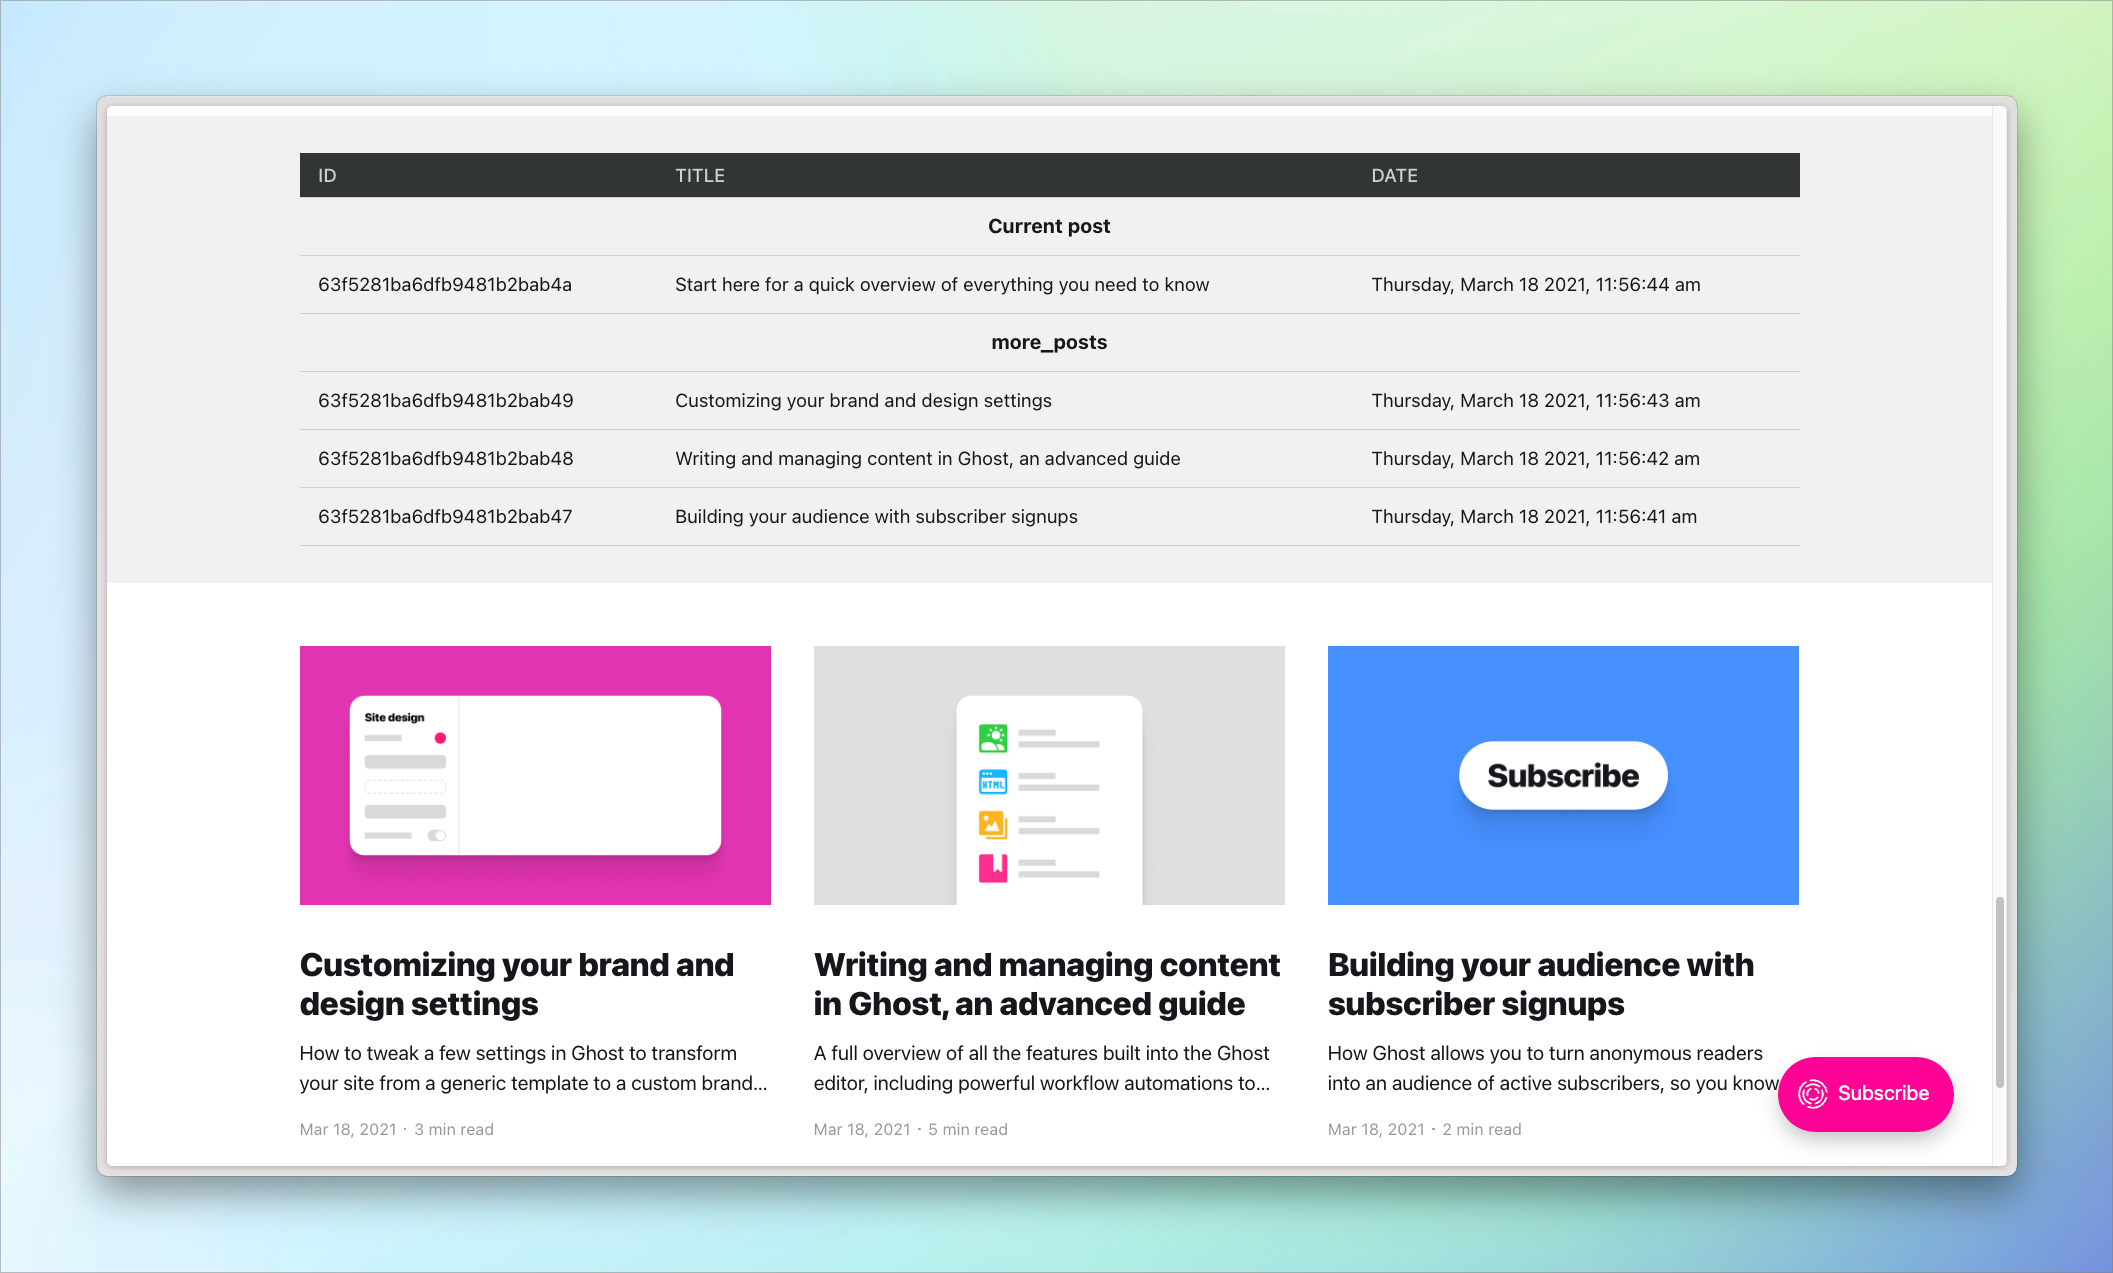
When showing author data in the read-next section from above, you can see that not all recent posts are by the same author.
Update the filter attribute to only get posts from the same author.
{{#get "posts" filter="id:-{{id}}+authors:{{primary_author.slug}}" limit="3" as |more_posts|}}
    {{#if more_posts}}
        <aside class="read-more-wrap outer">
            <div class="read-more inner">
                {{#foreach more_posts}}
                    {{> "post-card"}}
                {{/foreach}}
            </div>
        </aside>
    {{/if}}
{{/get}}
As before, the current post is excluded from the data returned to avoid duplicate content. And, authors:{{primary_author.slug}} tells Ghost to only return posts with the same author as the current post.
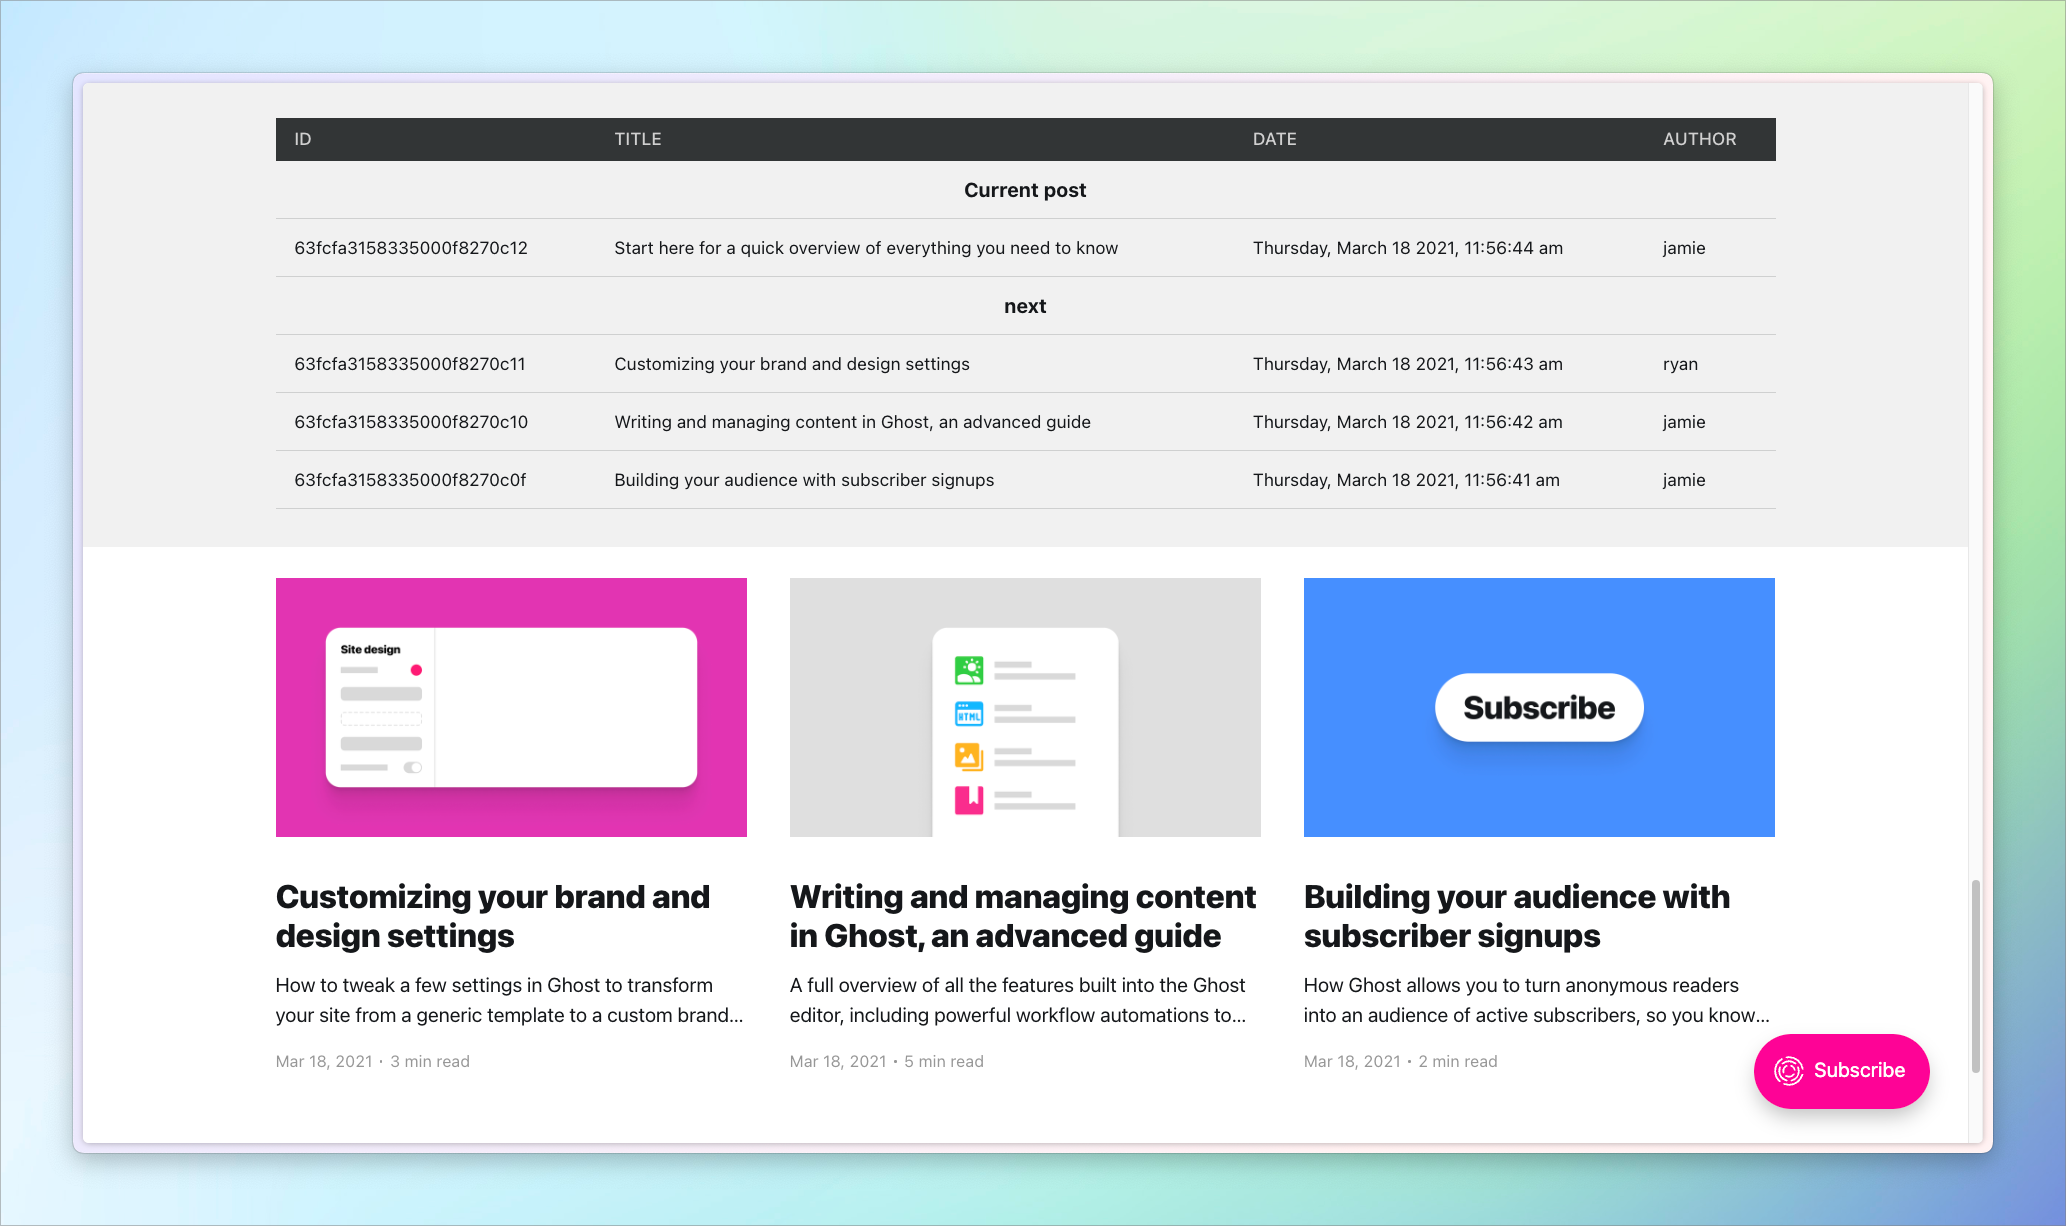
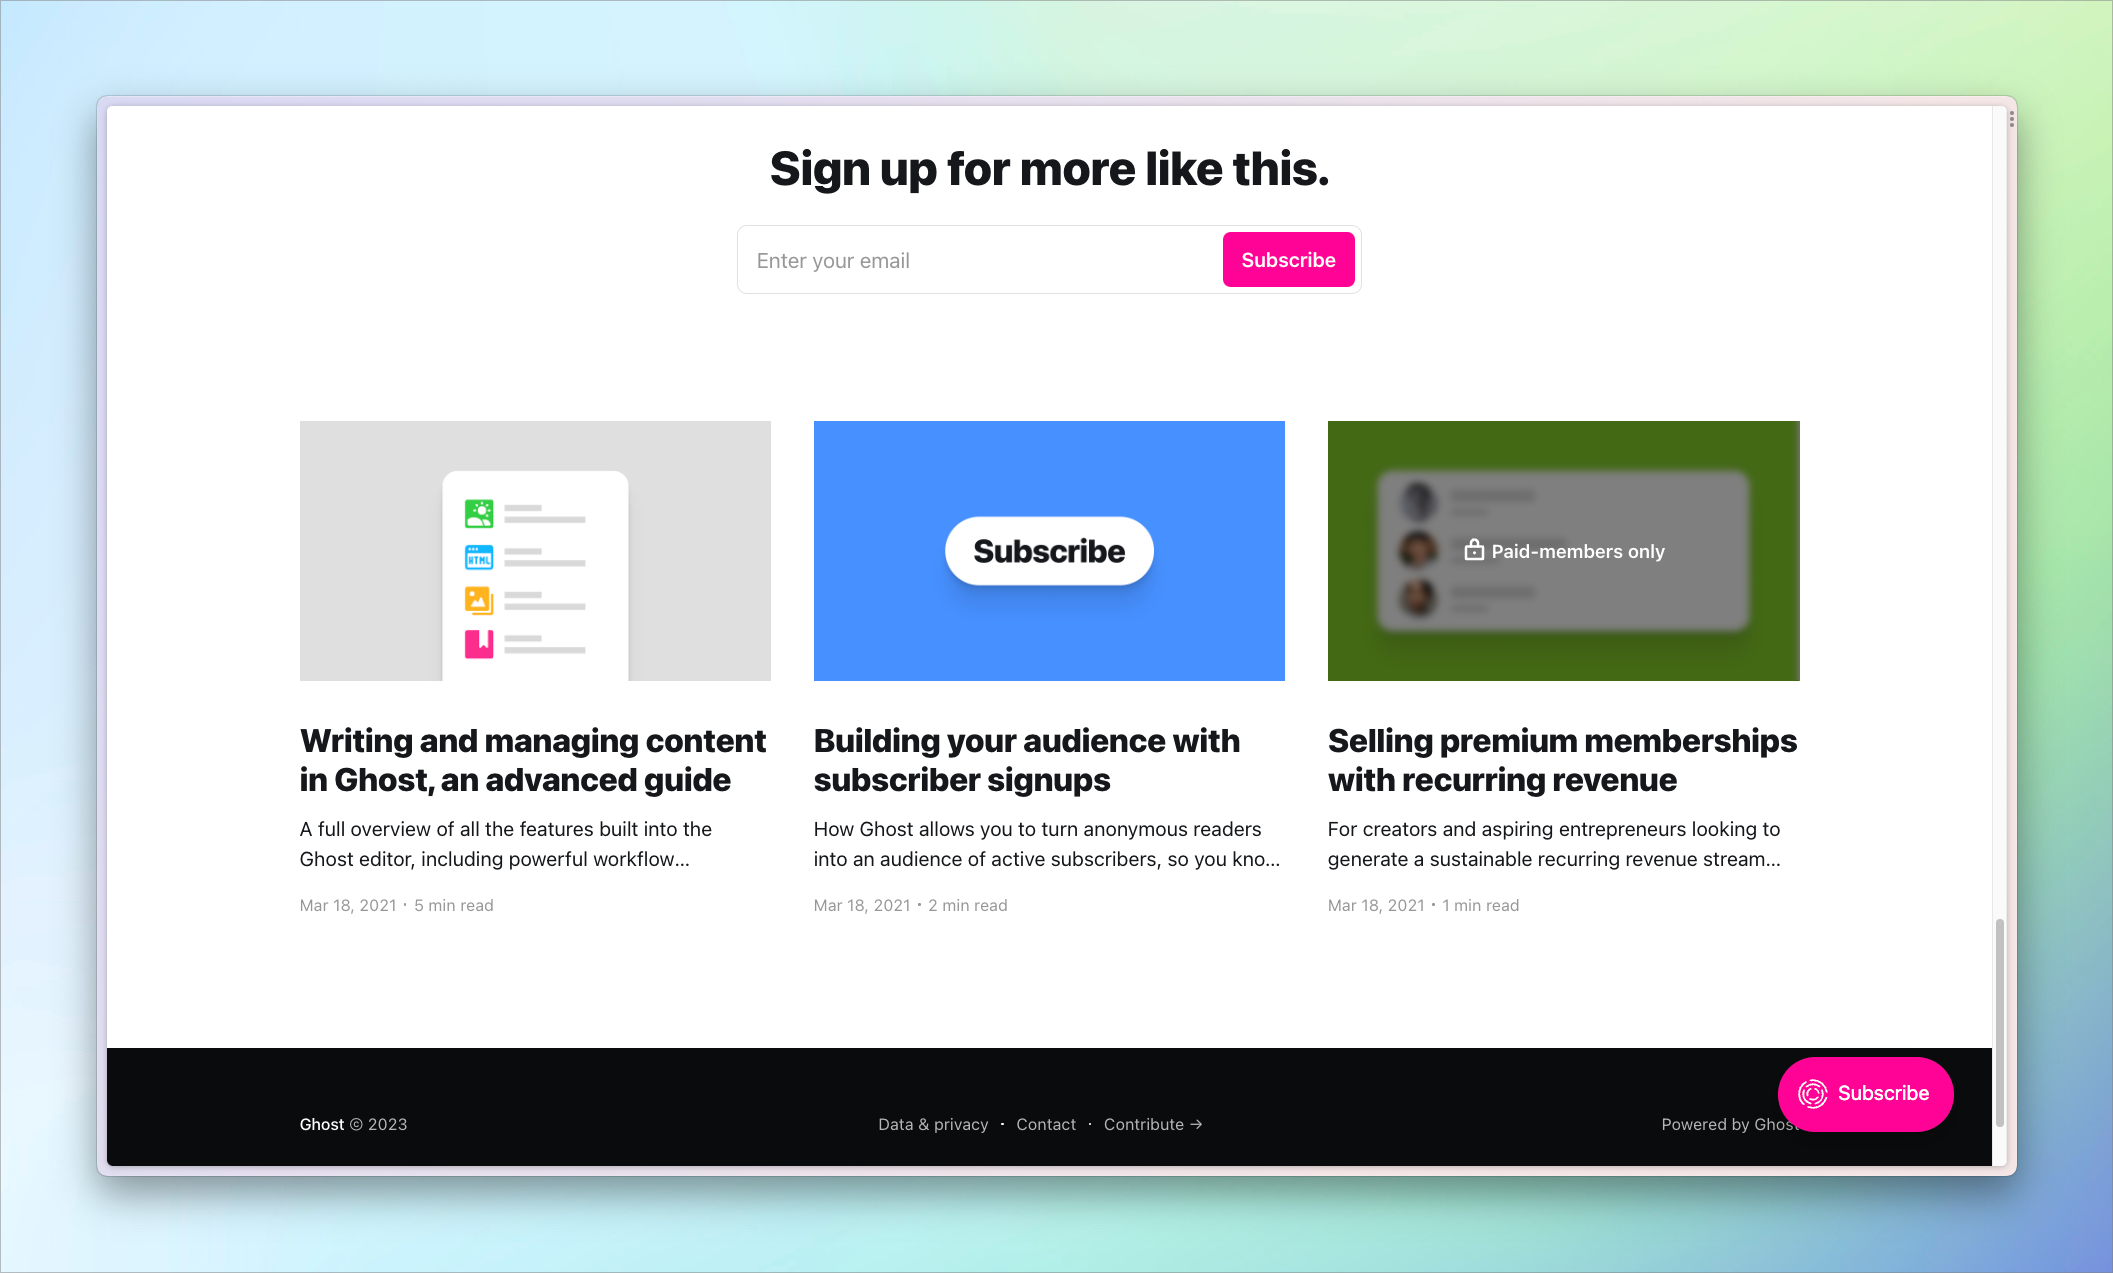
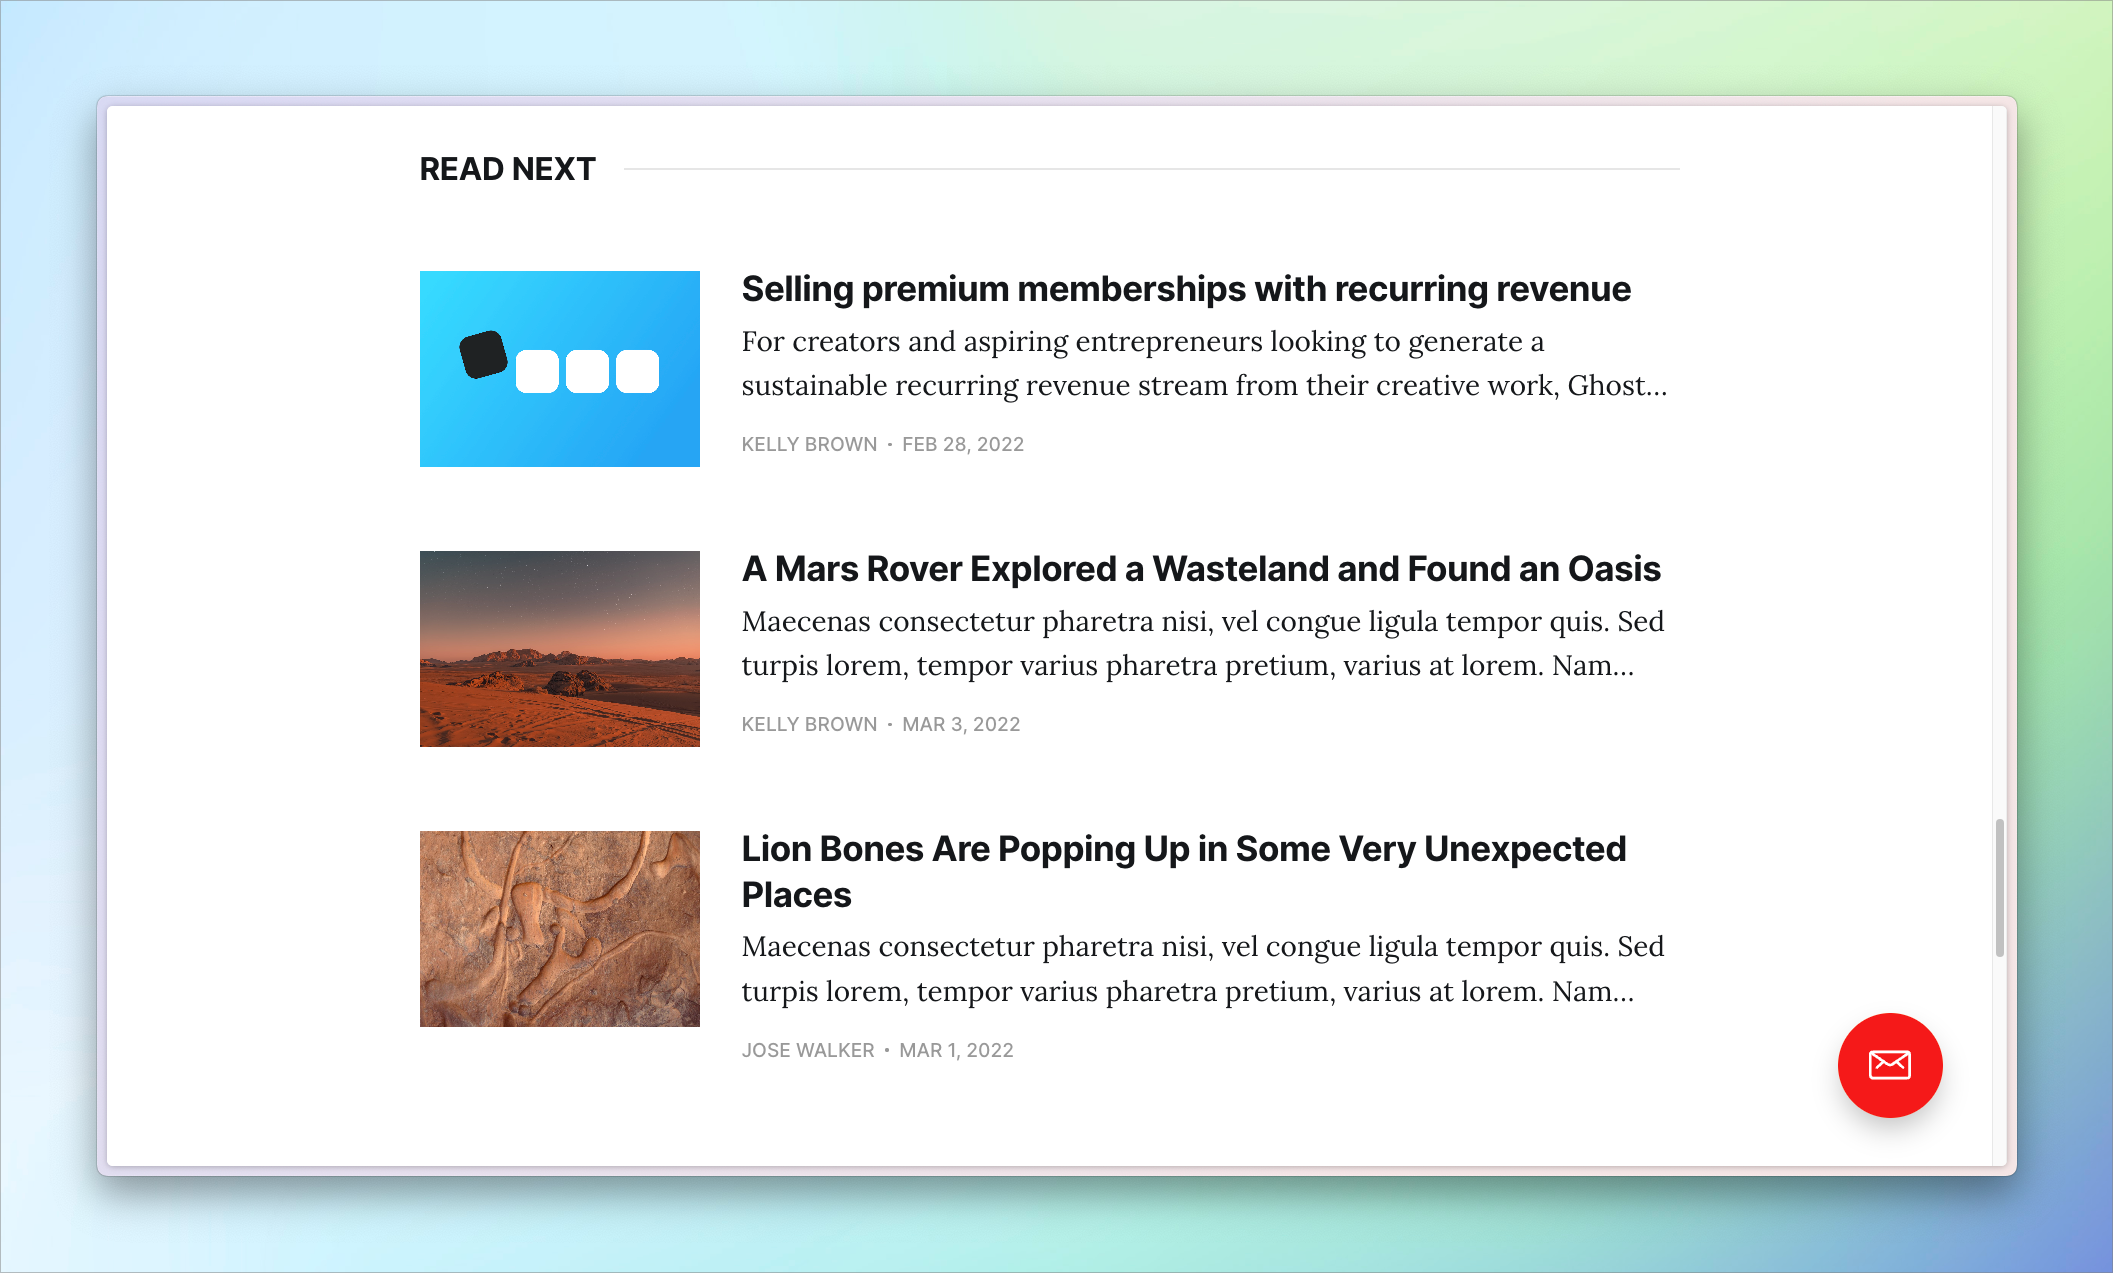
Refreshing the page shows that a post with a different author is no longer suggested in the read-next section. Instead, another post by the same author is shown, Selling premium memberships with recurring revenue.
Nice! You already have a strong foundation for creating a read-next section, but let’s kick things up a notch by seeing how to build it using related posts 🔥
3: Show related posts
The read-next section from Ghost’s Headline theme takes a different approach from Casper’s. Instead of fetching the most recent posts, Headline fetches posts that share the same tags as the current post. A post with technology and business tags, for example, would suggest posts that either have the business or technology tag or have both. The posts fetched using this approach are guaranteed to be topically related to the current post and may be more likely to pique your reader's interest.
Let’s jump into the code used by Headline:
{{#get "posts" include="authors" filter="tags:[{{post.tags}}]+id:-{{post.id}}" limit="3" as |next|}}
    {{#if next}}
        <div class="gh-read-next gh-canvas">
            <section class="gh-pagehead">
                <h4 class="gh-pagehead-title">Read next</h4>
            </section>

            <div class="gh-topic gh-topic-grid">
                <div class="gh-topic-content">
                    {{#foreach next}}
                        {{> "loop-grid" has_large_post=false}}
                    {{/foreach}}
                </div>
            </div>
        </div>
    {{/if}}
{{/get}}
This code block has a lot in common with the one from Casper. It implements the same basic structure, using a get , if, and foreach helper. Notice, though, that it adds the include attribute. To optimize performance, the get helper doesn’t return tag or author data by default. For that data to be included, use the include attribute (for example, include=”authors, tags”).
The filter attribute here also differs from Casper’s:
filter="tags:[{{post.tags}}]+id:-{{post.id}}"This time, the filter acts on the tags property. It pulls in all the tags of the current post with [{{post.tags}}]. Because it’s outside of the post context — not between the {{#post}} tags in the template — add post before the tags property: post.tags.
In plain language, the filter finds the three most recent posts that match any of the current post’s tags. Here’s a table that compares the relevant data for the current post with the posts returned by the get helper.
Like before, avoid duplicating the current post by excluding it from the data returned by using id:-{{post.id}}. The + symbol is used to combine multiple filters. The remainder of the Headline’s related-posts section follows the same pattern used in Casper.
This related-posts strategy helps keep the reader engaged by showing them content on a topic they already find interesting. The final strategy will build on this one by changing which posts are suggested based on member status.
[{{post.tags}}] for {{post.primary_tag.slug}}. Now, only posts with the same primary tag will show up in the read-next section.4: Show related posts based on member status
In this final example, let's modify the read-next section above to suggest a paid post when the reader isn't a member, with the goal of converting your reader into a paying subscriber. The code here is a little longer than before, so let's break it up into two chunks. Here's the first chunk of code:
{{#if @member.paid}}
    {{#get "posts" include="authors" filter="tags:[{{post.tags}}]+id:-{{post.id}}" limit="3" as |next|}}
        {{#if next}}
            <div class="gh-read-next gh-canvas">
                <section class="gh-pagehead">
                    <h4 class="gh-pagehead-title">Read next</h4>
                </section>

                <div class="gh-topic gh-topic-grid">
                    <div class="gh-topic-content">
                        {{#foreach next}}
                            {{> "loop-grid" has_large_post=false}}
                        {{/foreach}}
                    </div>
                </div>
            </div>
        {{/if}}
    {{/get}}
{{else}}
Begin by checking if the current reader is a paying member with {{#if @member.paid}}. When they are a paying member, show the read-next section with related posts like in the previous example.
The {{else}} tag indicates what happens when the current reader isn't a paying member. Here's the second chunk of code:
	{{#get "posts" include="authors" filter="visibility:public+id:-{{post.id}}+tags:[{{post.tags}}]" limit="2" as |public|}}

    {{#get "posts" include="authors" filter="visibility:paid+id:-../post.id" limit="1" as |paid|}}

        <div class="gh-read-next gh-canvas">
            <section class="gh-pagehead">
                <h4 class="gh-pagehead-title">Read next</h4>
            </section>

            <div class="gh-topic gh-topic-grid">
                <div class="gh-topic-content">
                    {{#foreach paid}}
                        {{> "loop-grid" has_large_post=false}}
                    {{/foreach}}

                    {{#foreach public}}
                        {{> "loop-grid" has_large_post=false}}
                    {{/foreach}}
                </div>
            </div>
        </div>

    {{/get}}

    {{/get}}

{{/if}}
This section begins with a variation of the get helper you've already seen, except now there's a new filter property — visibility — which indicates the post's access level. In the first get helper, the property is set to paid, meaning that all posts returned are only accessible by paid members.
The next get helper pulls in two public posts by setting the visibility to public. Because the two get helpers filter on distinct visibility properties, you're guaranteed not to show duplicate content in your read-next section.
One other quirk to notice about this second get helper: because it's inside the previous one, you need to go up a context (using ../) to grab the current post's id. For more on navigating contexts in your Ghost theme, see our debugging tutorial.
The HTML markup is the same as before. The final difference to notice is that there are two foreach loops to output the posts fetched by the two get helpers. {{#foreach paid}} outputs the paid post, and {{#foreach public}} outputs the two public posts.
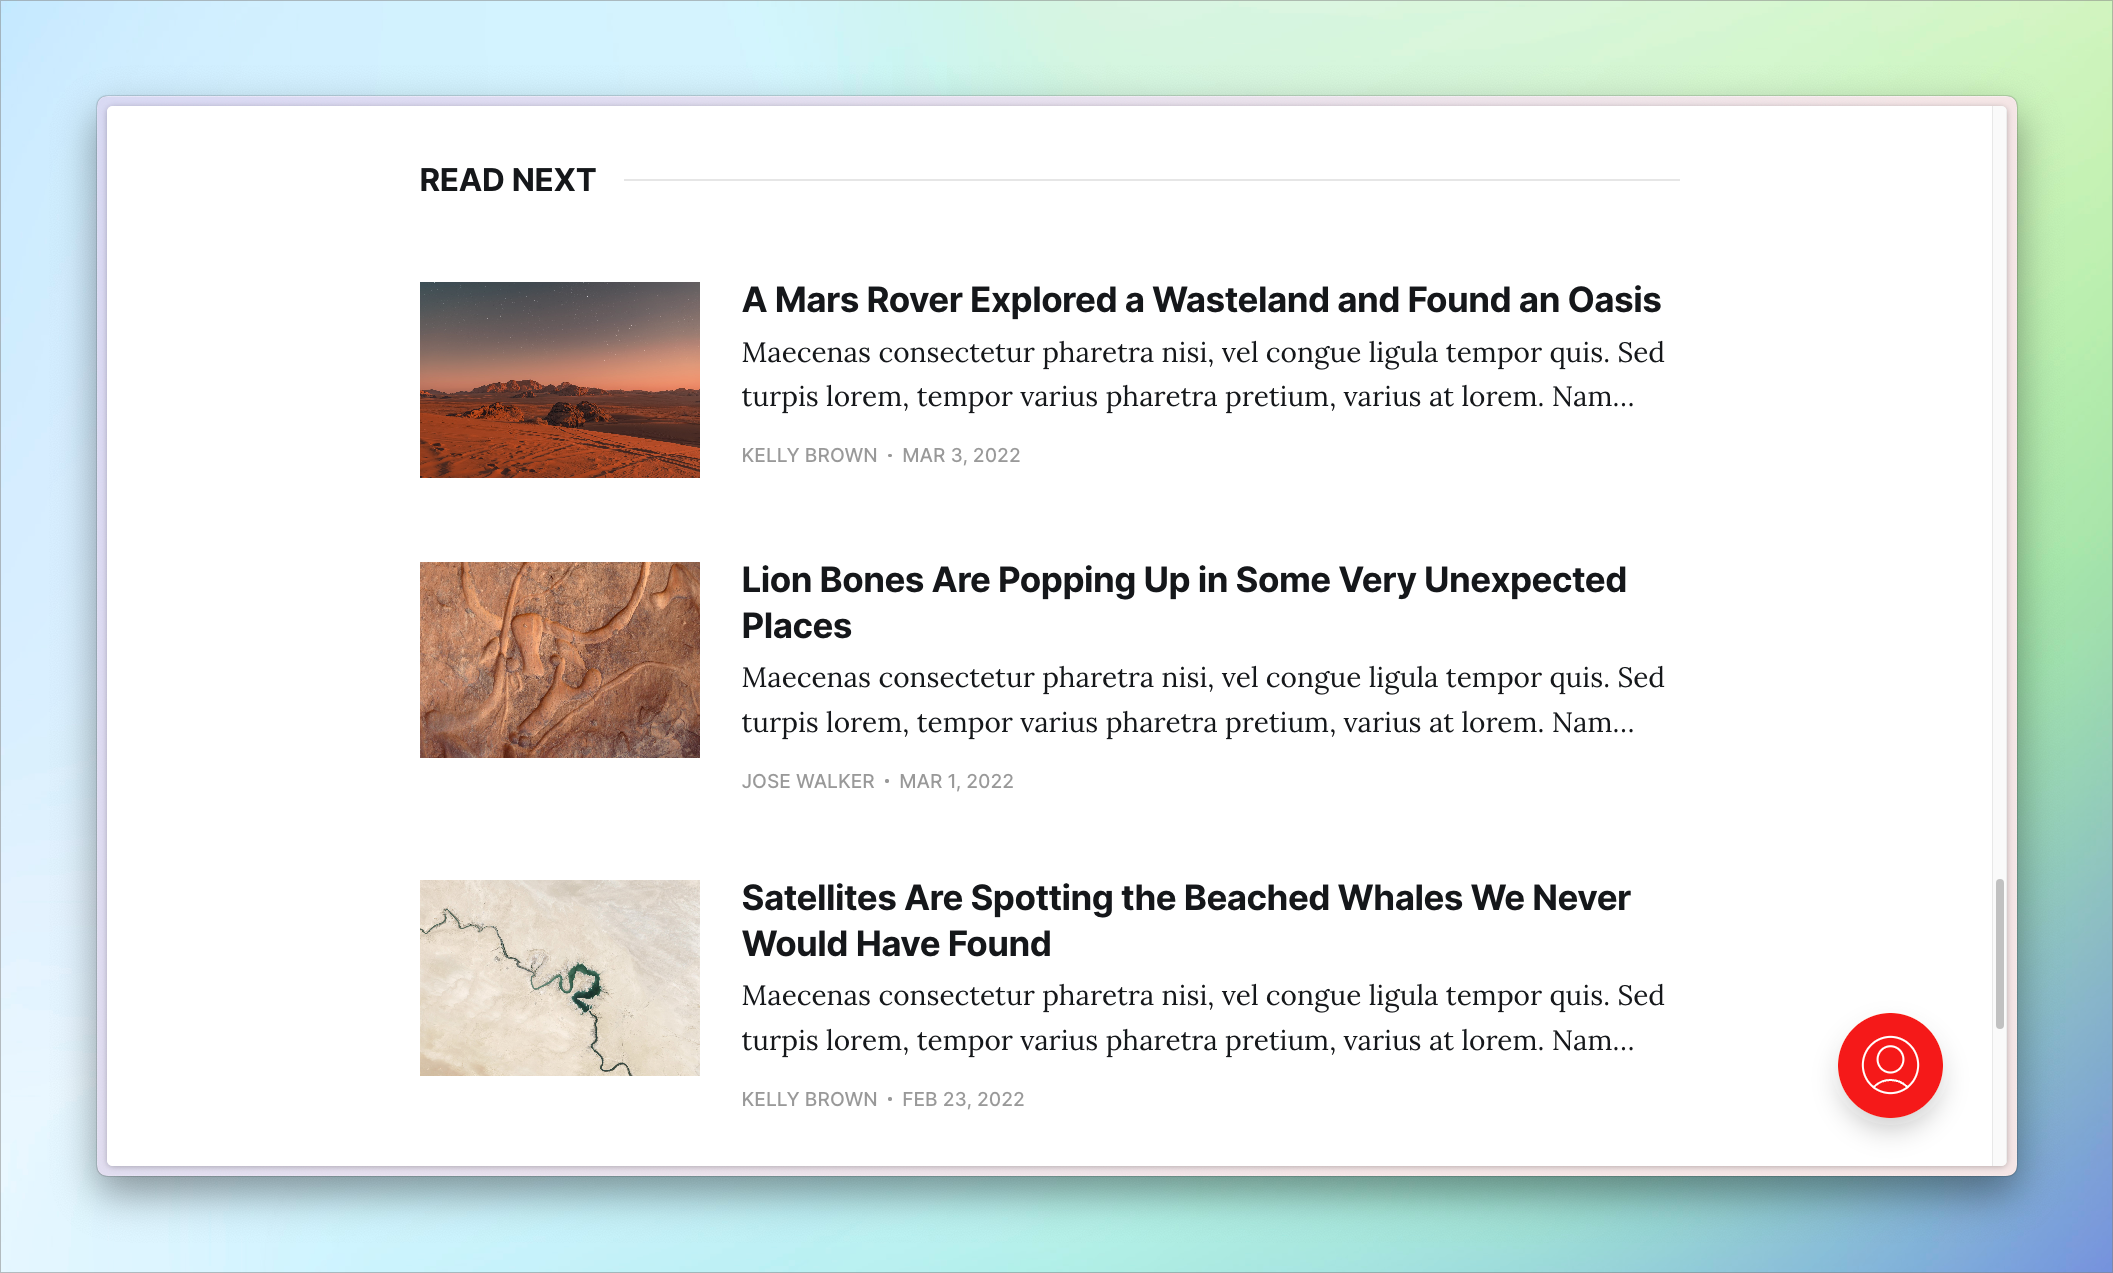
Putting together all these pieces, here's what the final version of this read-next section outputs. If the reader is a paid member, then the read-next section suggests related posts just like above. If the reader is not a paid member, then the read-next section first suggests a premium post in a push to convert the reader into a paying subscriber. As before, the following two posts suggested are topically related to the current post.
Once again, here's the code powering this read-next section, all in one snippet.
{{#if @member.paid}}
    {{#get "posts" include="authors" filter="tags:[{{post.tags}}]+id:-{{post.id}}" limit="3" as |next|}}
        {{#if next}}
            <div class="gh-read-next gh-canvas">
                <section class="gh-pagehead">
                    <h4 class="gh-pagehead-title">Read next</h4>
                </section>

                <div class="gh-topic gh-topic-grid">
                    <div class="gh-topic-content">
                        {{#foreach next}}
                            {{> "loop-grid" has_large_post=false}}
                        {{/foreach}}
                    </div>
                </div>
            </div>
        {{/if}}
    {{/get}}

{{else}}

    {{#get "posts" include="authors" filter="visibility:public+id:-{{post.id}}+tags:[{{post.tags}}]" limit="2" as |public|}}

    {{#get "posts" include="authors" filter="visibility:paid+id:-../post.id" limit="1" as |paid|}}

        <div class="gh-read-next gh-canvas">
            <section class="gh-pagehead">
                <h4 class="gh-pagehead-title">Read next</h4>
            </section>

            <div class="gh-topic gh-topic-grid">
                <div class="gh-topic-content">
                    {{#foreach paid}}
                        {{> "loop-grid" has_large_post=false}}
                    {{/foreach}}

                    {{#foreach public}}
                        {{> "loop-grid" has_large_post=false}}
                    {{/foreach}}
                </div>
            </div>
        </div>

    {{/get}}
    {{/get}}

{{/if}}
Summary
Beginning from a read-next section that suggests the most recent posts to one that dynamically curates those posts based on the reader's membership, you’ve learned four different ways to build this section to help keep your readers engaged.
The examples in this tutorial are some of the most common ways to build a read-next section in Ghost. But, because of the power and flexibility of the get helper and its filter attribute, the possibilities are vast 🌌
Come share how you built your read-next section or get help from the community on the official Ghost Forum. And, if you liked this tutorial and are looking for something to read next, see our Keep on learning section below or subscribe to the Build with Ghost newsletter.


