Install Node on macOS, Windows, and Linux
Step-by-step instructions on how to install Node on macOS, Windows, and Linux. With Node installed on your machine, you'll not only be able to install Ghost locally but also have access to the whole NPM ecosystem.
As the saying goes, "Every journey begins with a single step." In the world of web development, that first step is often Node. This tutorial explains what Node is and how to install it on your system. Once installed, you’ll be ready to run Ghost locally and begin your journey of creating a custom Ghost theme.
What’s Node?
Usually, JavaScript runs in your browser, but in 2009, Ryan Dahl had the idea to create a runtime — Node — so that JavaScript could run independently of it. Today, nearly all modern web development uses Node in some way. Ghost runs entirely on Node, and, fun fact, when Ghost first came out in 2013, it ran on Node v0.10. Not even version 1!
Node Package Manager (NPM) is included with every installation of Node. It’s a command-line tool for installing, managing, and sharing JavaScript code. For example, use NPM to install Ghost or any of these other 3 million-plus packages.
Install Node on macOS
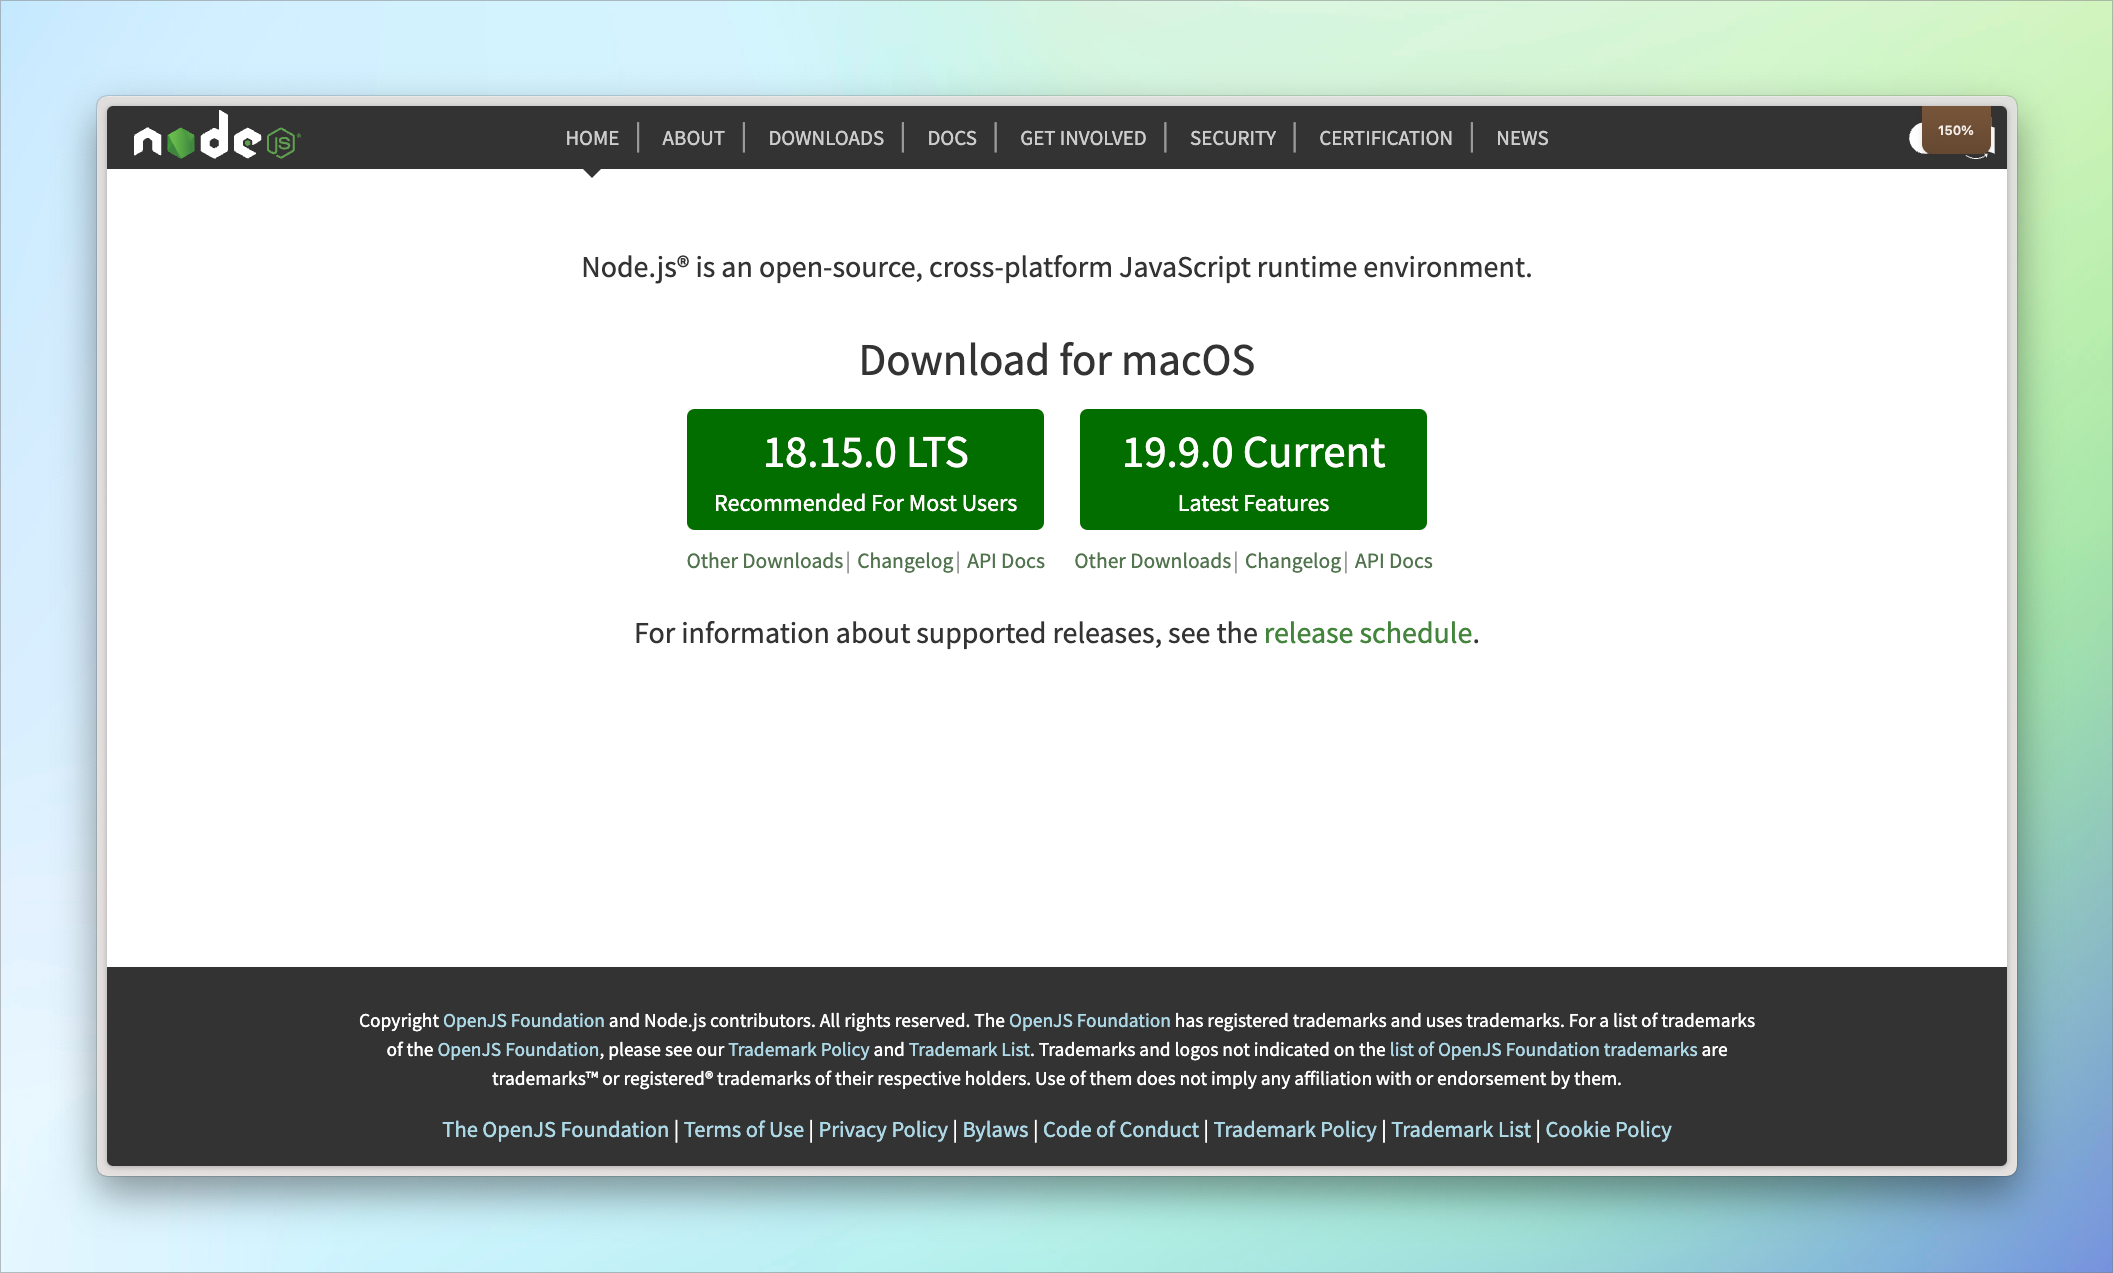
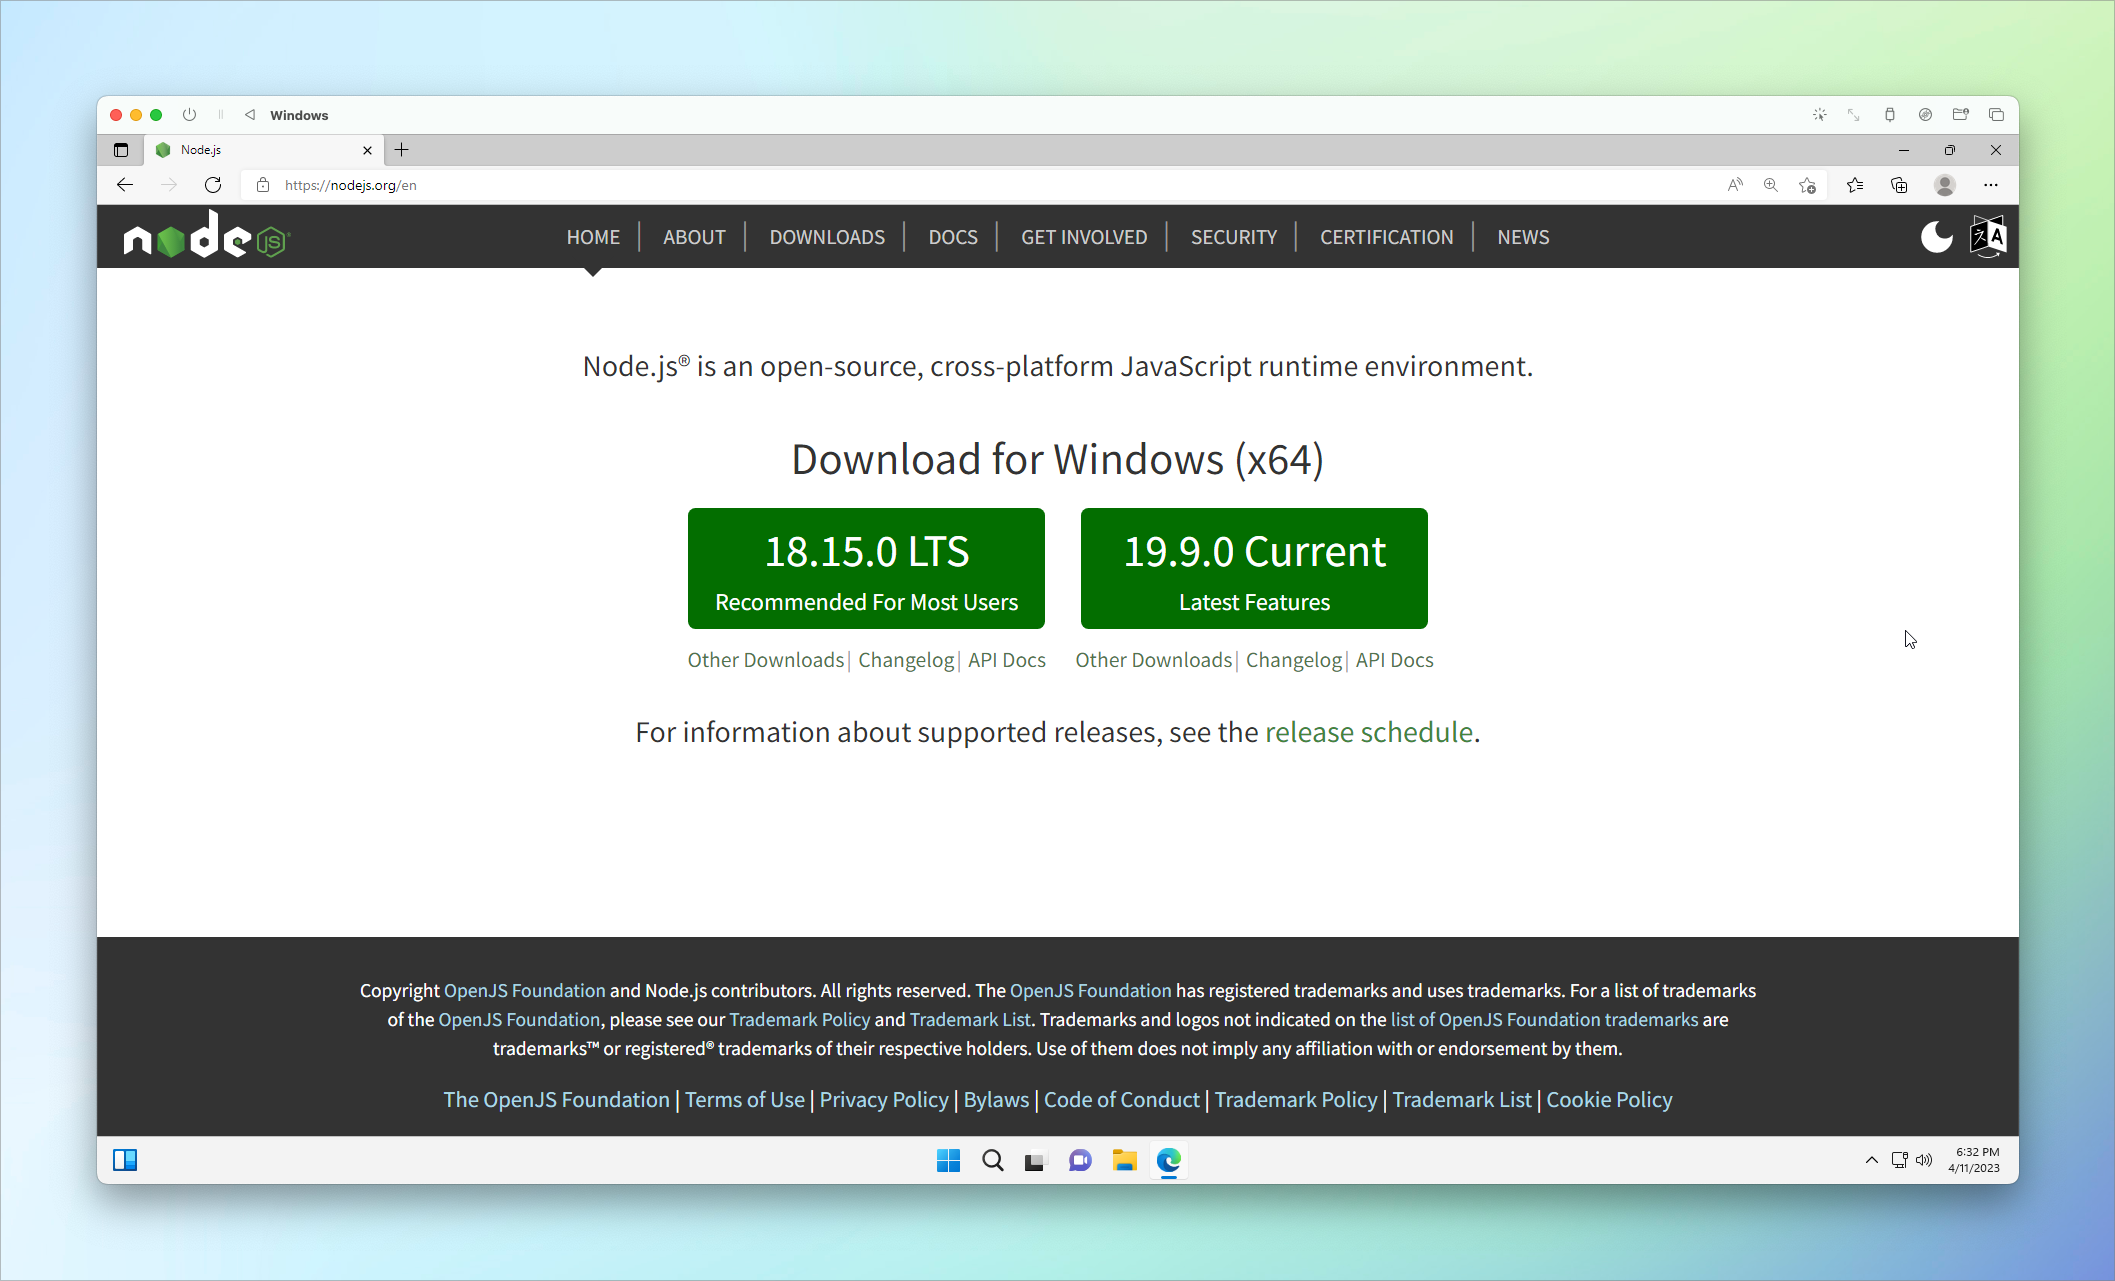
To install Node on macOS, open up a browser and navigate to the official Node website.
Click on the LTS version on the left and download the installer.
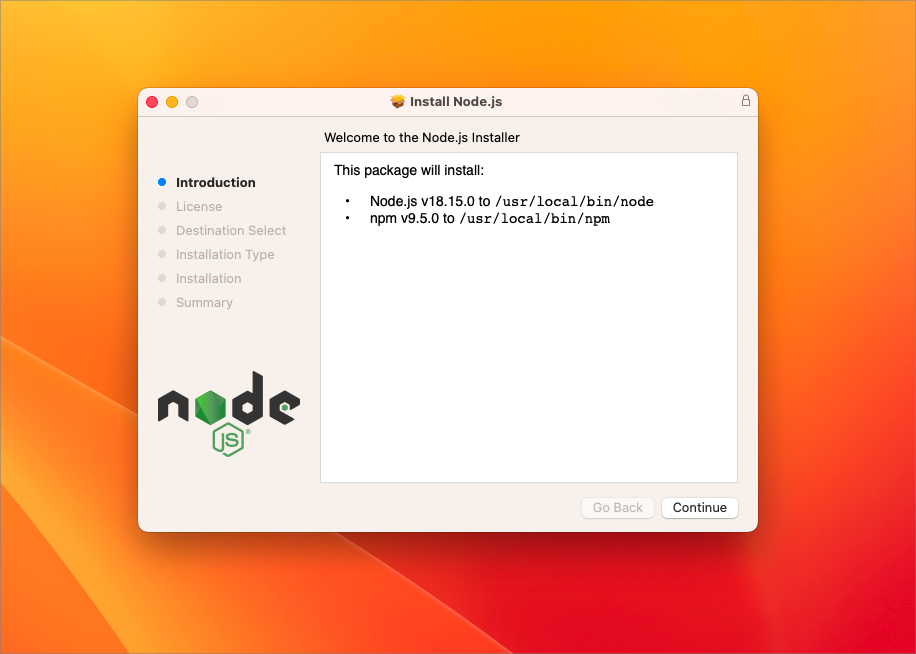
Run the installer, choosing the default options.
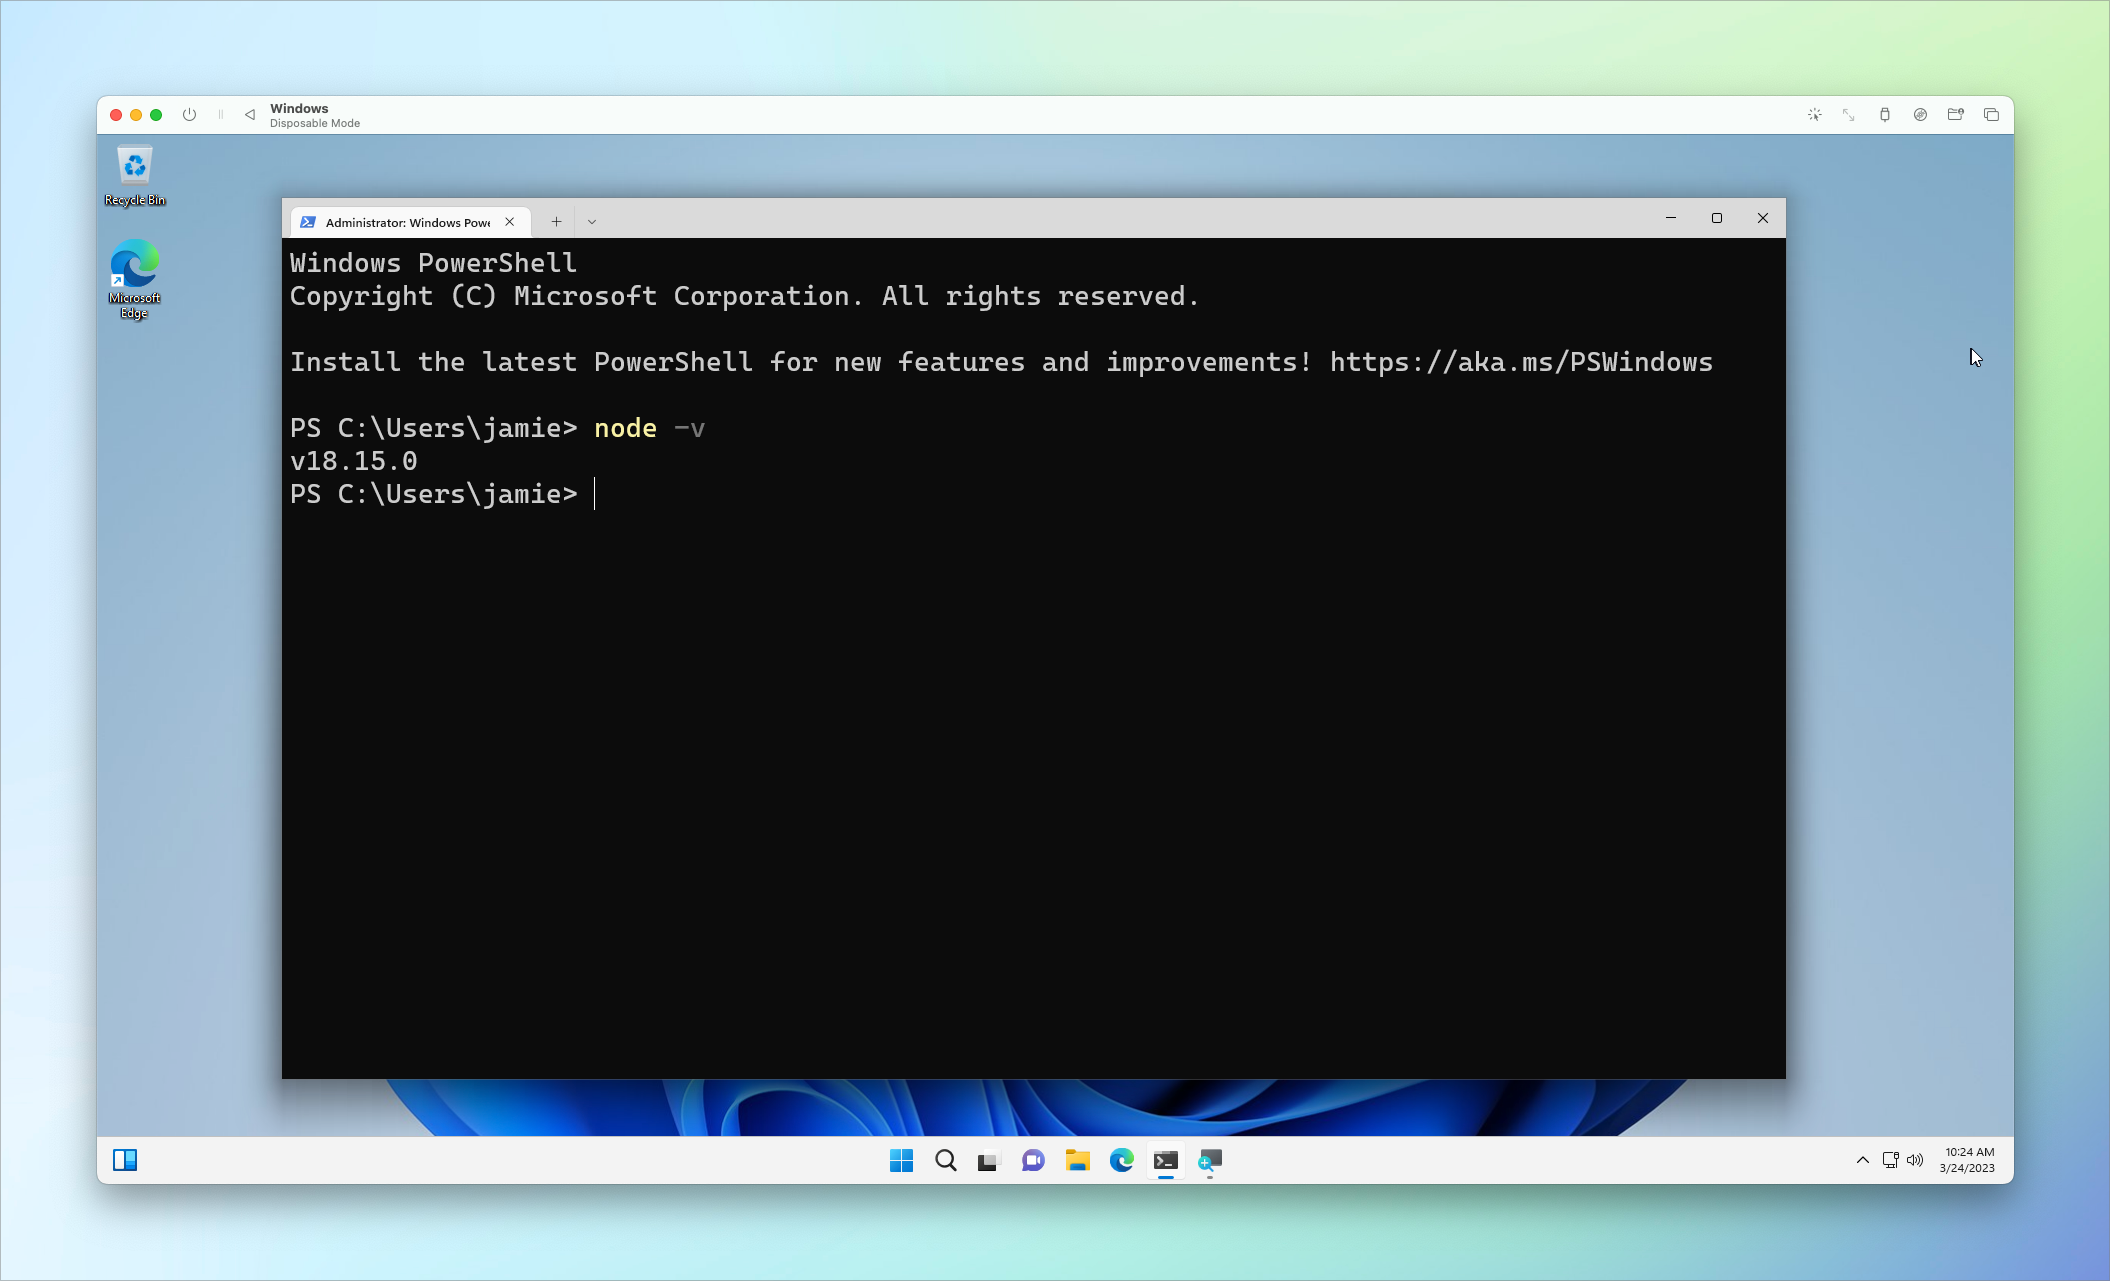
After the installer completes, confirm Node is installed by opening a terminal and running node -v. The terminal will output the current version of Node that’s installed.
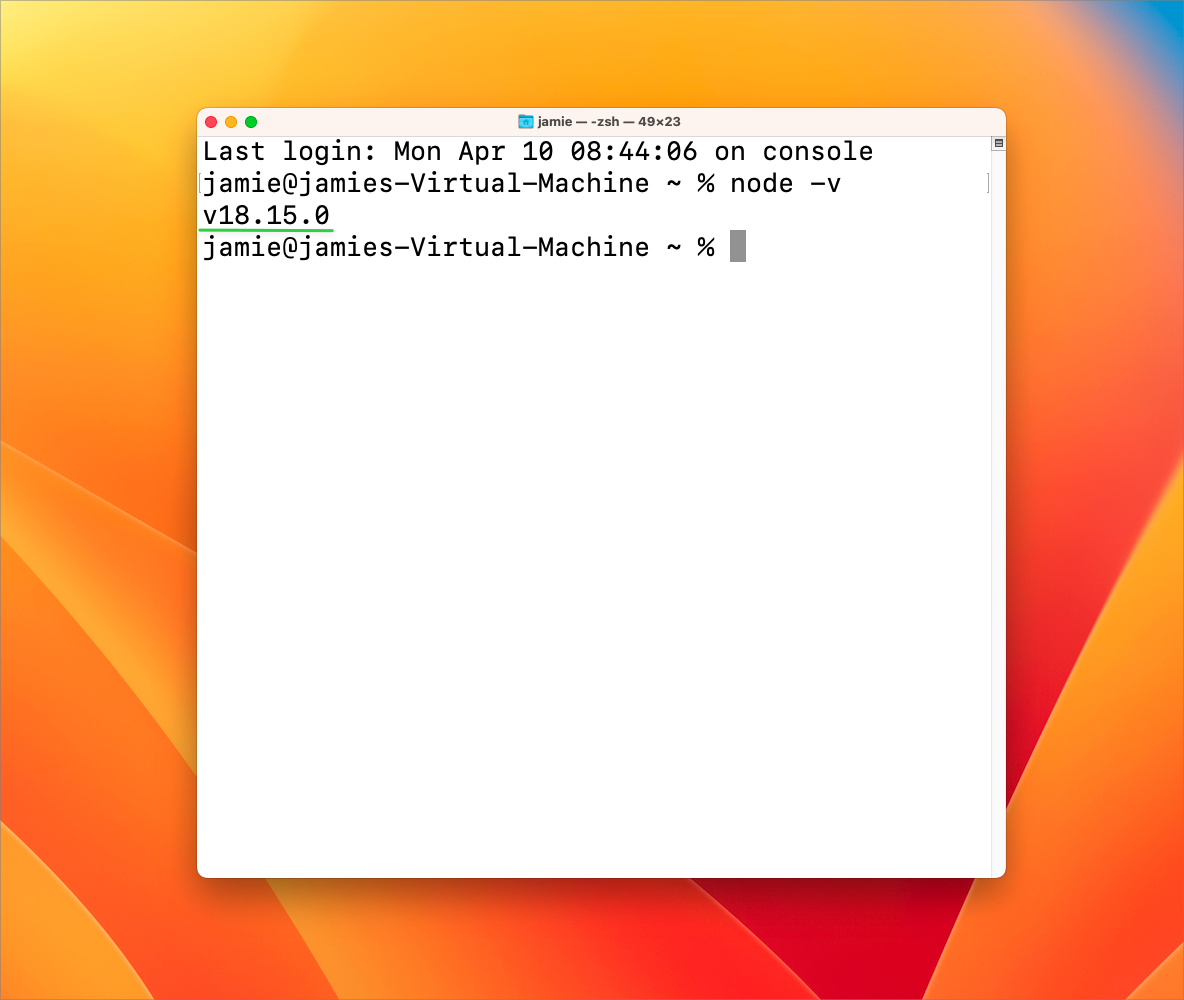
That’s all there is to it. You’re now ready to start using Node 🥳
nvm in the Linux section below.Install Node on Windows
Go to Node’s official page. Click on the LTS version on the left and download the installer.
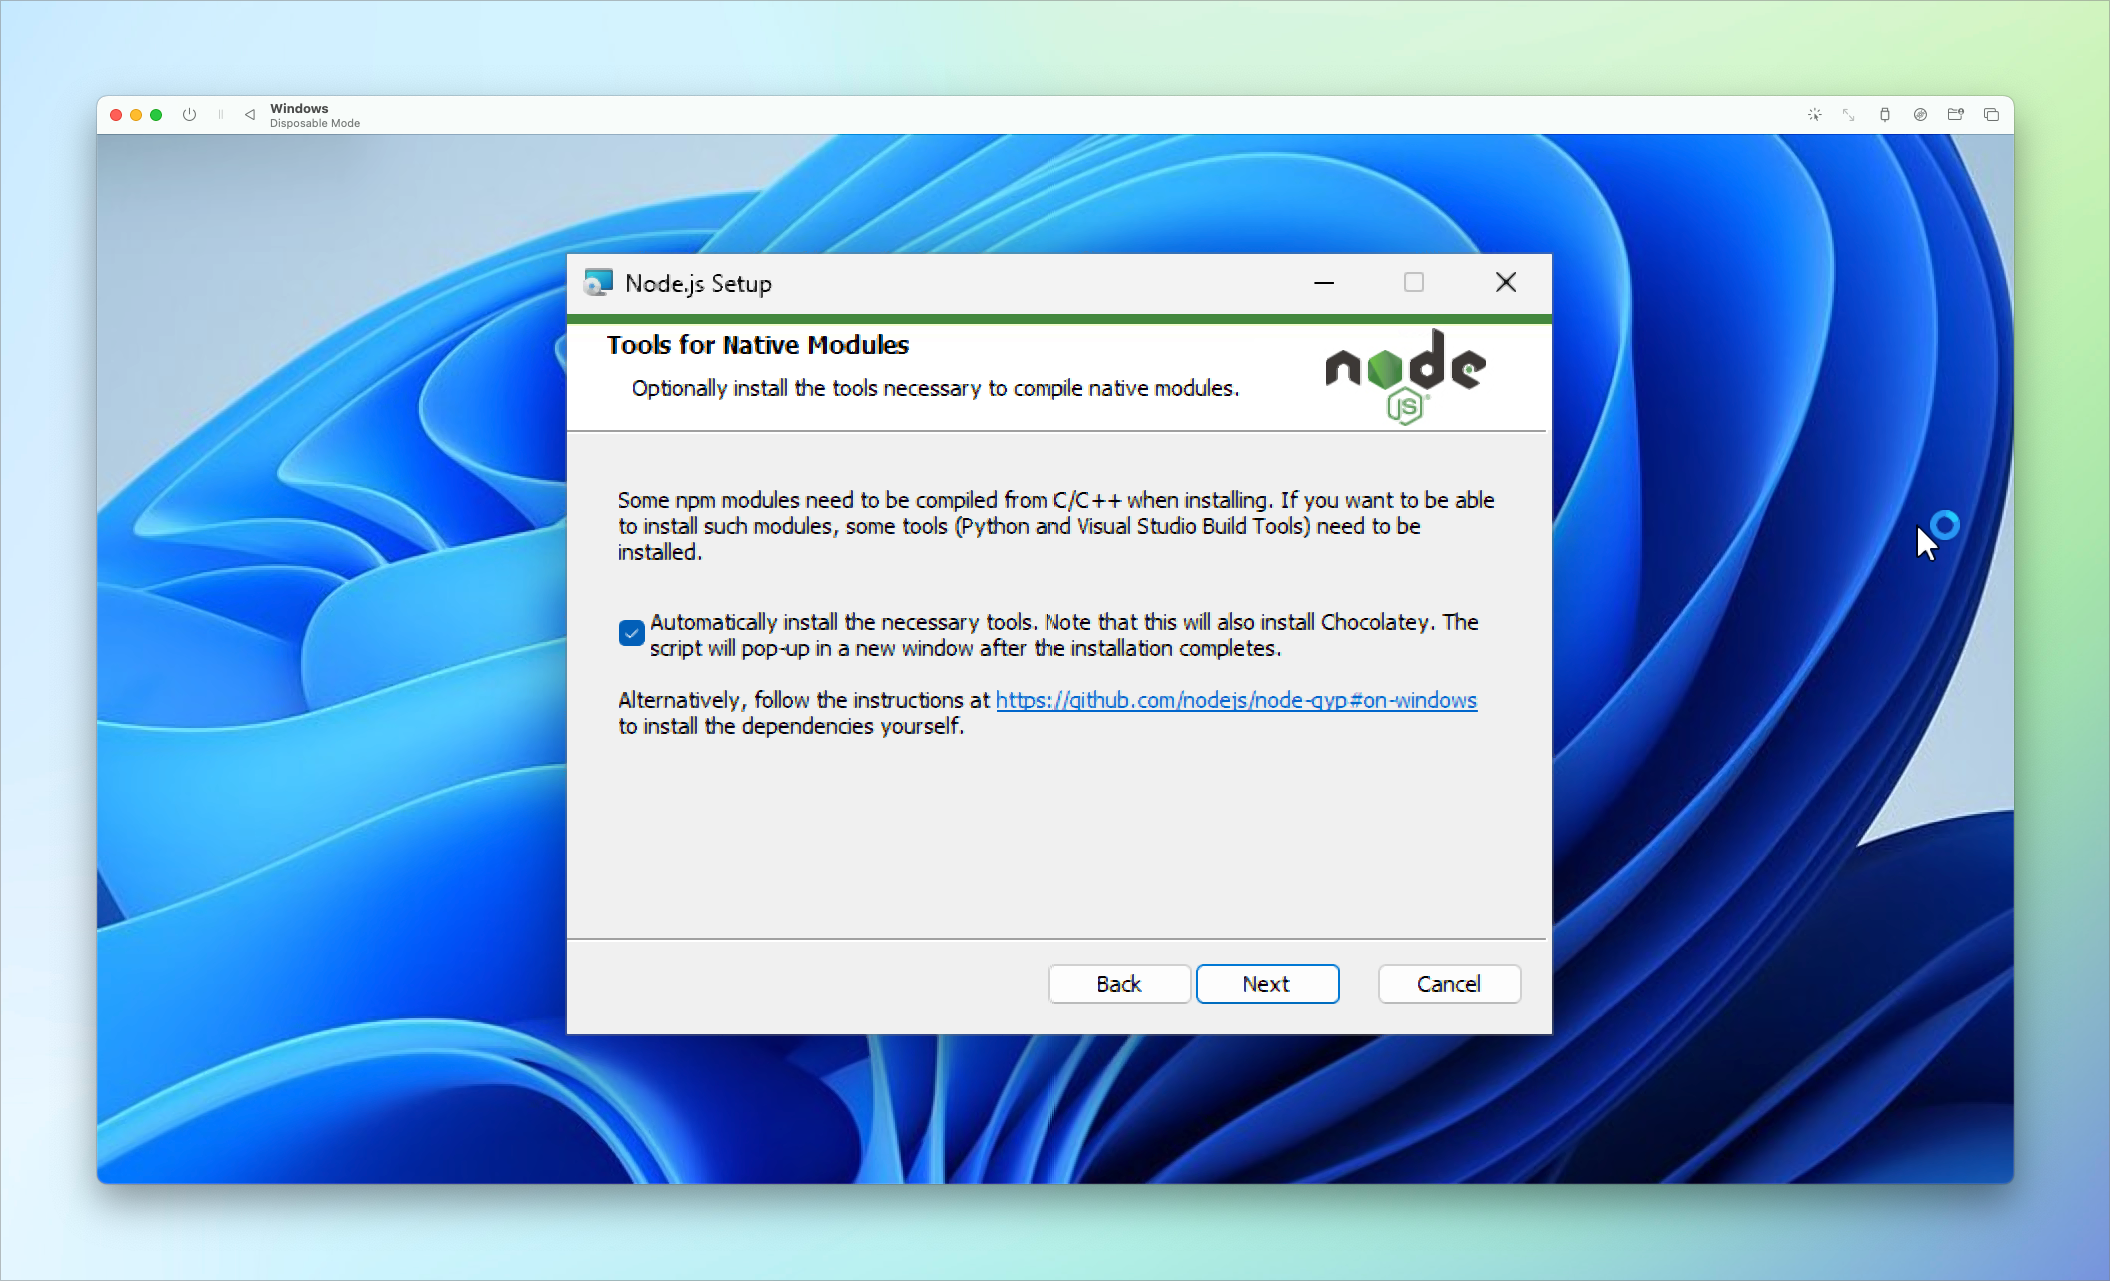
Follow the installer prompts. It’s recommended to check “Yes” on the Tools for Native Modules screen to ensure you don’t run into potential compatibility issues in the future. Checking this box runs an additional installation script.
After installation, confirm that Node is installed correctly by opening your terminal and running node -v. The command will output Node’s version number to the console.
You’re now ready to start using Node 🥳

Make your inbox fire
Build a better internet with early access to features, tools, and tutorials.
No spam. Once a month. Unsubscribe any time.Install Node on WSL
Windows users have another option for installing Node: Windows Subsystem for Linux or WSL. WSL allows you to run a Linux environment on your Windows machine. Because most web development happens in Linux environments, the benefits of using WSL are that you’ll have fewer problems, an easier time following tutorials, and more tools at your disposal. The downside is that it takes a few additional steps to configure and install.
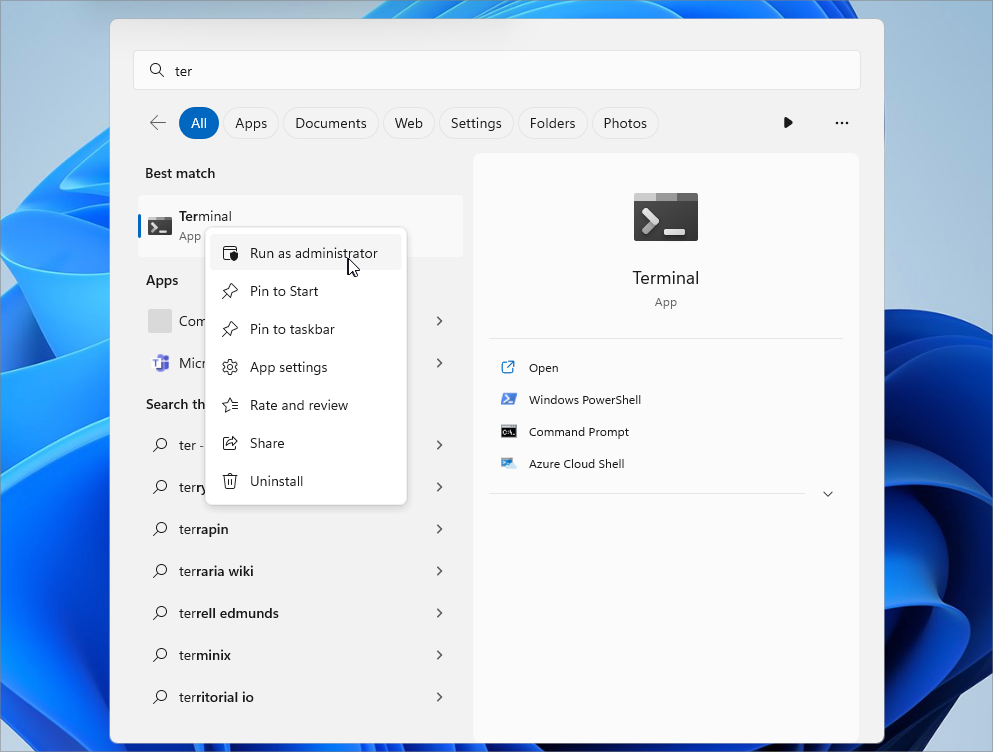
Open a terminal as an administrator by right-clicking on the application and choosing “Run as administrator.”
In the terminal, run:
wsl --installWindows will install WSL. After installation is complete, restart your machine. Open your terminal and select Ubuntu, the WSL distribution installed by default.
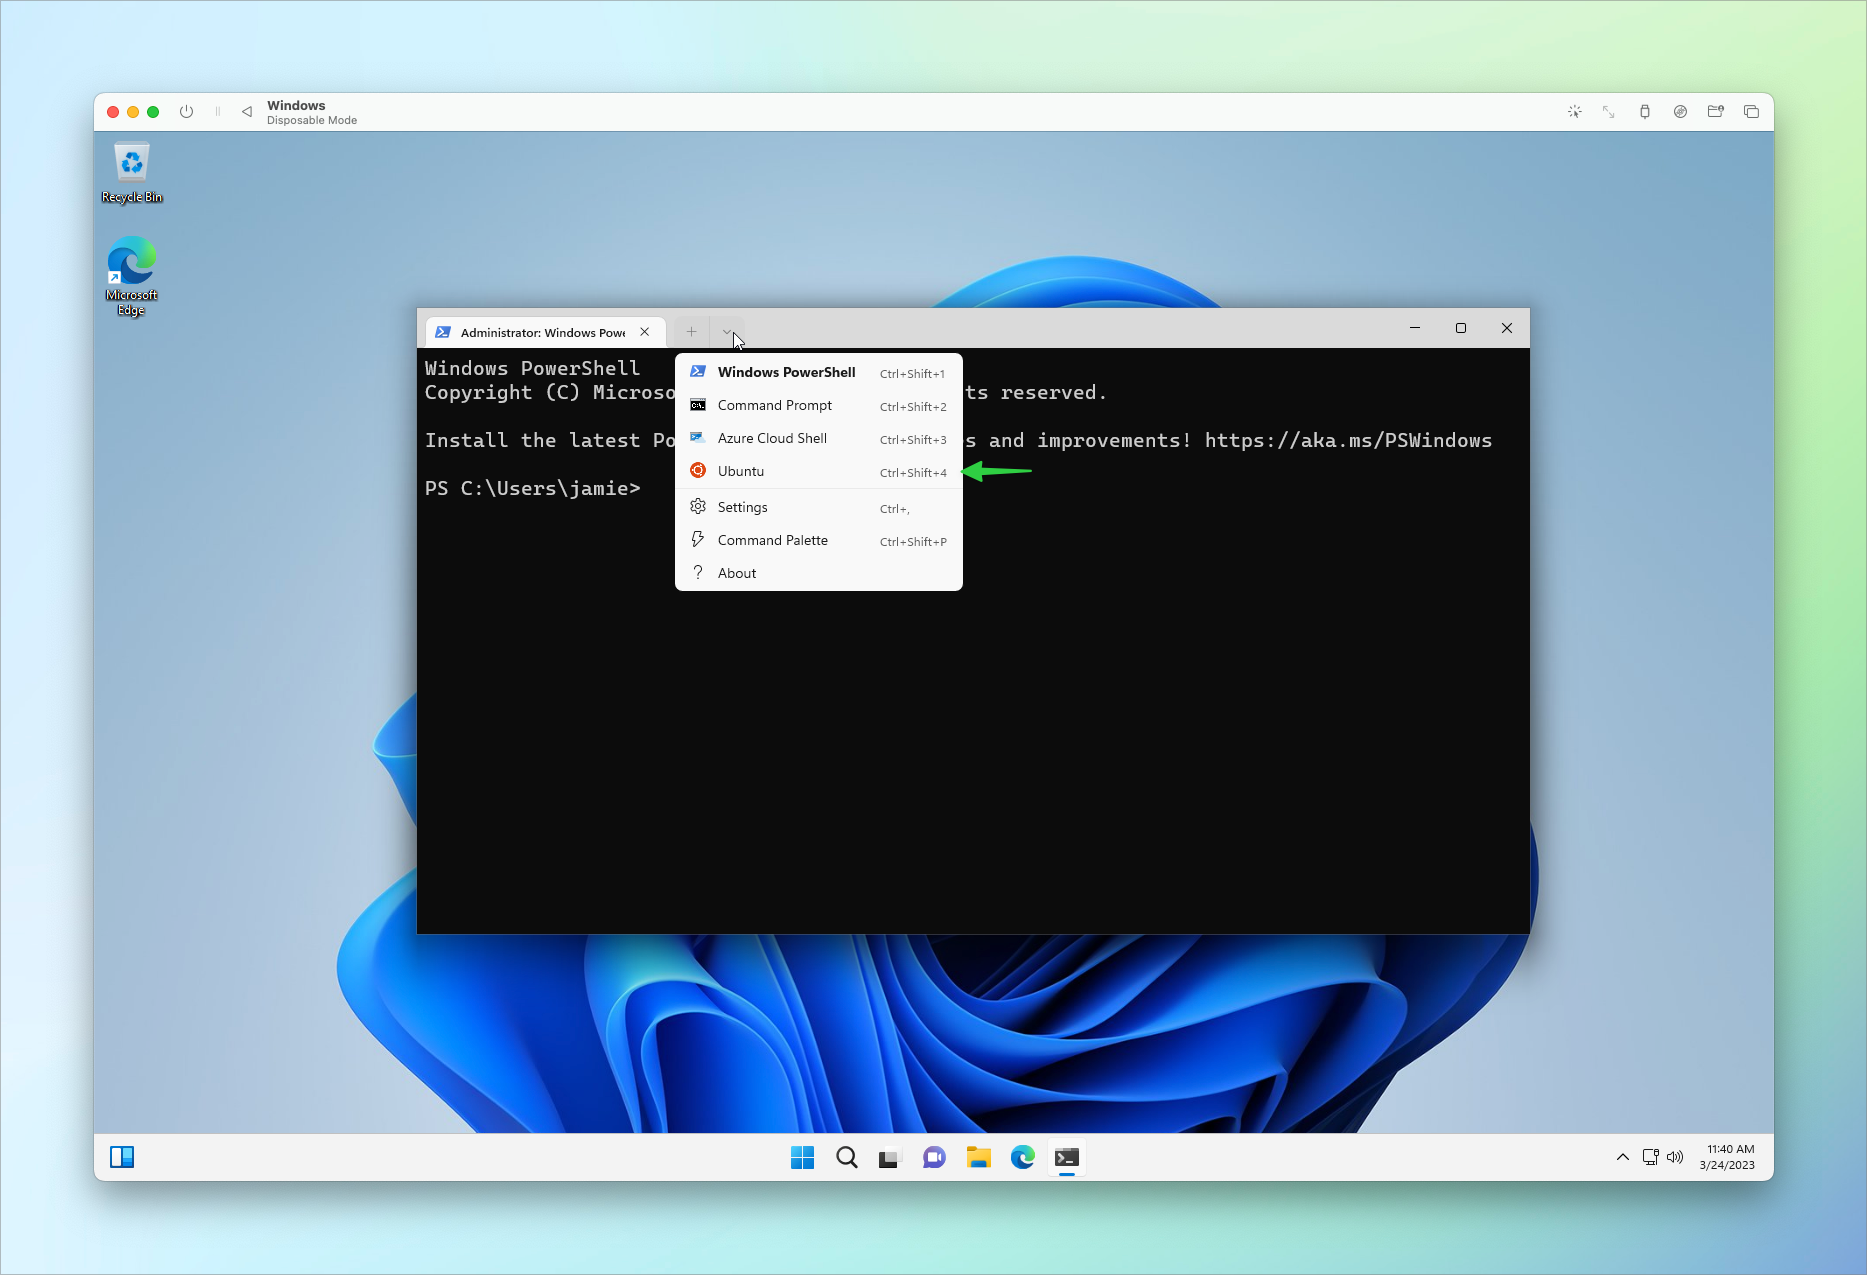
You’re now on Linux on Windows. Pretty cool! To install Node, follow the instructions in the next section.
Install Node on Linux
The best way to install Node on Linux is to use Node version manager (nvm). It’s a script that makes it easy to install up-to-date Node versions and switch between them.
Open a terminal and run:
curl -o- https://raw.githubusercontent.com/nvm-sh/nvm/v0.39.3/install.sh | bashClose your terminal and reopen it. Check that nvm is installed correctly by running command -v nvm. This command should output nvm.
Finally, check which version of Node Ghost currently supports. Install it with the following command:
nvm install 18Once installation is complete, close and reopen your terminal. Check that Node is installed correctly with node -v. If it returns the current version installed, then you’re in business and ready to start using Node 🥳
nvm works great when using Ghost locally, but it's not recommended for production. See our FAQ for more info.Summary
It’s hard to overstate how omnipresent Node is in the current web development ecosystem. Name a website or app and somewhere along the line, they’re probably using Node. Installing it on your system is the first step in creating an amazing app or a super sick custom Ghost theme.
Your next step is to install Ghost locally, which should be a breeze now that Node is installed 😉

And we have lots more resources to help you build a custom theme:


